How to Make Authentic Spanakopita (Greek Spinach Pie)
This spanakopita recipe is a simple yet authentic guide to making a classic Greek spinach pie at home. Using fresh ingredients like spinach, feta cheese, and herbs such as parsley and dill, this dish is both flavorful and nutritious. The recipe incorporates phyllo dough, layered and brushed with a mixture of melted butter and olive oil, to create a golden brown, flaky crust. Perfect as either a main course or a side dish, this spanakopita is versatile and can be enjoyed for any occasion. It’s easy to store and freeze, and my step-by-step guide ensures a fuss-free cooking experience.
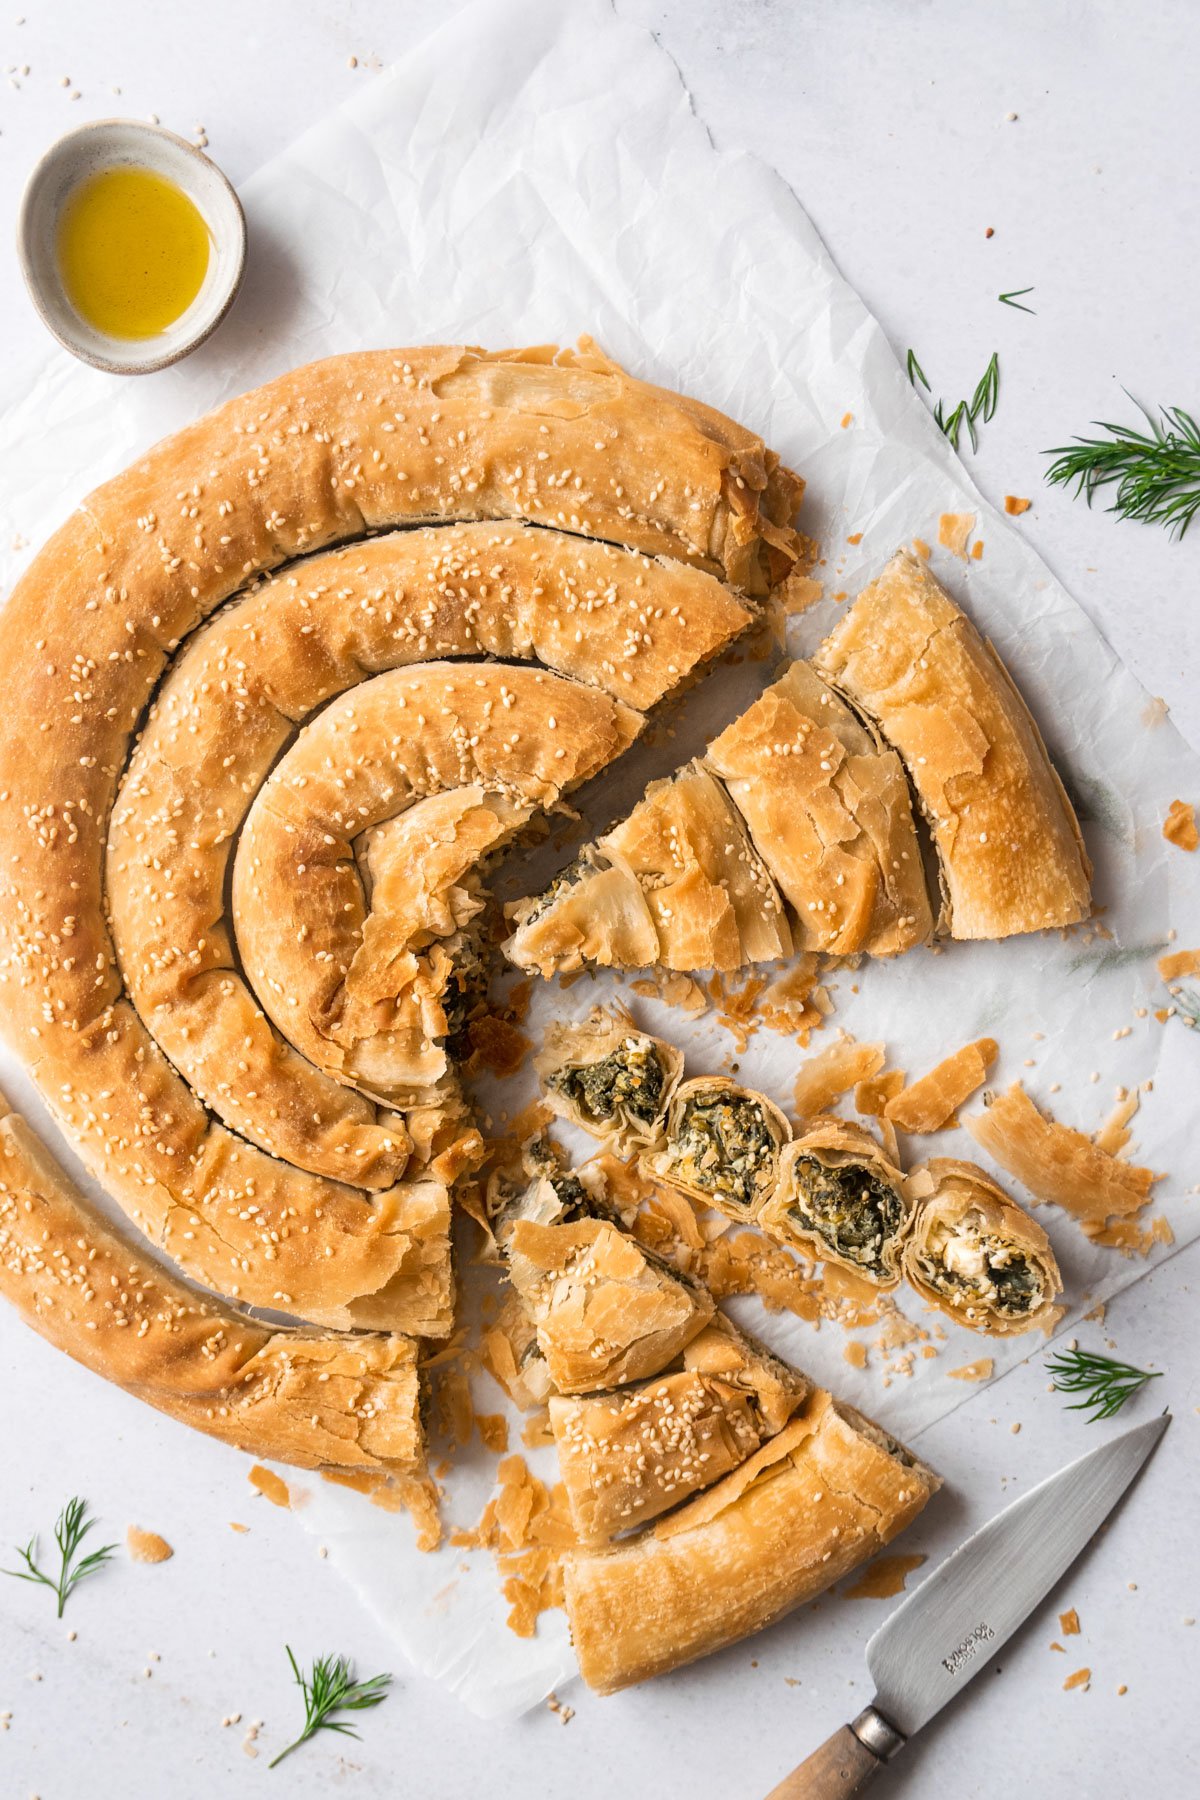
Have you ever wondered how to make delicious Greek spinach pie at home? Look no further! This easy spanakopita recipe brings the best of Greece right into your kitchen. With crisp, buttery crusts and a rich, savory filling made from fresh spinach, feta cheese, and herbs, you’ll be the star of any gathering.
Our Favorite
Greek Recipes
Why You’ll Love This Recipe
Ingredient Notes
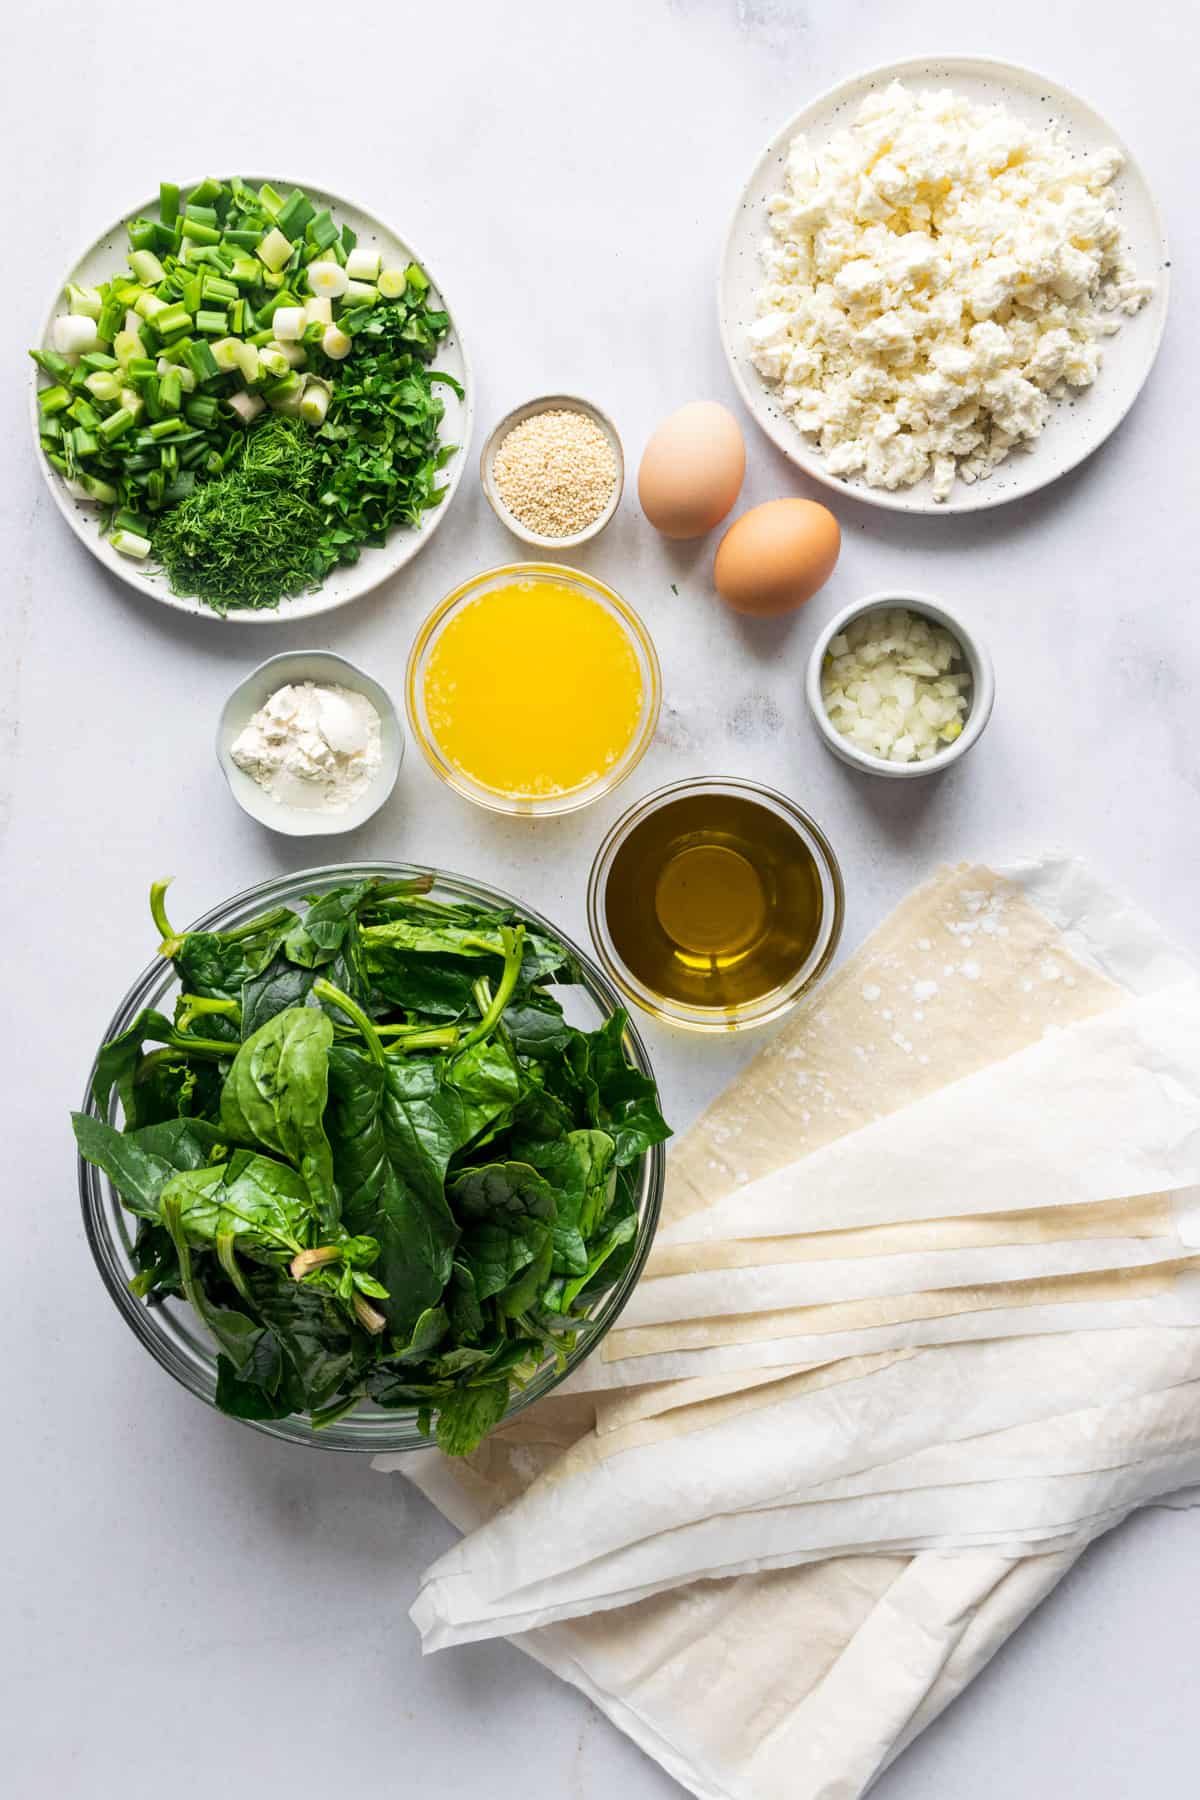
- Olive Oil: A kitchen staple, olive oil is used for sautéing the onions and mixing with melted butter for brushing the phyllo. Extra virgin olive oil is a good choice for more flavor.
- Onions & Green Onions: These add a depth of flavor to your spinach mixture. You can also use spring onions if you prefer.
- Spinach: Fresh spinach is ideal, but you can use baby spinach or even frozen spinach. Just be sure to drain off any excess liquid.
- Herbs: Fresh dill and parsley elevate the dish. If you have to use dried herbs, cut the quantity by a third.
- Feta Cheese: Opt for a high-quality Greek feta cheese for the best flavor. Crumbling it yourself ensures a better texture.
- Eggs: Large eggs work best. Make sure they’re at room temperature for easier mixing.
- Flour: This helps to bind the spinach filling and soak up any excess moisture, preventing a soggy pie.
- Phyllo Dough: Also known as filo pastry, it can be found in the freezer section. Make sure to thaw it properly, following the package instructions.
- Butter: Use unsalted butter and melt it for brushing on the phyllo sheets, creating that buttery crust we all love.
- Sesame Seeds: Optional, but they add a nice crunch and aesthetic touch to the top of your spanakopita.
- Salt and Pepper: These are to taste, but don’t be shy. The seasoning brings out the flavors of the main ingredients.
Step by Step Instructions
Check out the step-by-step photos as a guide for the best spanakopita recipe.
Be sure to check out the full recipe and ingredient list below
- Cook Onions/Spinach: In a large skillet over medium heat, warm up 1 tbsp of olive oil. Toss in the diced onion and the chopped spring onions (or green onions, if you prefer). Sauté until softened. Pile in your fresh spinach or baby spinach. You might need to add it in batches if it doesn’t all fit at once.
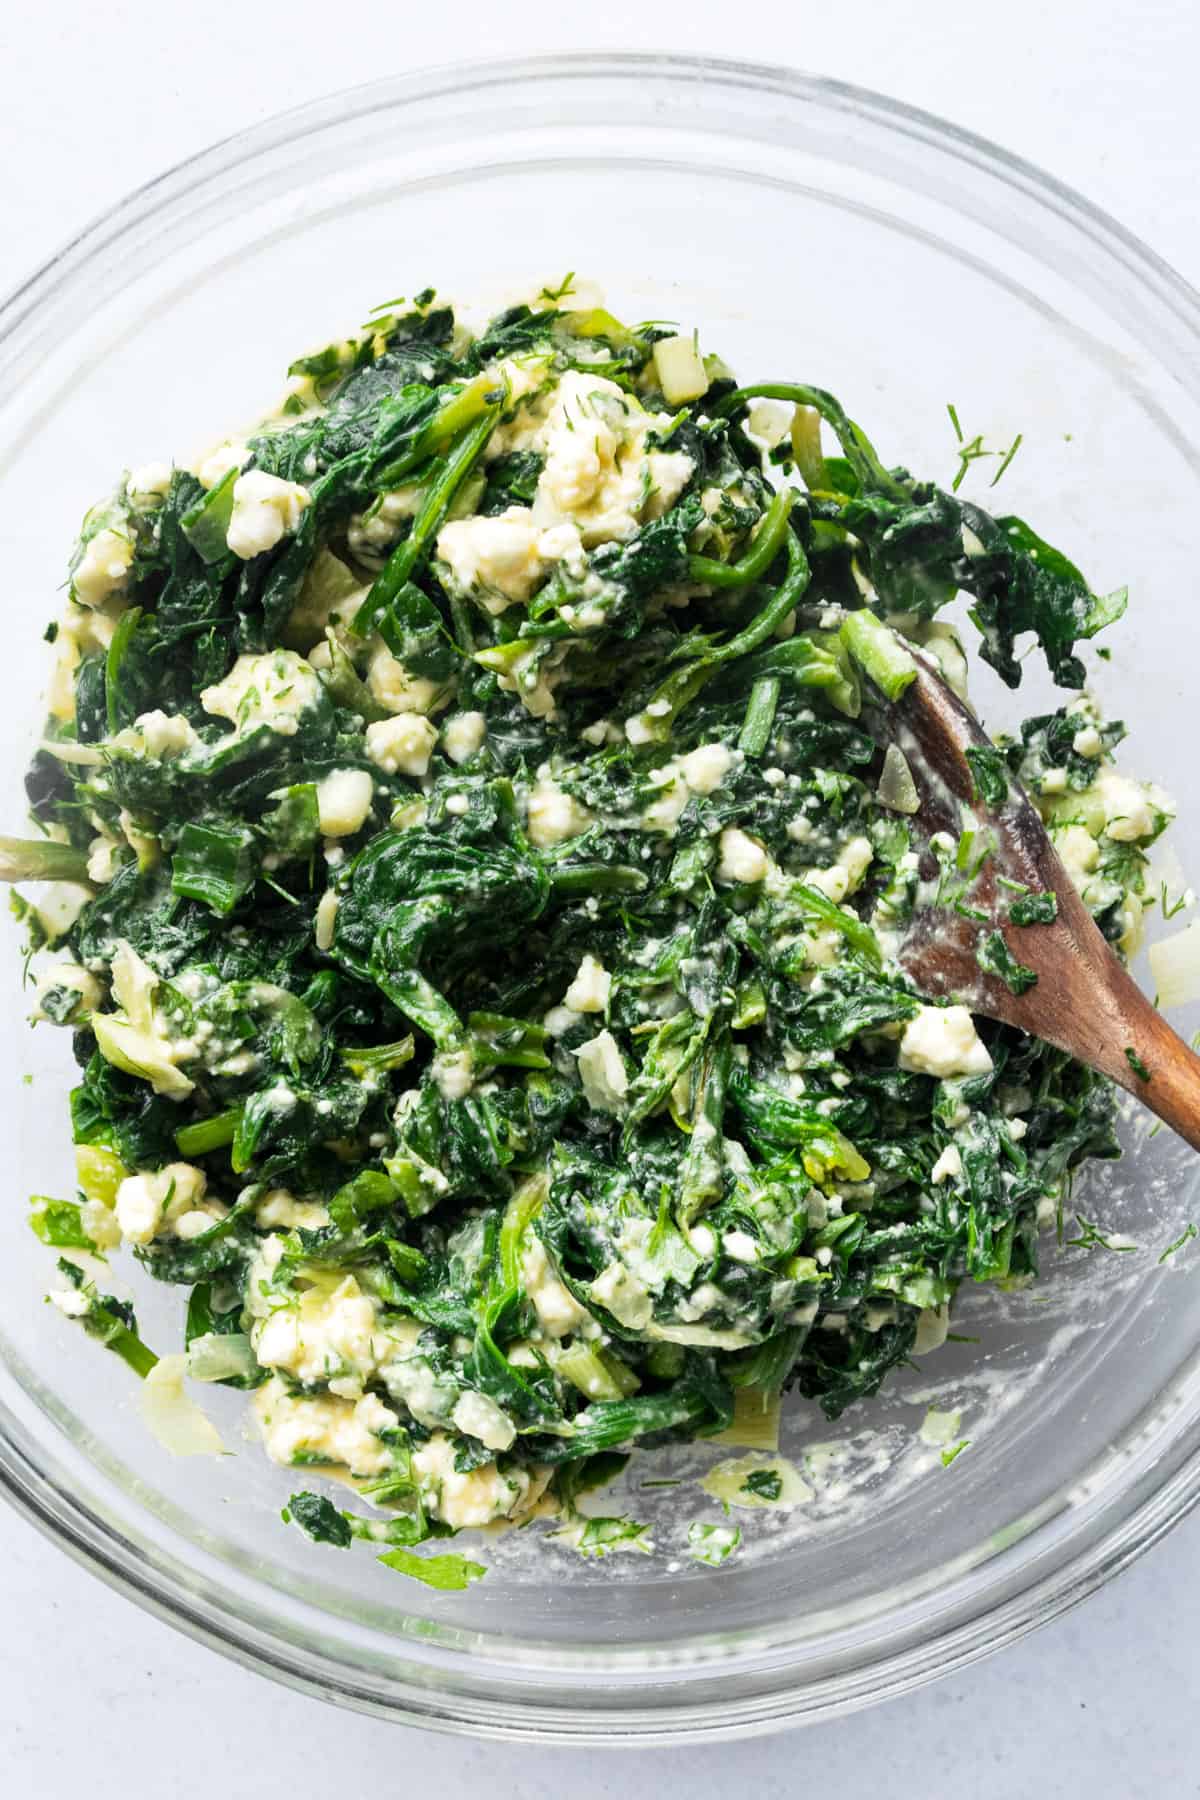
- Cool and Drain: Once cooked, let the spinach mixture cool. Squeeze out any excess moisture. The drier, the better. Place in a large mixing bowl and add the parsley, dill, feta, beaten eggs, flour, salt and pepper. Stir gently to combine.
- Phyllo Prep: Unroll the thawed phyllo dough and cover it with a damp kitchen towel to prevent it from drying out.
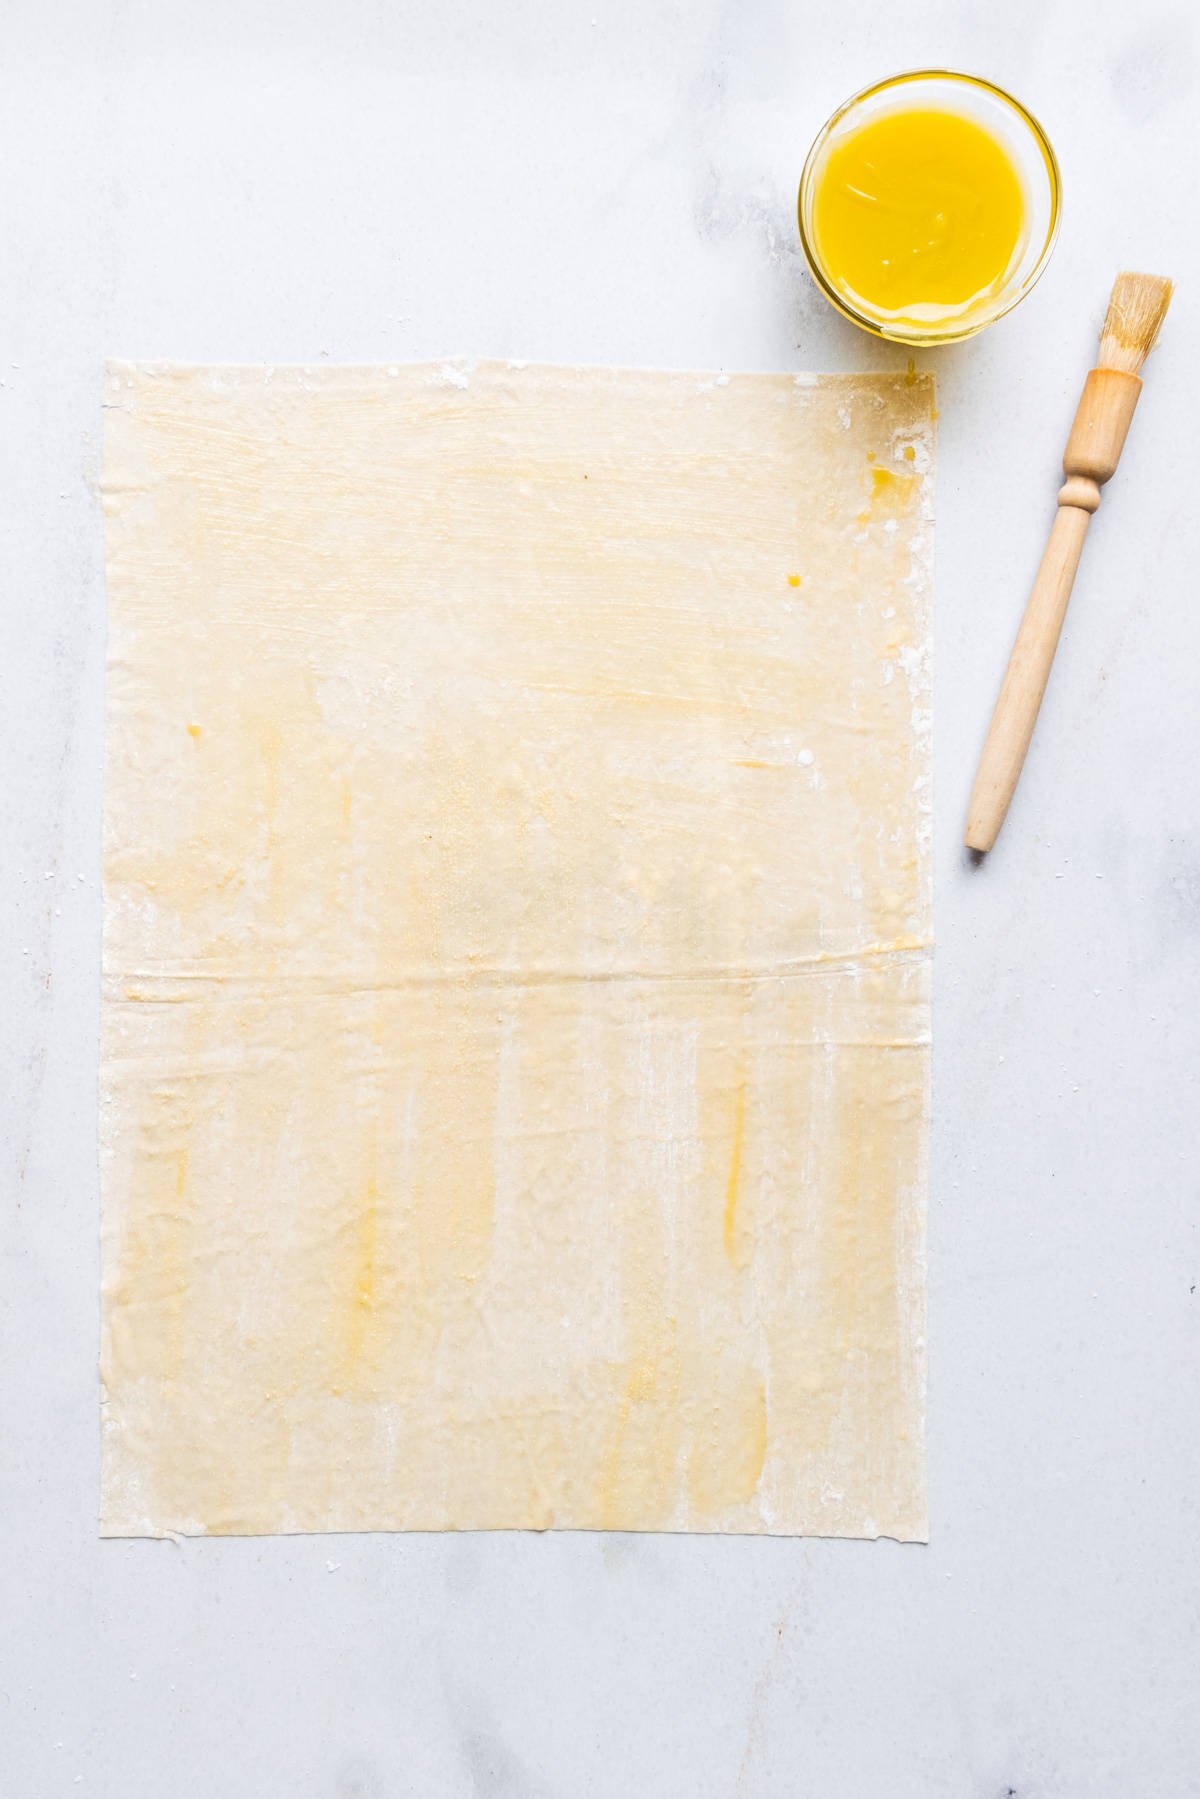
- Butter and Oil Mixture: In a small bowl, mix ½ cup of melted butter with ½ cup of olive oil.
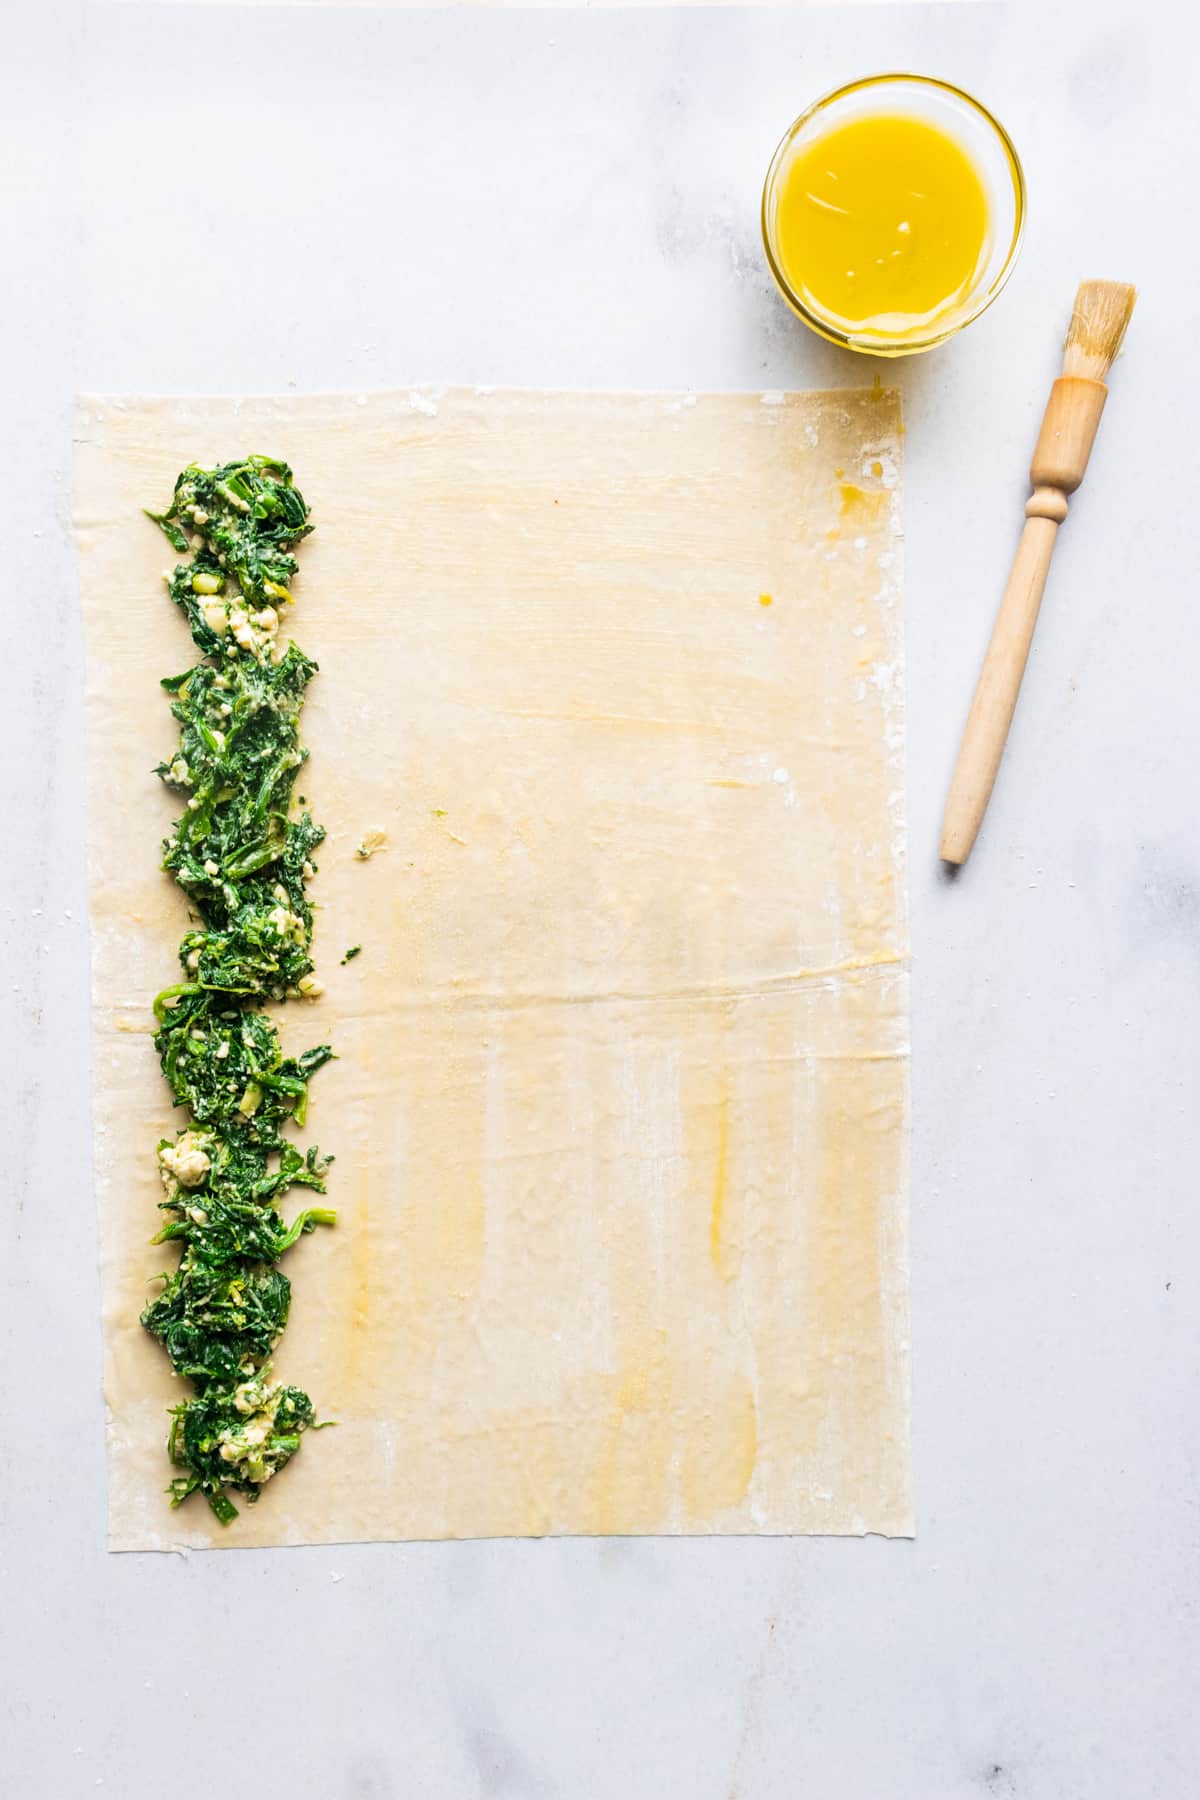
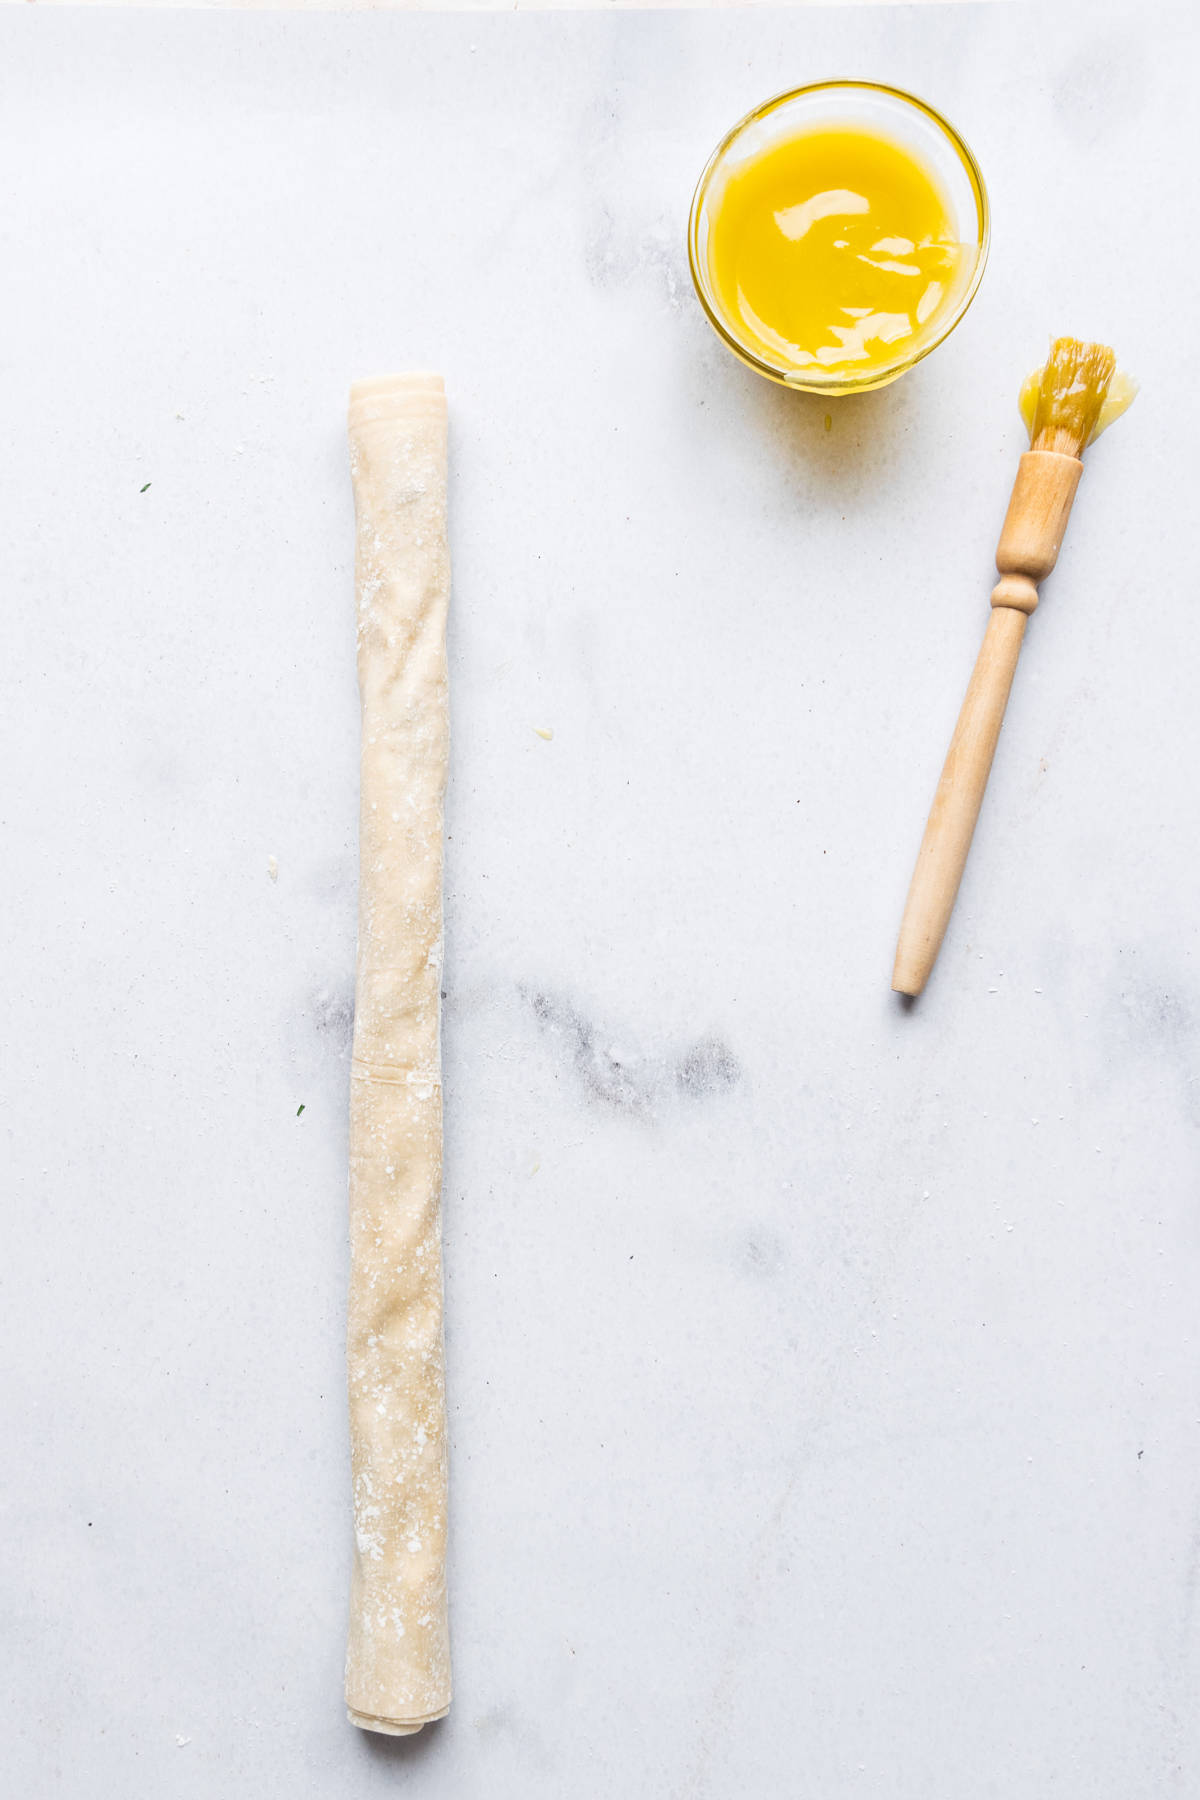
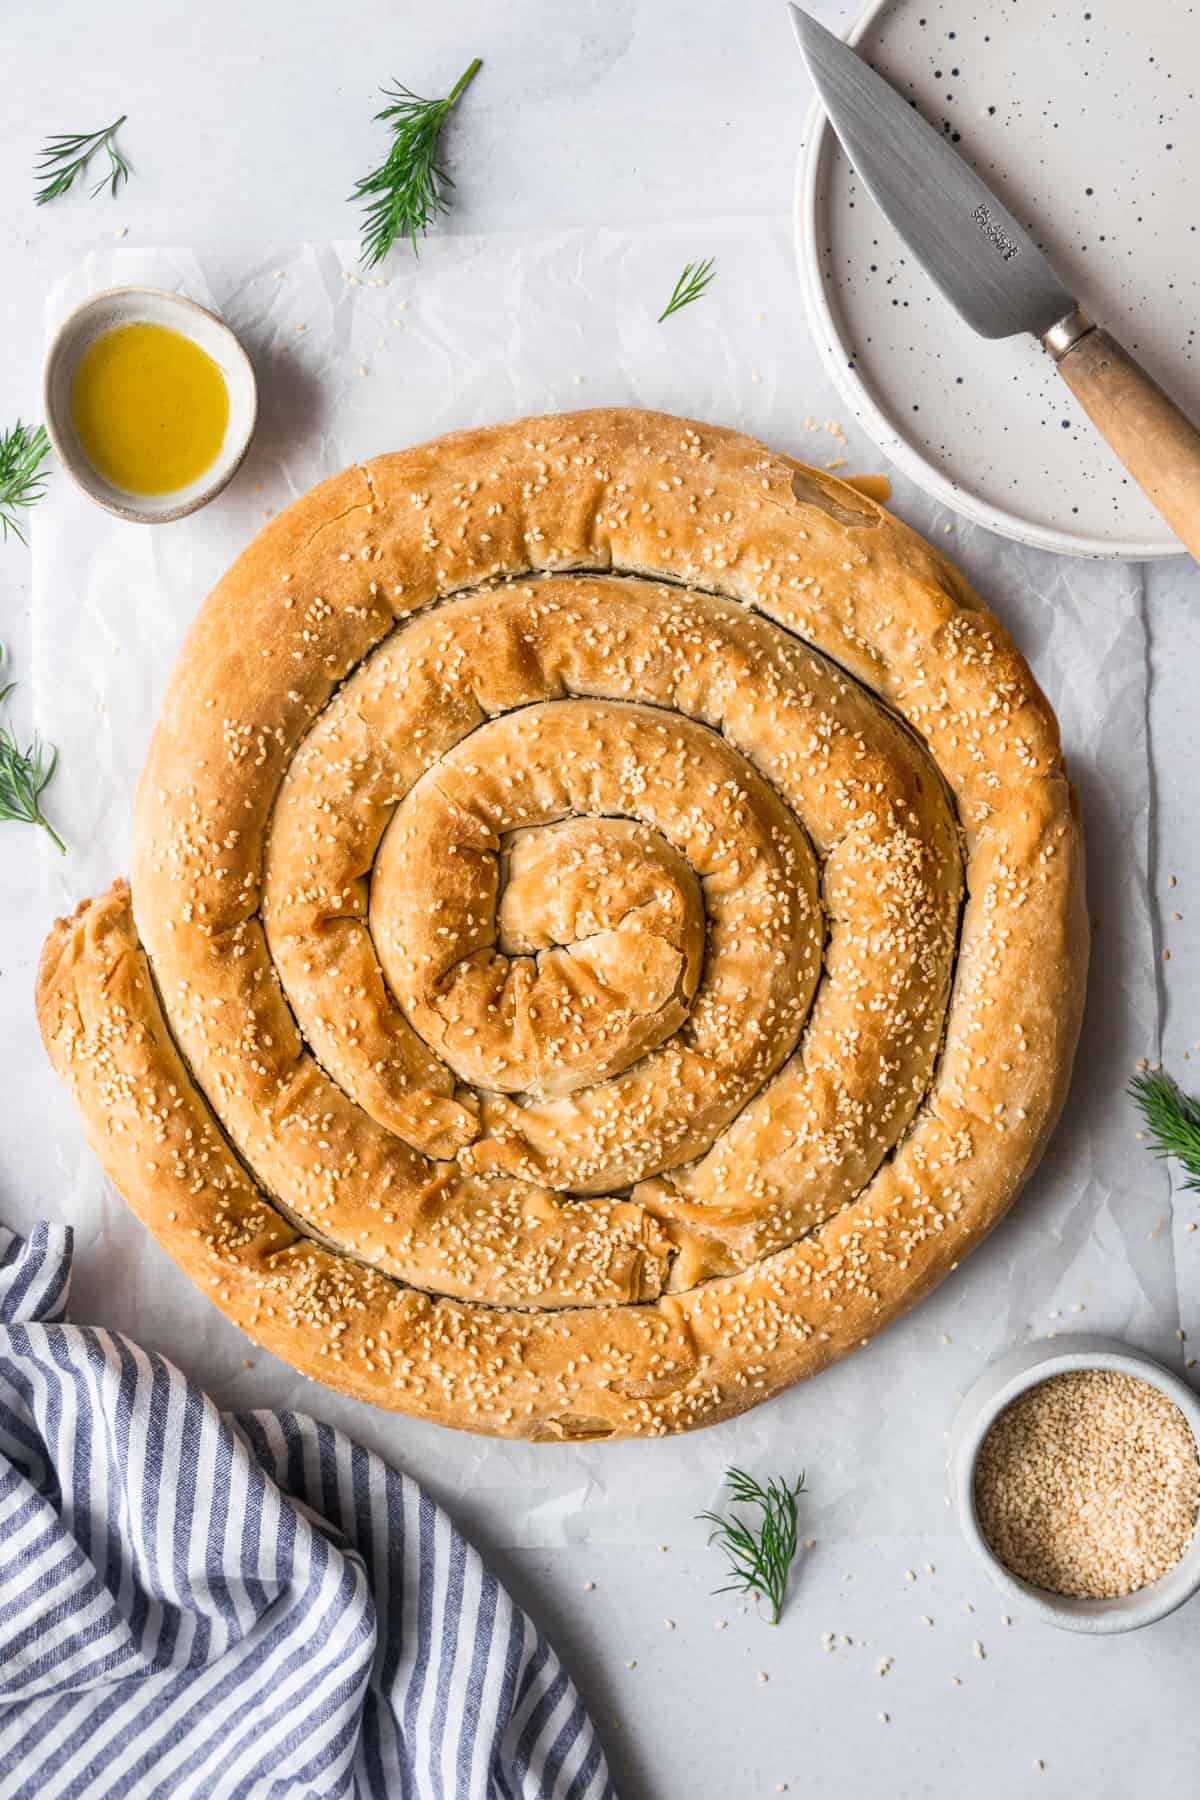
- Assemble: Place a sheet of phyllo dough on your work surface. Brush it generously with your butter and oil mixture. Lay your spinach filling in a straight line along the edge of your phyllo sheet. Carefully roll up the phyllo and spinach into a log. Spiral the log into your baking pan.
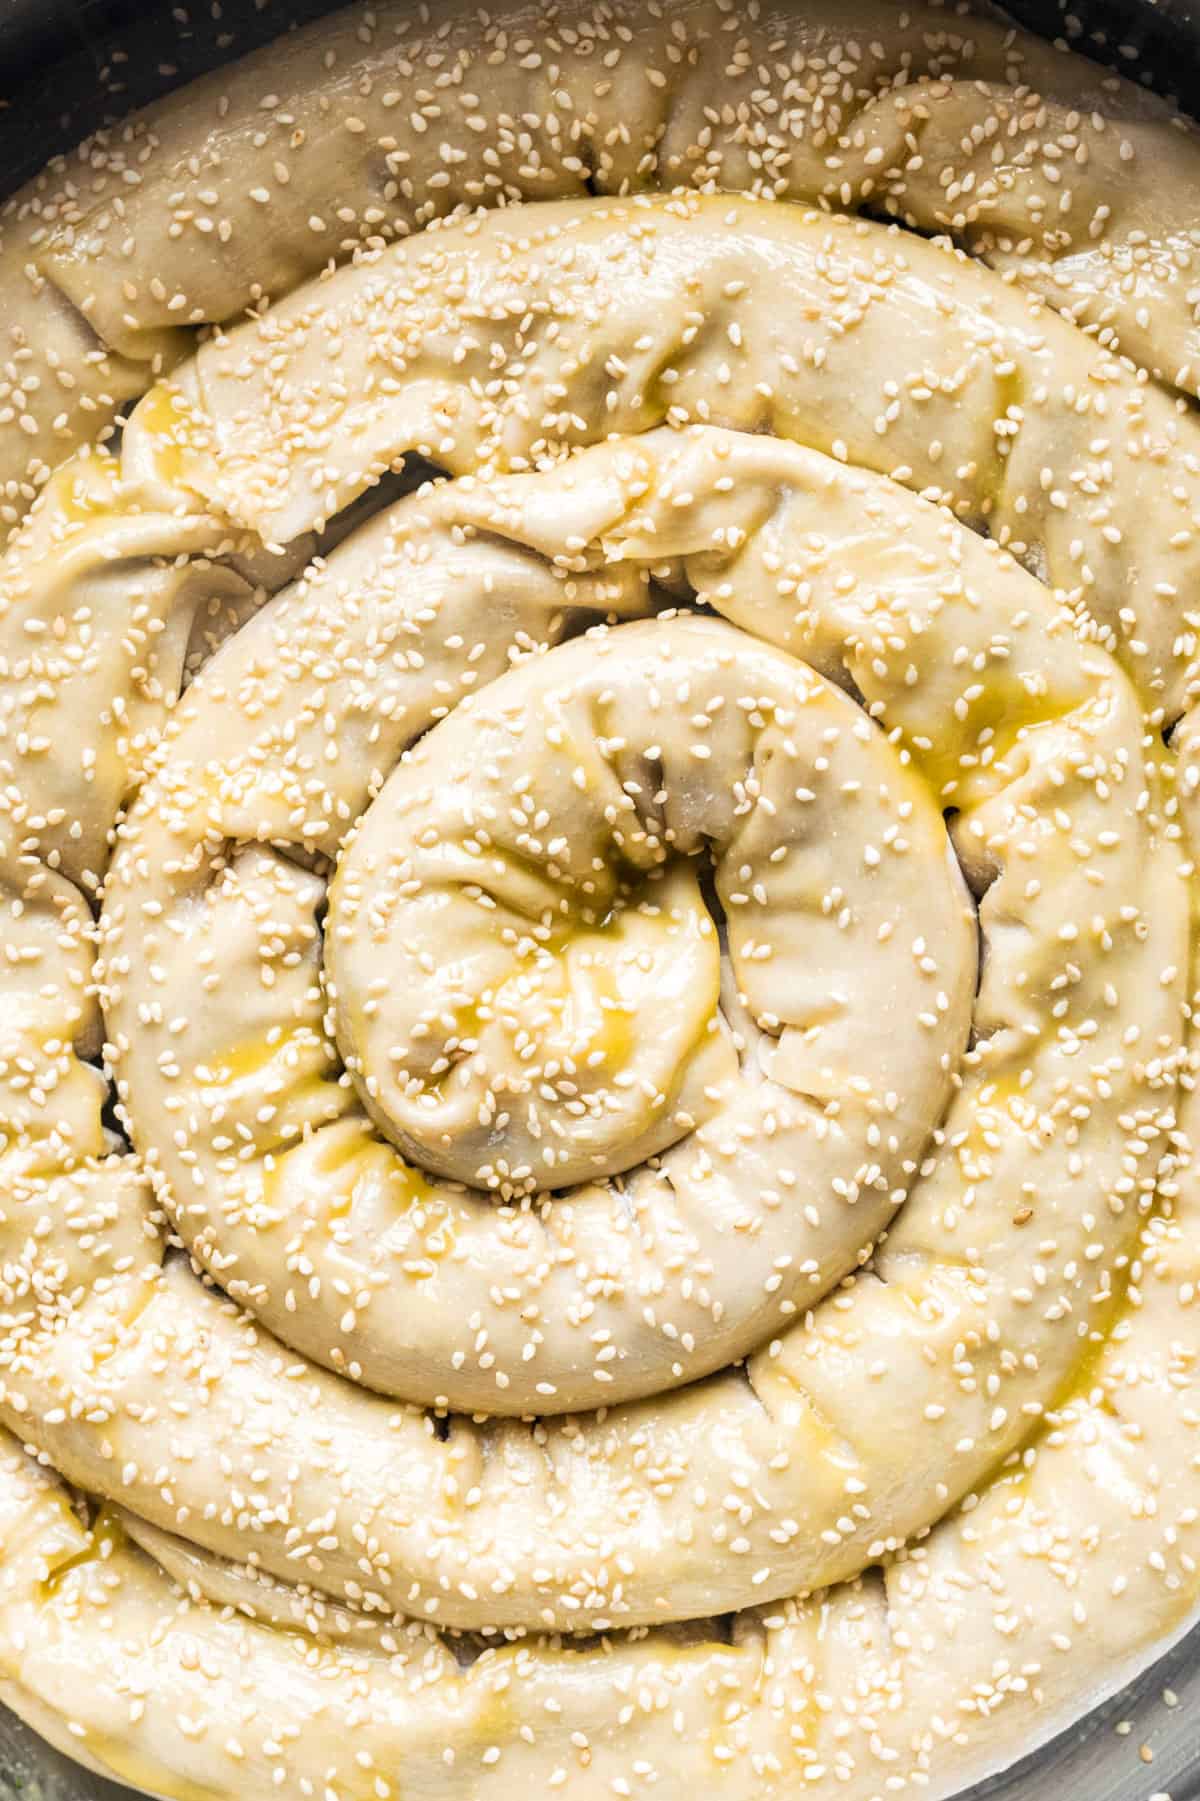
- Topping: Brush the top of the spanakopita spiral with some more of the butter and oil mixture. Optional: Sprinkle sesame seeds for an extra crunch.
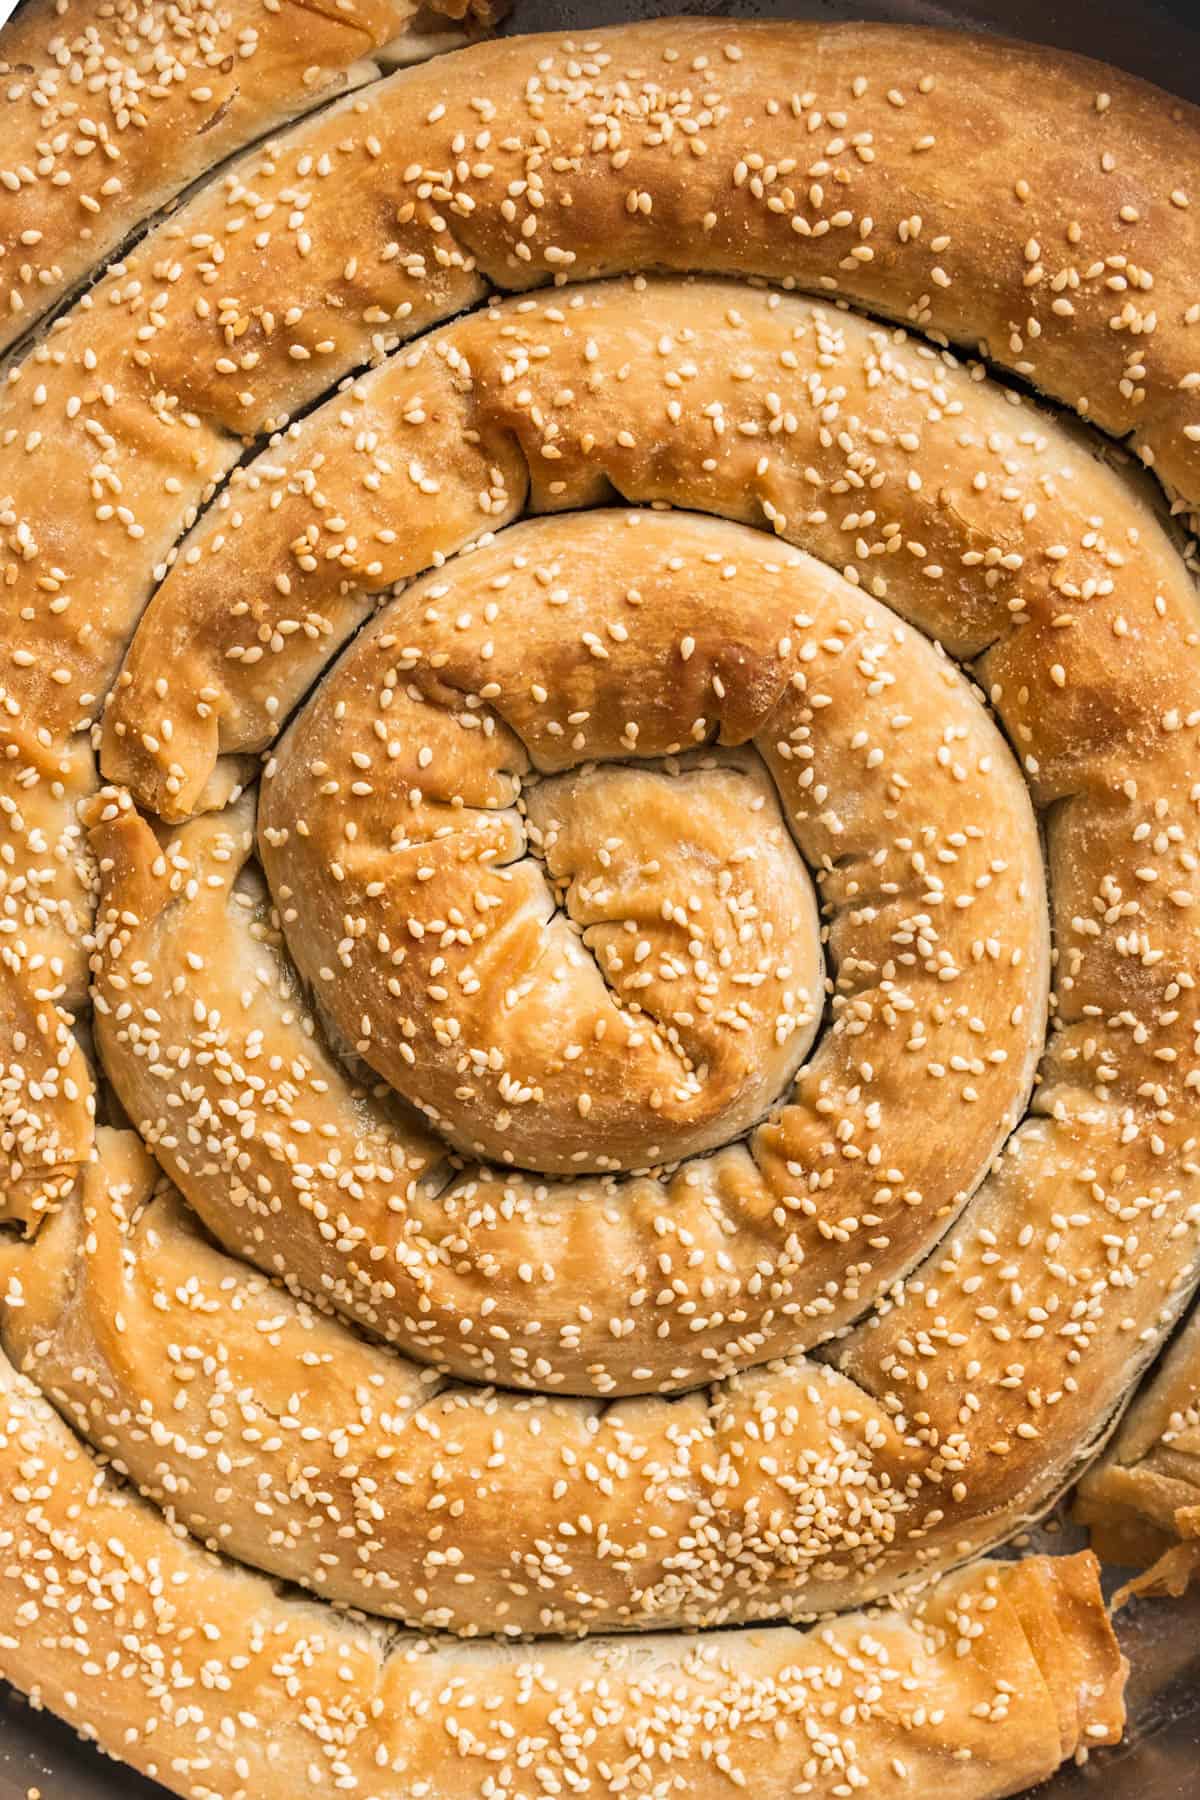
- Bake: Bake at 375°F (190°C) until it turns golden brown. This will take about 45 minutes to 1 hour.
- Cool: Let your spanakopita cool for a few minutes before slicing. This makes it easier to cut through the layers and keeps the filling intact.
Serving Suggestions
- Greek Salad: There’s nothing like pairing your spanakopita with a fresh Greek salad. The acidity of the tomatoes and olives complements the savory pie perfectly.
- With Lemon Zest: For a zesty twist, sprinkle some lemon zest over the top of the spanakopita before serving. It adds a whole new dimension!
- Tzatziki Sauce: Another great side is a bowl of homemade tzatziki sauce. The cool, creamy dip goes amazingly well with the warm, flaky pastry.
- Go Meaty: If you’re looking for something heartier, serve the spanakopita alongside some grilled chicken or lamb. The meat brings a different texture and flavor that pairs well with the spanakopita.
- Veggie Boost: For a veggie-loaded meal, serve your spanakopita with a side of roasted or steamed vegetables like zucchini, eggplant, or bell peppers.
- Beverage Pairing: A glass of crisp white wine or a cold beer can be the perfect accompaniment to bring out the flavors of your spiral spanakopita.
- Mini Spanakopita: If you’re serving this at a party, you can make mini versions using a muffin tin. It makes for an awesome finger food!
How to Store & Freeze
- Storing: Place leftover slices in an airtight container and refrigerate for up to 3 days.
- Freezing: Wrap individual slices in plastic wrap and store in an airtight container. Thaw in the fridge and reheat in the oven for a few extra minutes to recrisp the crust.
How to Reheat Spanakopita
Reheating spanakopita is a breeze, and doing it the right way can help you maintain that delicious, flaky crust and warm, savory filling. Here are a couple of methods:
Oven Method (Recommended)
- Preheat your oven to 350°F (175°C).
- Arrange the spanakopita pieces on a baking sheet. You can line the sheet with parchment paper for easier cleanup.
- Heat for about 10-15 minutes. Check at the 10-minute mark. You’re aiming for a warm center and a crispy, golden-brown crust. If your spanakopita was stored in the fridge, it might take a couple of extra minutes.
Microwave Method
- Place the spanakopita on a microwave-safe plate.
- Heat on medium power for about 1-2 minutes. The time may vary depending on your microwave and the size of the spanakopita piece.Note: While quick and convenient, the microwave will likely make the phyllo pastry a bit soggy.
For the best results, I recommend using the oven method to maintain the delightful texture and flavor of your spanakopita.
expert Tips
- Drain the Spinach: One of the key steps in achieving the perfect texture is removing excess moisture from the cooked spinach. Drain it well to prevent a soggy pie.
- Keep the Phyllo Moist: Phyllo dough dries out quickly. Always keep unused sheets covered with a damp kitchen towel as you work.
- Go Generous on the Layers: For a flaky, golden-brown crust, make sure to generously brush each sheet of phyllo dough with the melted butter and olive oil mixture.
- Spiral Technique: When rolling up the filled phyllo into a log for the spiral shape, do it carefully to ensure the filling is evenly distributed. Coil the log gently into a spiral shape in your baking pan.
- Check as You Bake: Ovens can vary, so start checking your spanakopita around the 35-minute mark. It should be golden brown and crisp when done.
- Rest Before Slicing: Let your spanakopita rest for a few minutes before slicing. This makes it easier to cut through the layers and keeps the filling intact.
Frequently Asked Questions
Yes, but make sure to thaw and drain it well to remove excess moisture.
You could omit the feta, but it will change the final flavor.
Excess moisture from the spinach filling is usually the culprit. Make sure to drain it well.
After you lay out your spinach filling on the phyllo sheets, roll it up like a log. Then, carefully coil the log into a spiral shape in your baking pan before baking.
Absolutely! You can prepare the spanakopita and store it covered in the fridge or freezer. When you’re ready, remove from the refrigerator or freezer and bake. You may need to increase the baking time.
More Greek Recipes
If you loved this authentic spanakopita recipe, check out these other great recipes.
If you make this recipe, take a photo and tag #bakedambrosia on Instagram and Facebook so that I can see your creations and feature them on Instagram! To stay up to date with the latest recipes, follow Baked Ambrosia on Pinterest, Facebook, Instagram, and Youtube. ♡
Spanakopita Recipe (Greek Spinach and Feta Pie)
Ingredients
- 1 tbsp olive oil
- 1/2 small onion diced
- 1 small bunch green onions chopped
- 2 lbs spinach
- 3 tbsp parsley finely chopped
- 3 tbsp dill finely chopped
- 8 oz feta crumbled
- 2 eggs lightly beaten
- salt and pepper to taste
- 1 package phyllo dough thawed
- 1/2 cup olive oil
- 1/2 cup butter melted
- 2 tbsp sesame seeds optional
Instructions
- Preheat the oven to 375 degrees F.
- Heat 1 tbsp olive oil in a large skillet over medium high heat. Cook onion 4-5 minutes or until soft and translucent. Add spinach and cook until wilted (you may need to add the spinach in batches). Once the spinach has cooked down, remove from heat and allow to cool.
- Once the spinach/onion has cooled, squeeze out as much water as you can. Place in a large mixing bowl and add the parsley, dill, feta, beaten eggs, flour, salt and pepper. Stir gently to combine.
- In a small bowl, mix together oil and melted butter.
- Remove the phyllo sheets from the package and lay them out on a flat surface. Cover them with a clean dish towel so that they do not dry out. Use a brush to grease a 12-inch round pan with the oil and butter mixture.
- To assemble the pie, lay one sheet of phyllo out (keep the longer side in front of you). Lightly brush the sheet with olive oil/butter mixture and add enough filling to cover the width of the sheet. Roll the sheet away from you, lightly pressing, so that the filling is packed. Then, roll it into a spiral and place it in the center of your prepared baking pan. Continue until you have used up all of the filling and phyllo sheets. Roll each one around the previous one, to make the spiral larger.
- Once you have used up all of the filling, brush the top with olive oil/butter mixture and sprinkle with sesame seeds (if using). Bake for 45 minutes to 1 hour, or until light golden brown.



Wow, this is going into my favorites. So rich and flavorful. Served it at a family gathering and everyone loved it!
That’s wonderful to hear, Chris! It’s always rewarding when a recipe becomes a favorite. Thanks for the positive feedback!
I really liked this, but my filling was a tad too wet. Maybe I’ll try to drain the spinach a bit more next time. Taste was on point though!
Natalie, thank you for the feedback! Extra draining or a squeeze of the spinach should help next time. Happy you enjoyed the flavor!
I appreciate the detailed instructions and tips provided in the recipe. It turned out perfectly flaky and delicious! A huge hit at my gathering.
We’re thrilled to know the spanakopita was a hit at your gathering!
Simply amazing! I had never made a spanakopita before, and your recipe was easy to follow and tasted authentic.
Greg, thank you for your kind words!
Made this for a potluck and it was gone in minutes! Such a big hit and so simple to prepare. Thanks for sharing!
Vanessa, hearing that it was a hit at your potluck just made our day! Thanks for choosing this recipe to share with others!
I used a mix of kale and spinach, and it worked wonders! Definitely recommend!
Using kale is a fantastic twist. Thanks for sharing your take on it!
Thank you for this wonderful recipe. The instructions were clear and the end result was truly delicious. Can’t wait to share it with my friends!
Thank you, Mia! It’s always rewarding when a recipe turns out well and can be shared with friends. Happy cooking!
This was super tasty, but I’ll probably add some leeks next time to enhance the flavor profile. A fantastic base recipe!
Anita, adding leeks would be delicious!
This turned out really nice, although I’ll probably add garlic next time. Great starting point to tweak according to personal preference
Alex, thanks for your feedback! Absolutely, tweaking according to personal preference is always encouraged. Glad you enjoyed it!
First time making spanakopita and it turned out surprisingly well! Your step-by-step guide was really easy to follow. Will be making it again for sure.
Thank you, Josh! We’re glad it turned out well for you!
A must-try for anyone who loves Greek cuisine. It was delicious and my house smelled amazing while it was baking!
Thank you, Leo! The aroma of baking spanakopita is indeed irresistible. Glad you enjoyed the culinary journey!
Great recipe but I had to cook mine a bit longer to get that golden crispiness on top. Maybe it’s just my oven. But the flavor was spot on!
Laura, thank you for the feedback! Oven variances can be tricky but glad it still turned out great with a bit more cooking time!
Delicious! I was a bit skeptical at first but it turned out fantastic. My kids, who are usually picky eaters, asked for seconds.
Rachel, it’s wonderful that even the kids enjoyed it! Always a win when we can please little ones. Thank you for trying it out!
Excellent recipe! I substituted ricotta for feta since it’s what I had on hand, and it was delicious.
Great recipe!! I have made this several times and it’s yummy!
I add fresh parsley and dried oregano and some pulled pepper to add more flavour 🙂