Peanut Butter Filled Chocolate Cookies Recipe (Video)
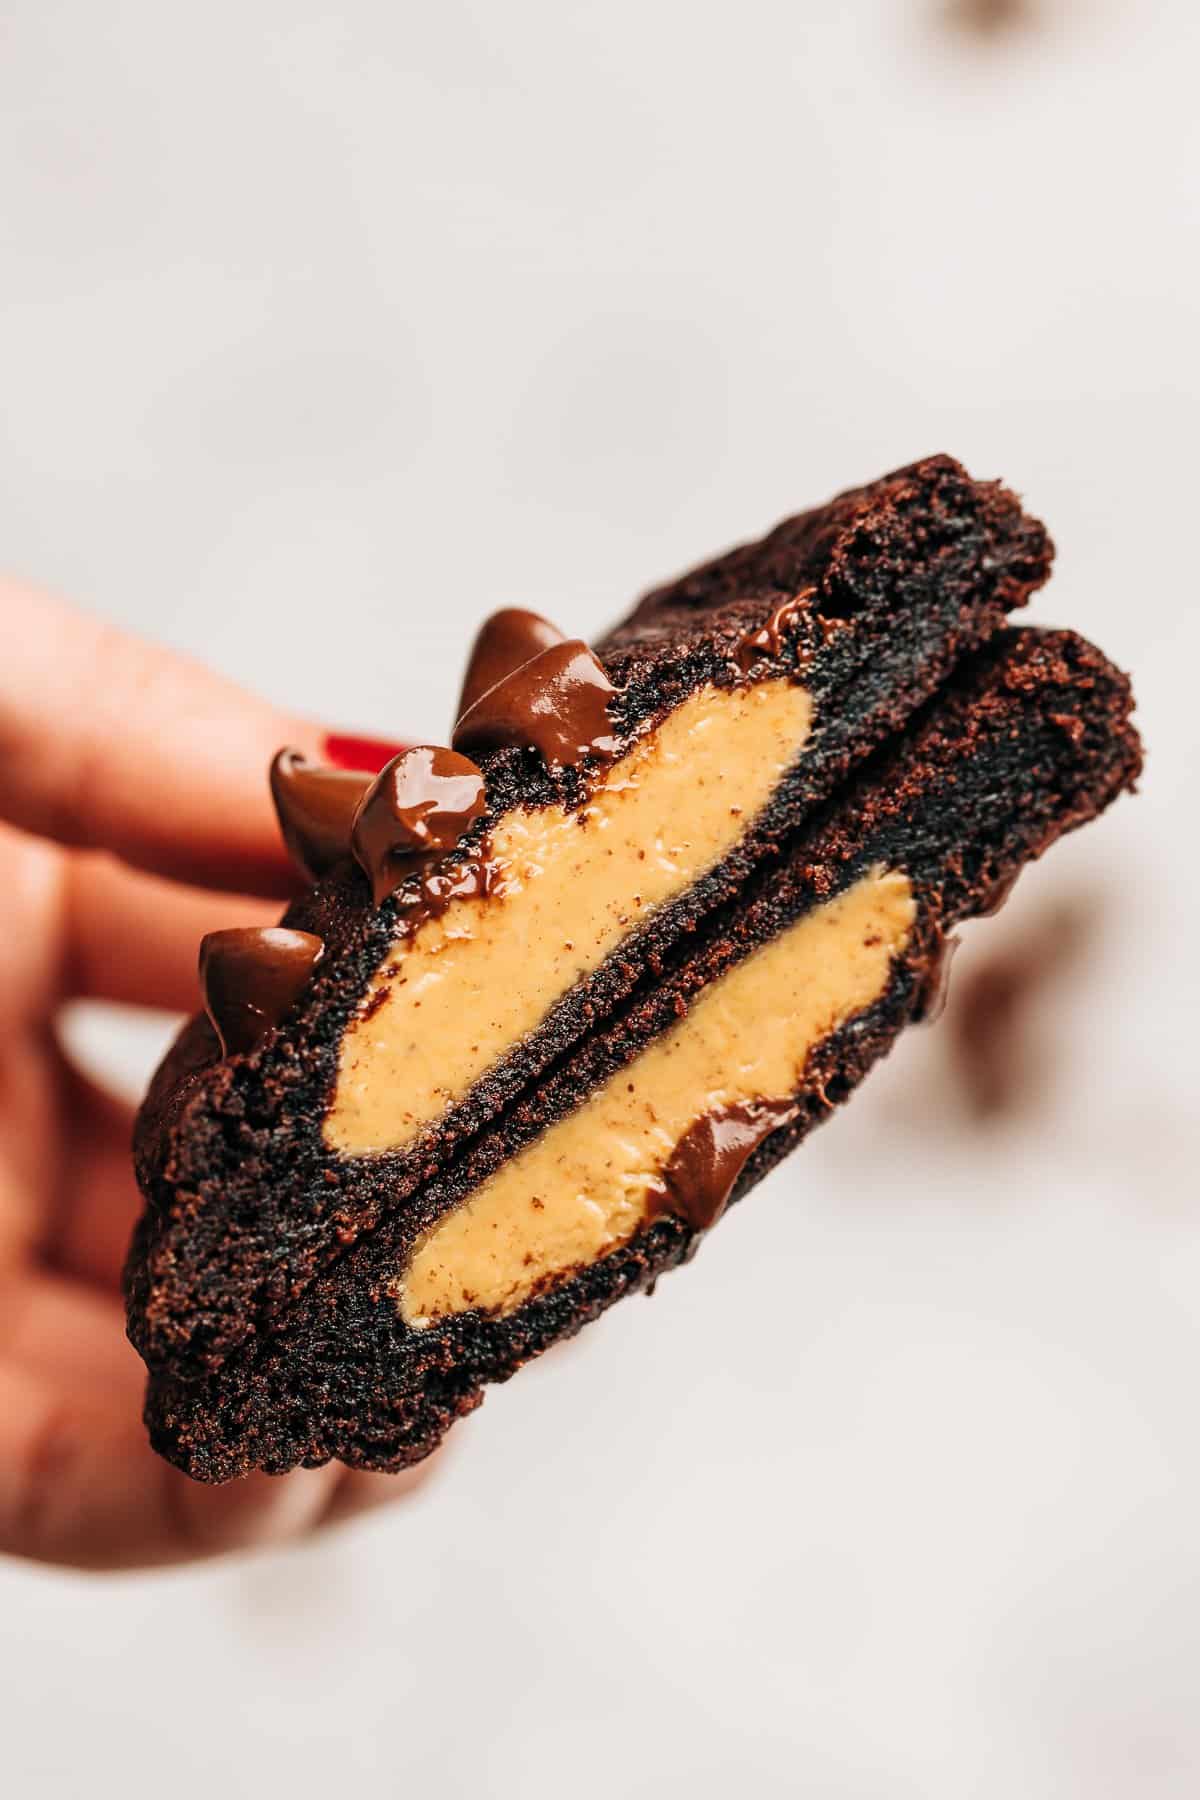
Thick and chewy chocolate cookies are stuffed with a peanut butter filling. These Peanut Butter Stuffed Chocolate Cookies are rich, decadent, and dangerously addicting!

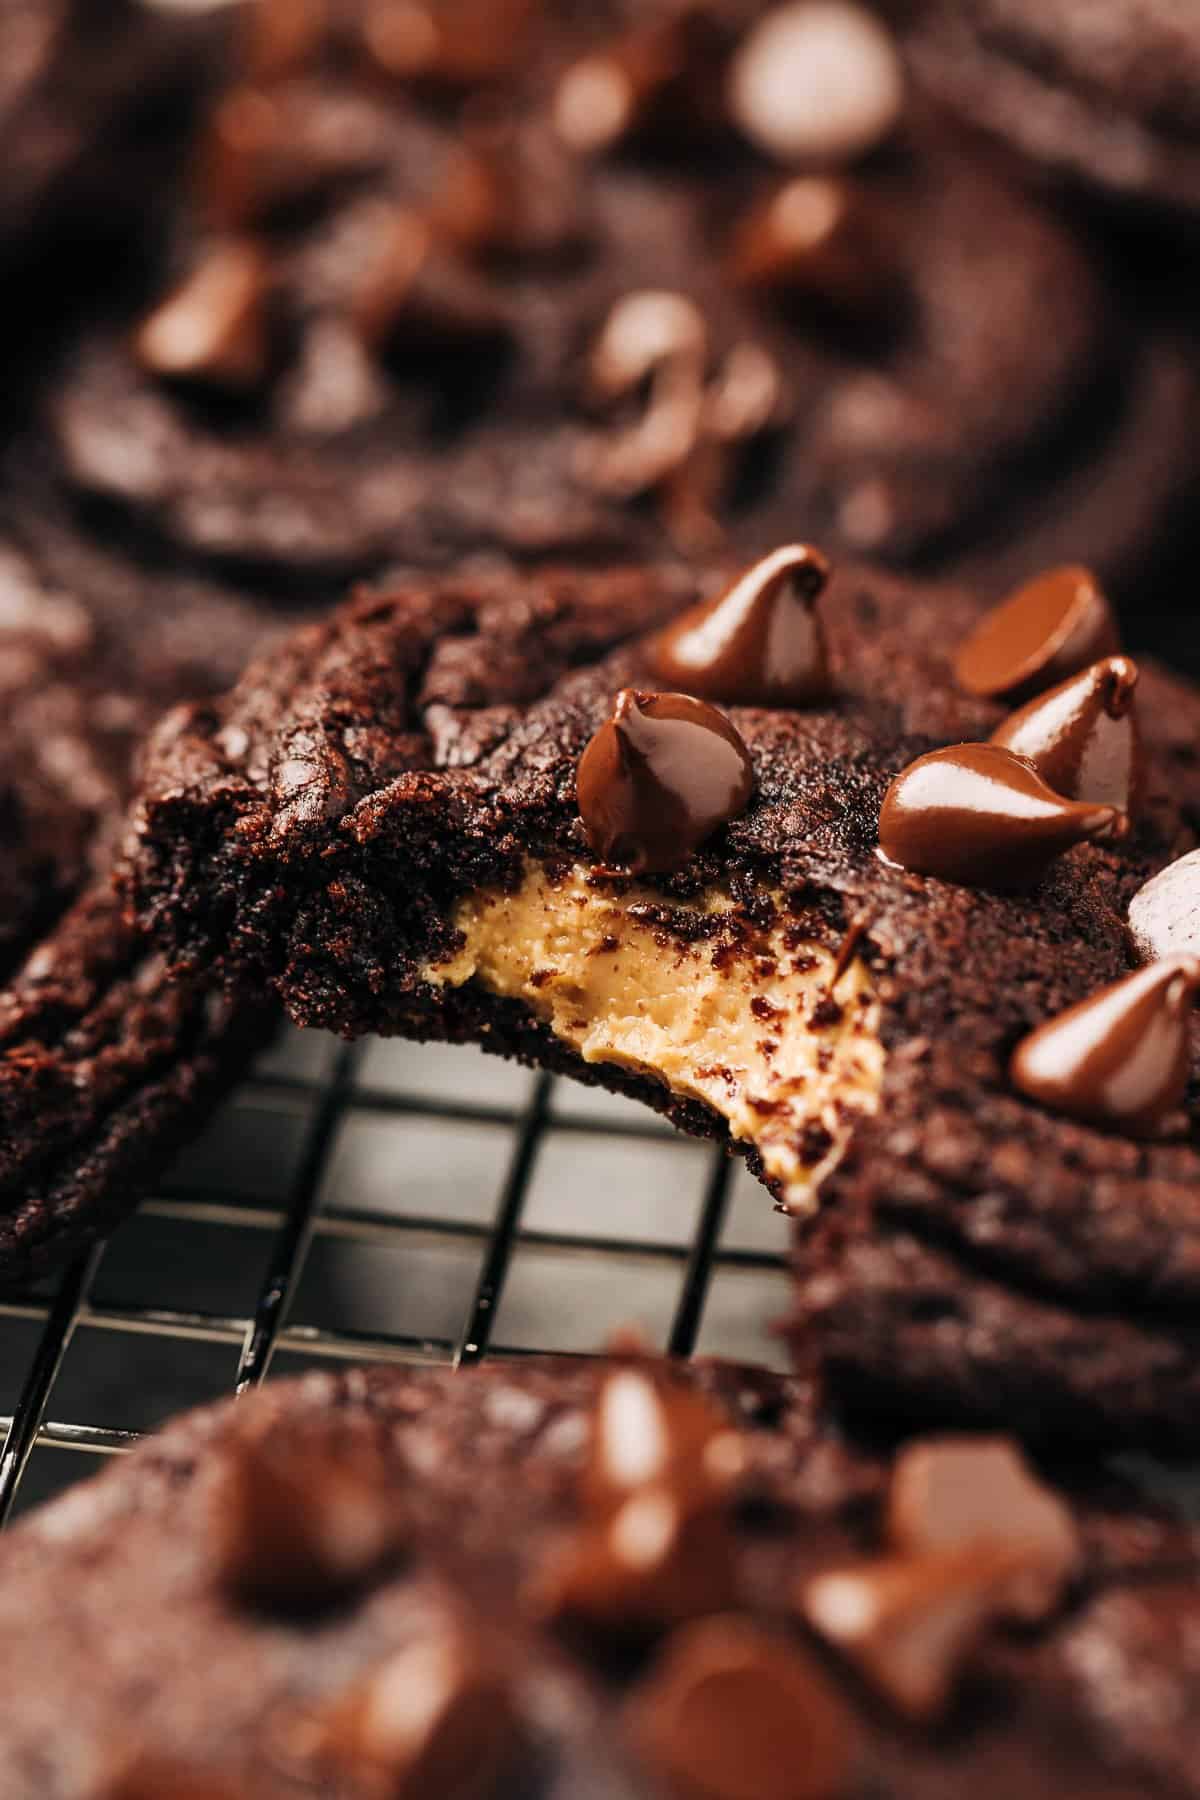
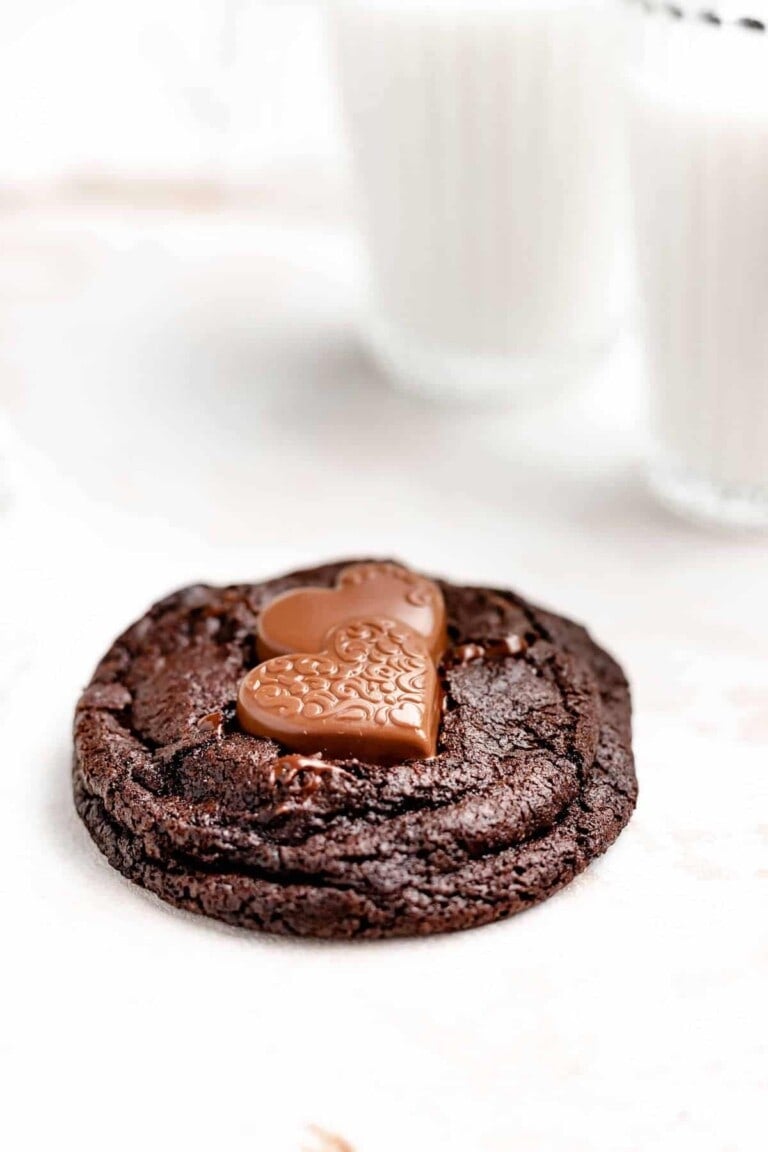
Chocolate and peanut butter are the ultimate combination. These Peanut Butter Filled Chocolate Cookies are thick, chewy, rich, chocolatey, with a delicious peanut butter center. The peanut butter filling stays soft and gooey in the center, which pairs perfectly with the thick and chewy chocolate cookies. Enjoy these cookies with a tall glass of milk!
These Peanut Butter Stuffed Chocolate Cookies are delicious and easy to make. They are like a Reese’s peanut butter cup in cookie form. If you’re looking for other chocolate/peanut butter desserts, try these Peanut Butter Millionaire Bars or these Peanut Butter Oatmeal Chocolate Chip Cookies.
Our Favorite
Easy Cookie Recipes
Why You’ll Love This Recipe
Ingredient Notes
- Creamy Peanut Butter: For the peanut butter filling, you will need creamy peanut butter. Make sure that it is the drippy, natural kind with only one ingredient; peanuts!
- Powdered Sugar: Sweetens and holds together the peanut butter filling.
- All-Purpose Flour: The base for the cookie dough.
- Cocoa Powder: Preferably dark cocoa, for a deep chocolate flavor.
- Baking Soda: Helps the cookies rise.
- Salt: Balances the sweetness.
- Butter: Room temperature, for a smooth dough.
- Brown Sugar & Granulated Sugar: Adds sweetness and depth.
- Egg: Binds the ingredients together.
- Vanilla Extract: Enhances the flavor.
- Chocolate Chips: For topping, adding a bit of texture.
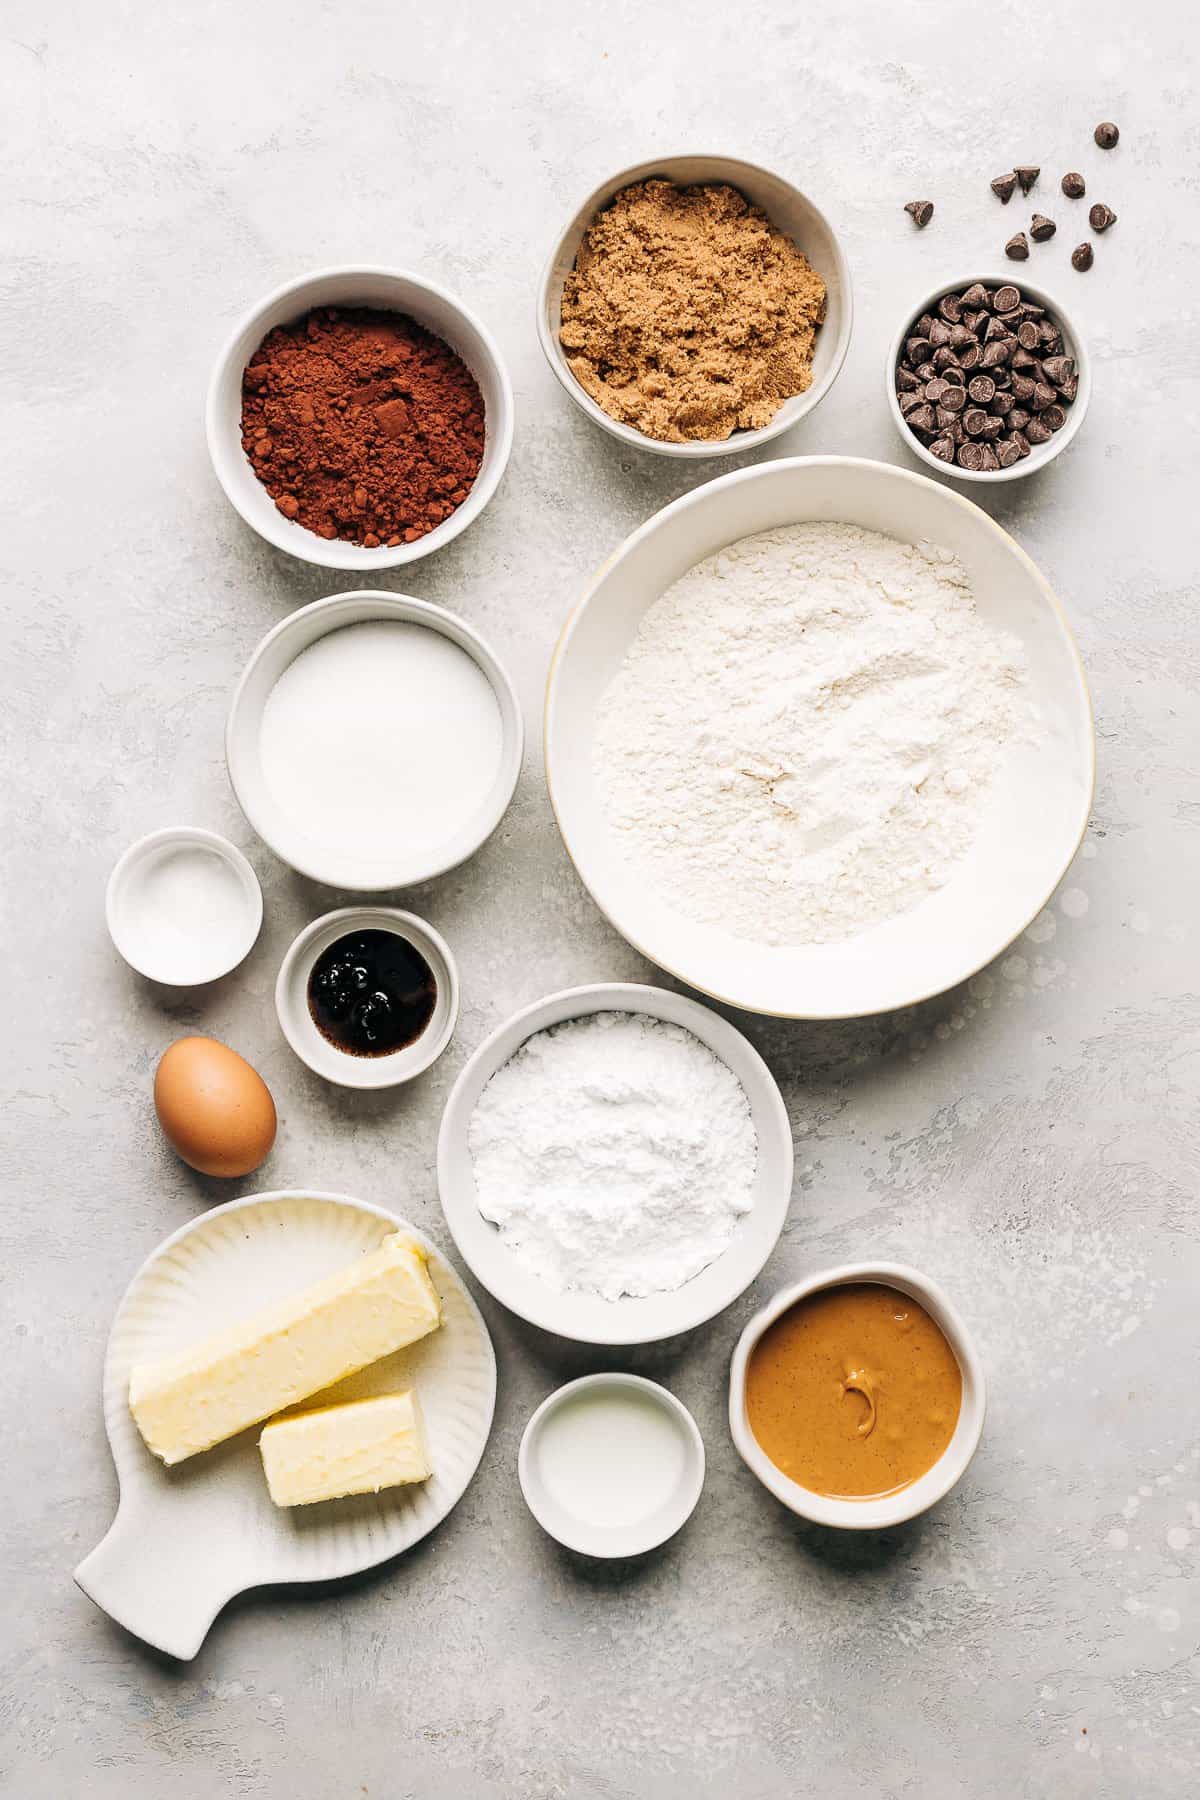
Be sure to check out the recipe card for the full ingredient list below
Step by Step Instructions
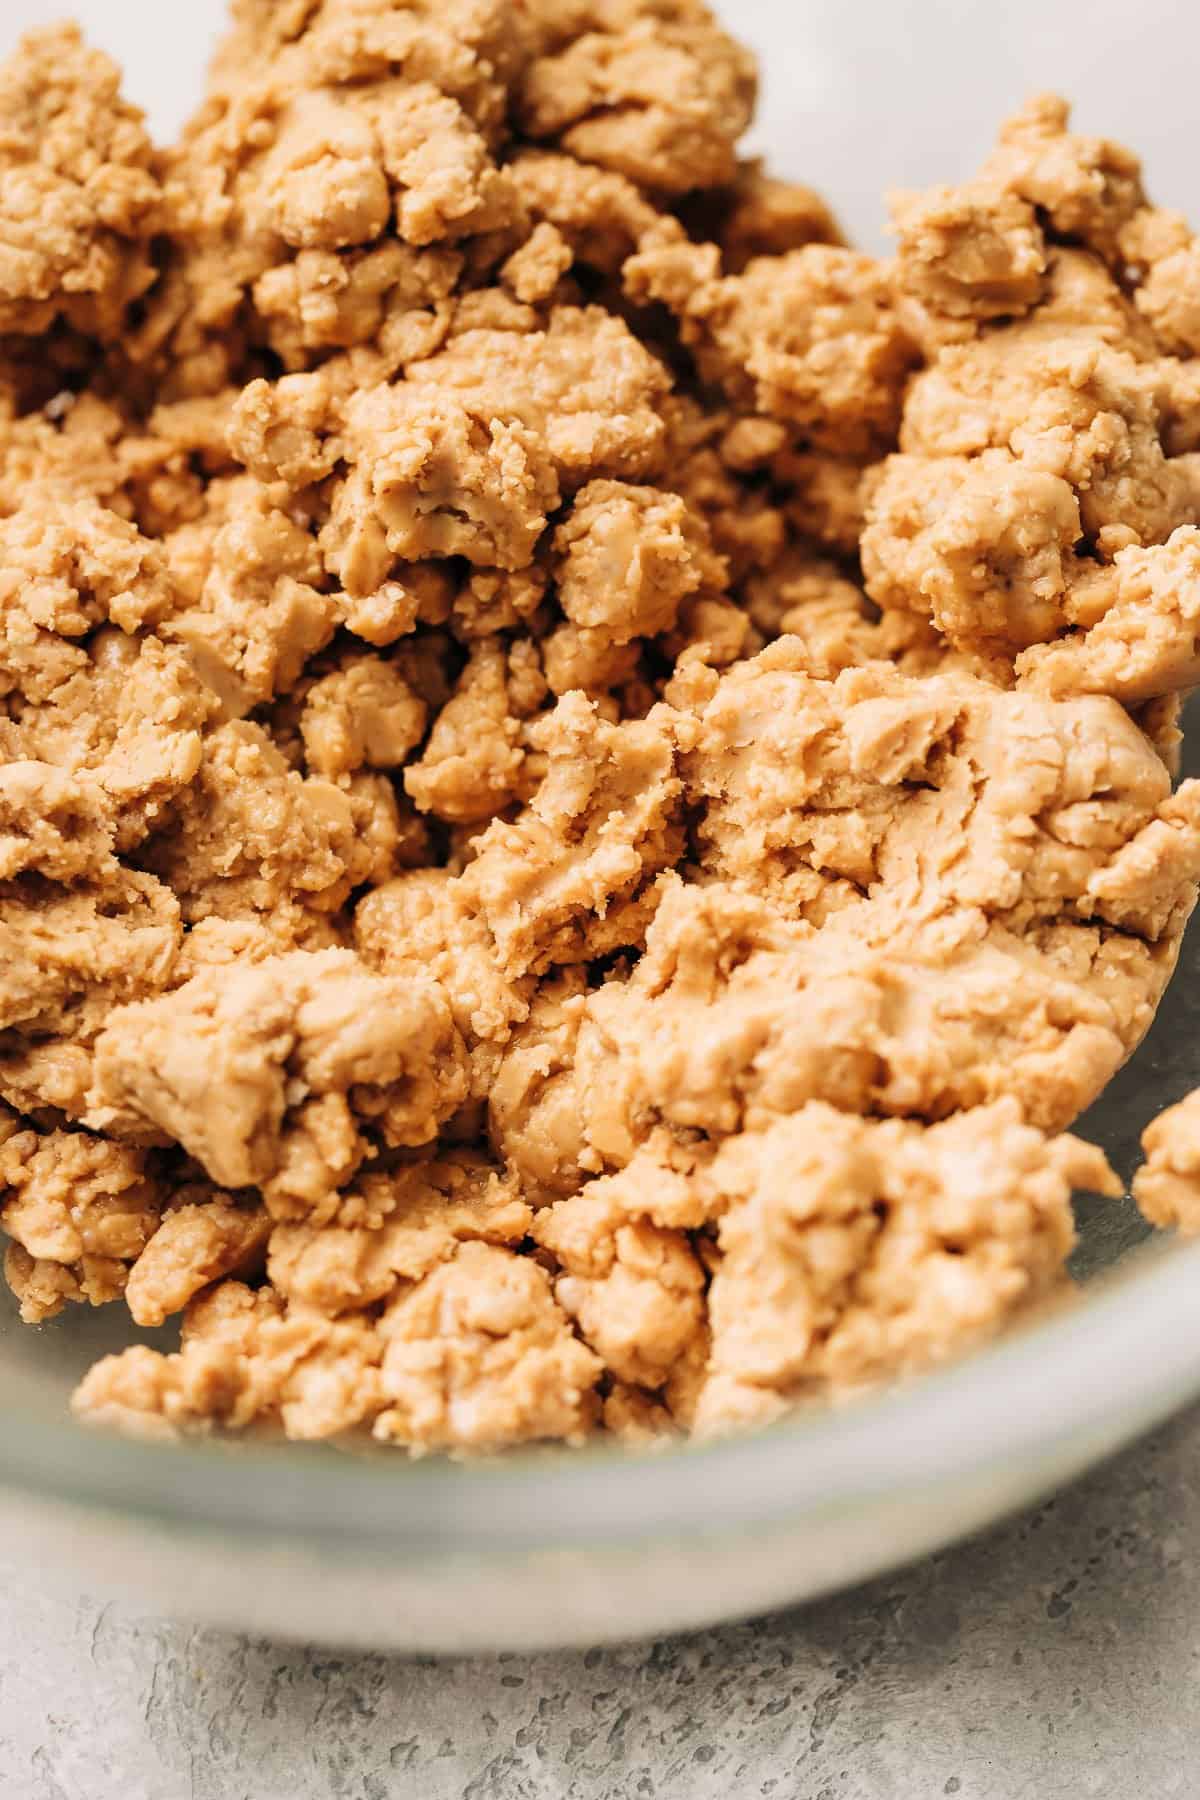
Mix peanut butter and powdered sugar in a small bowl.
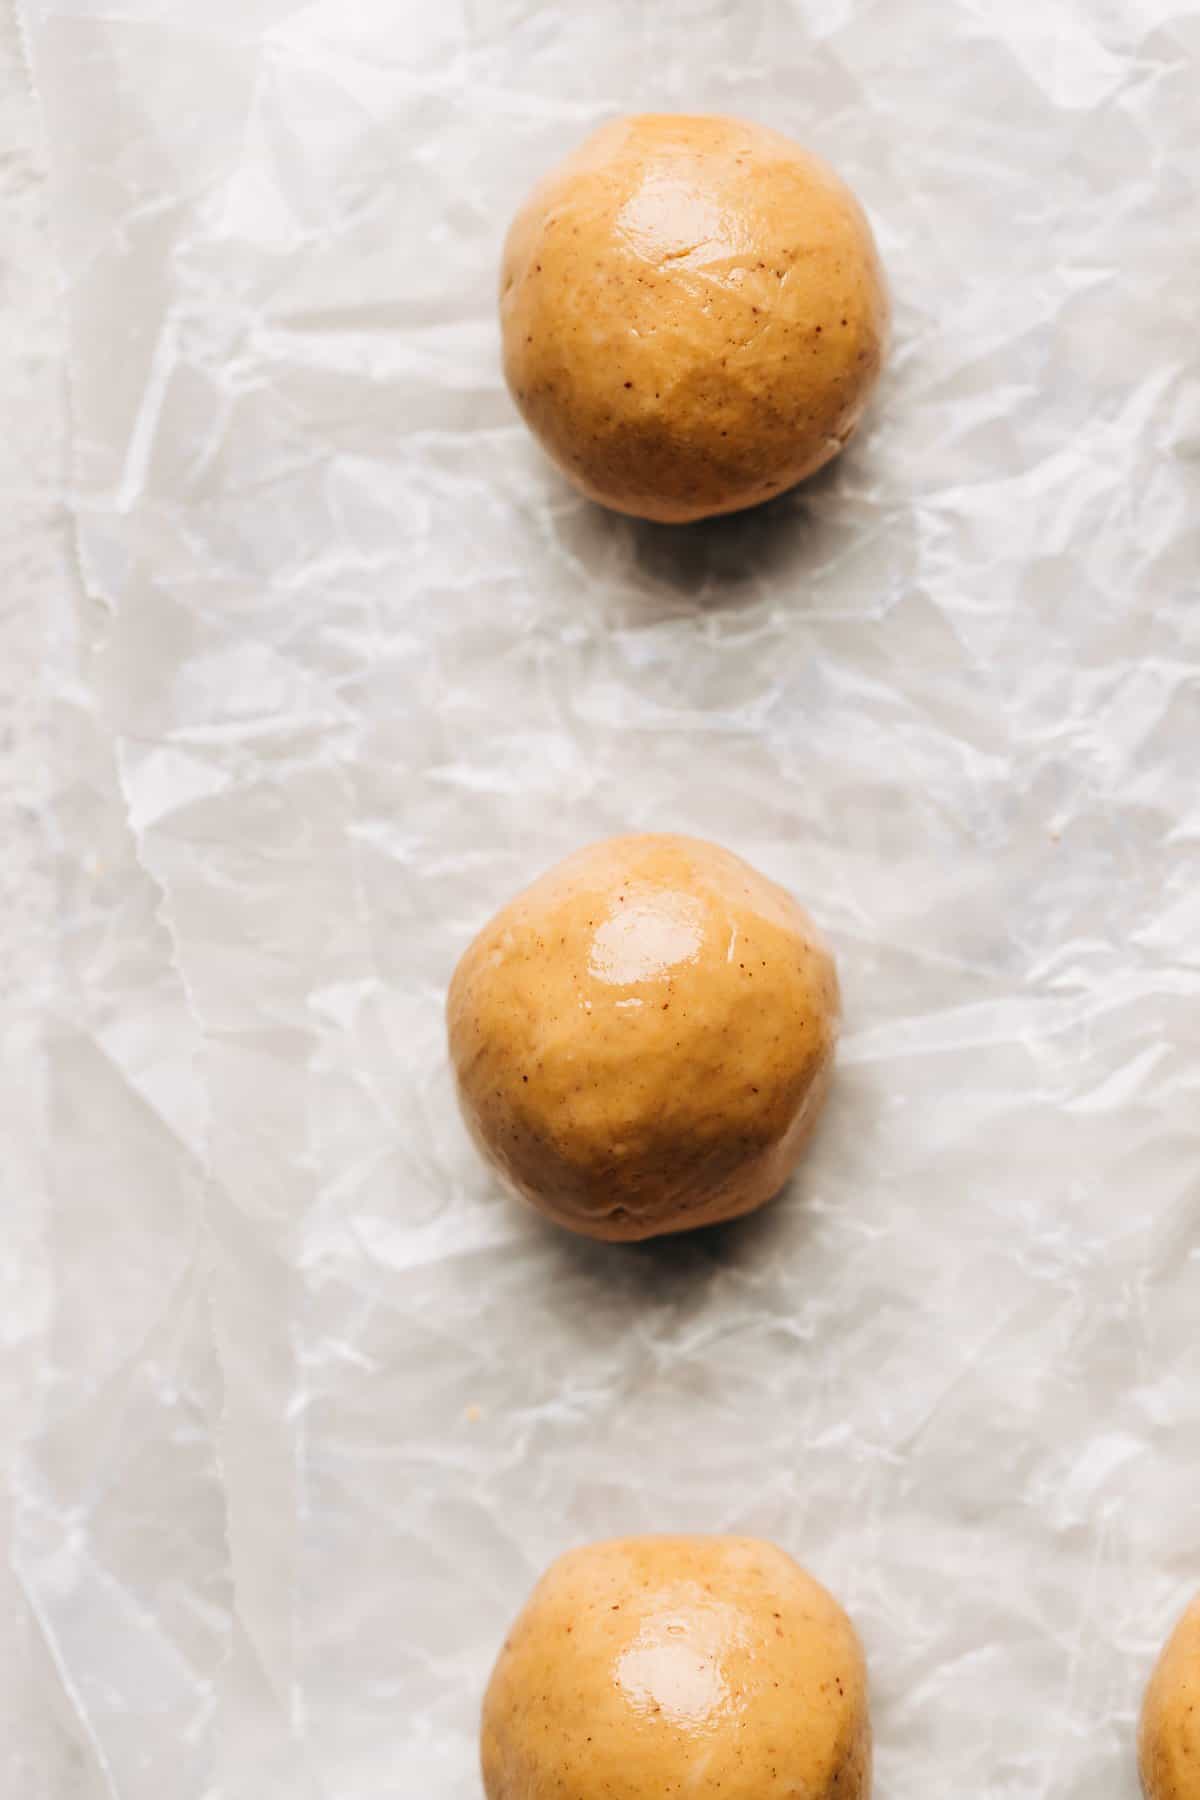
Roll into peanut butter balls and set aside.
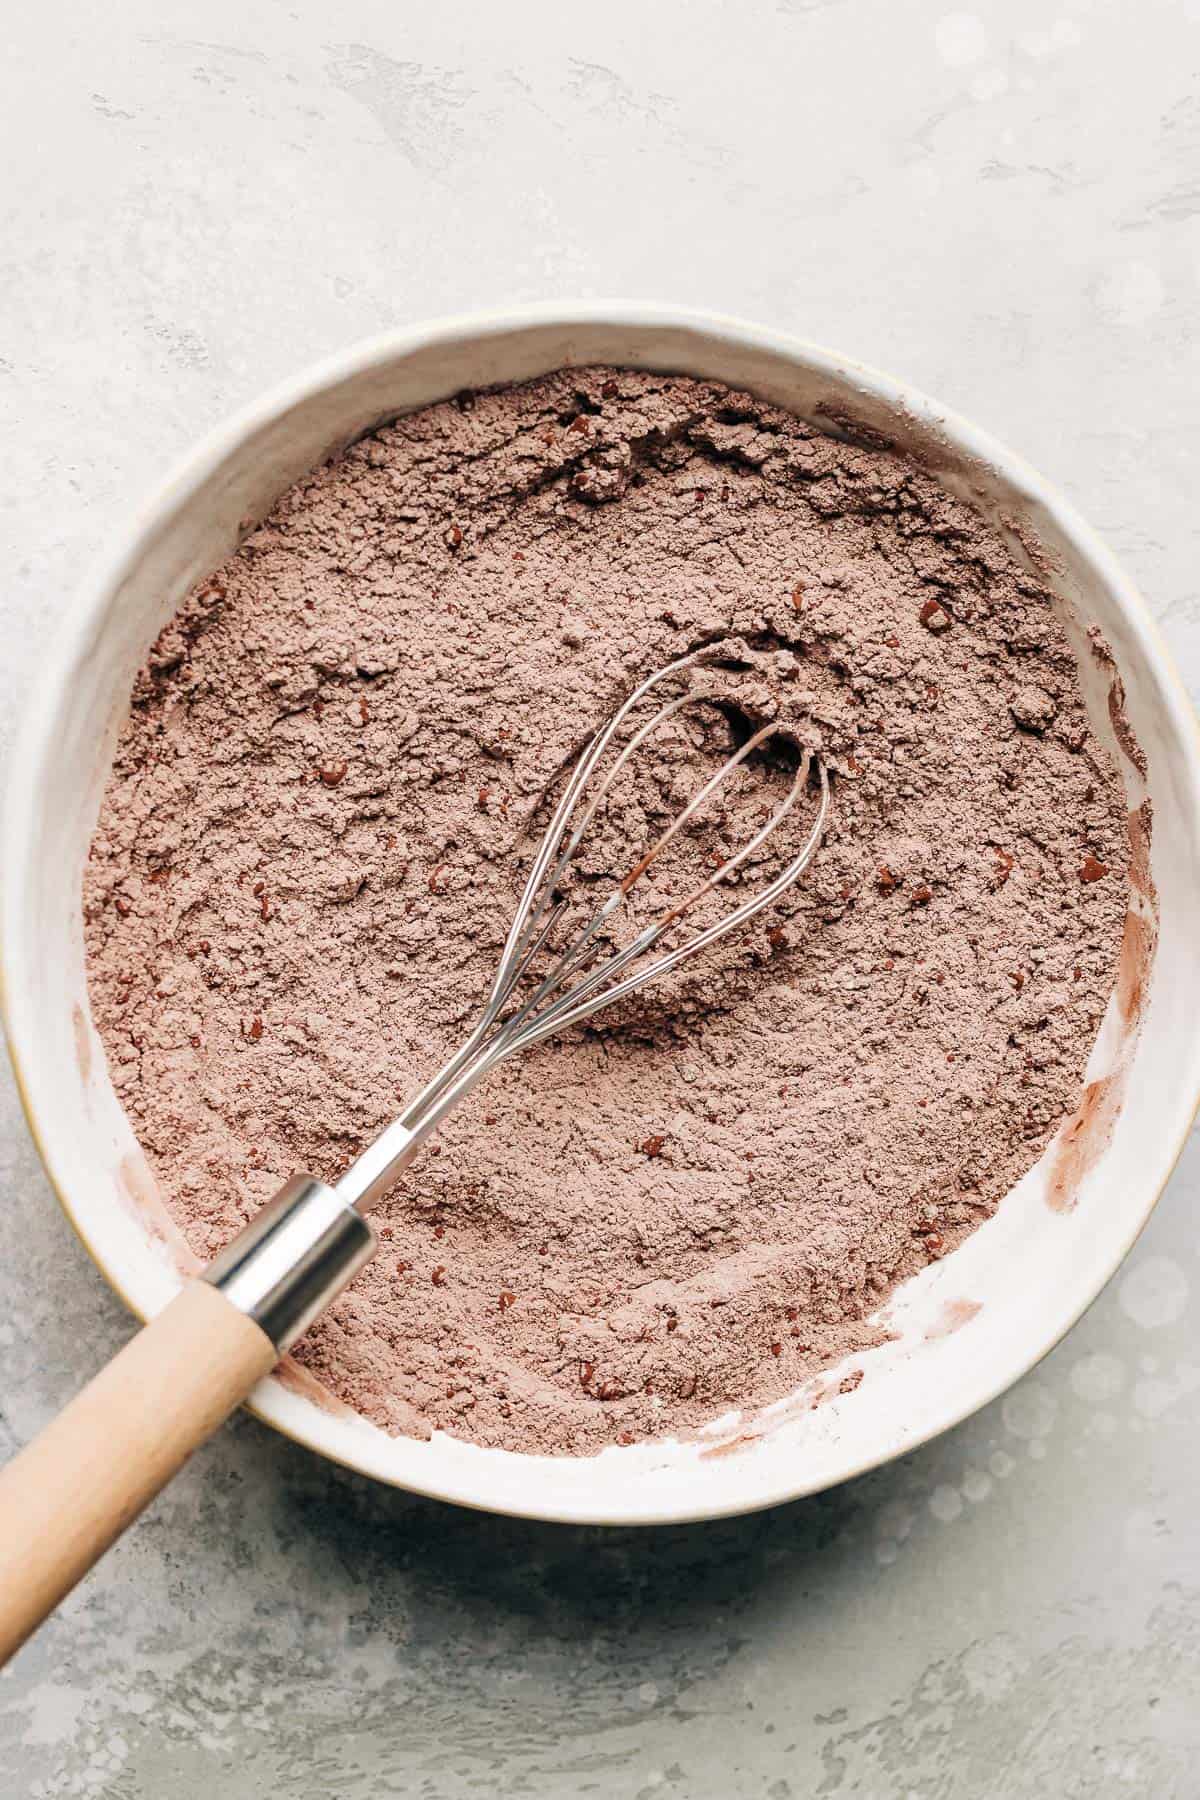
Whisk flour, cocoa powder, baking soda, and salt in a large bowl.
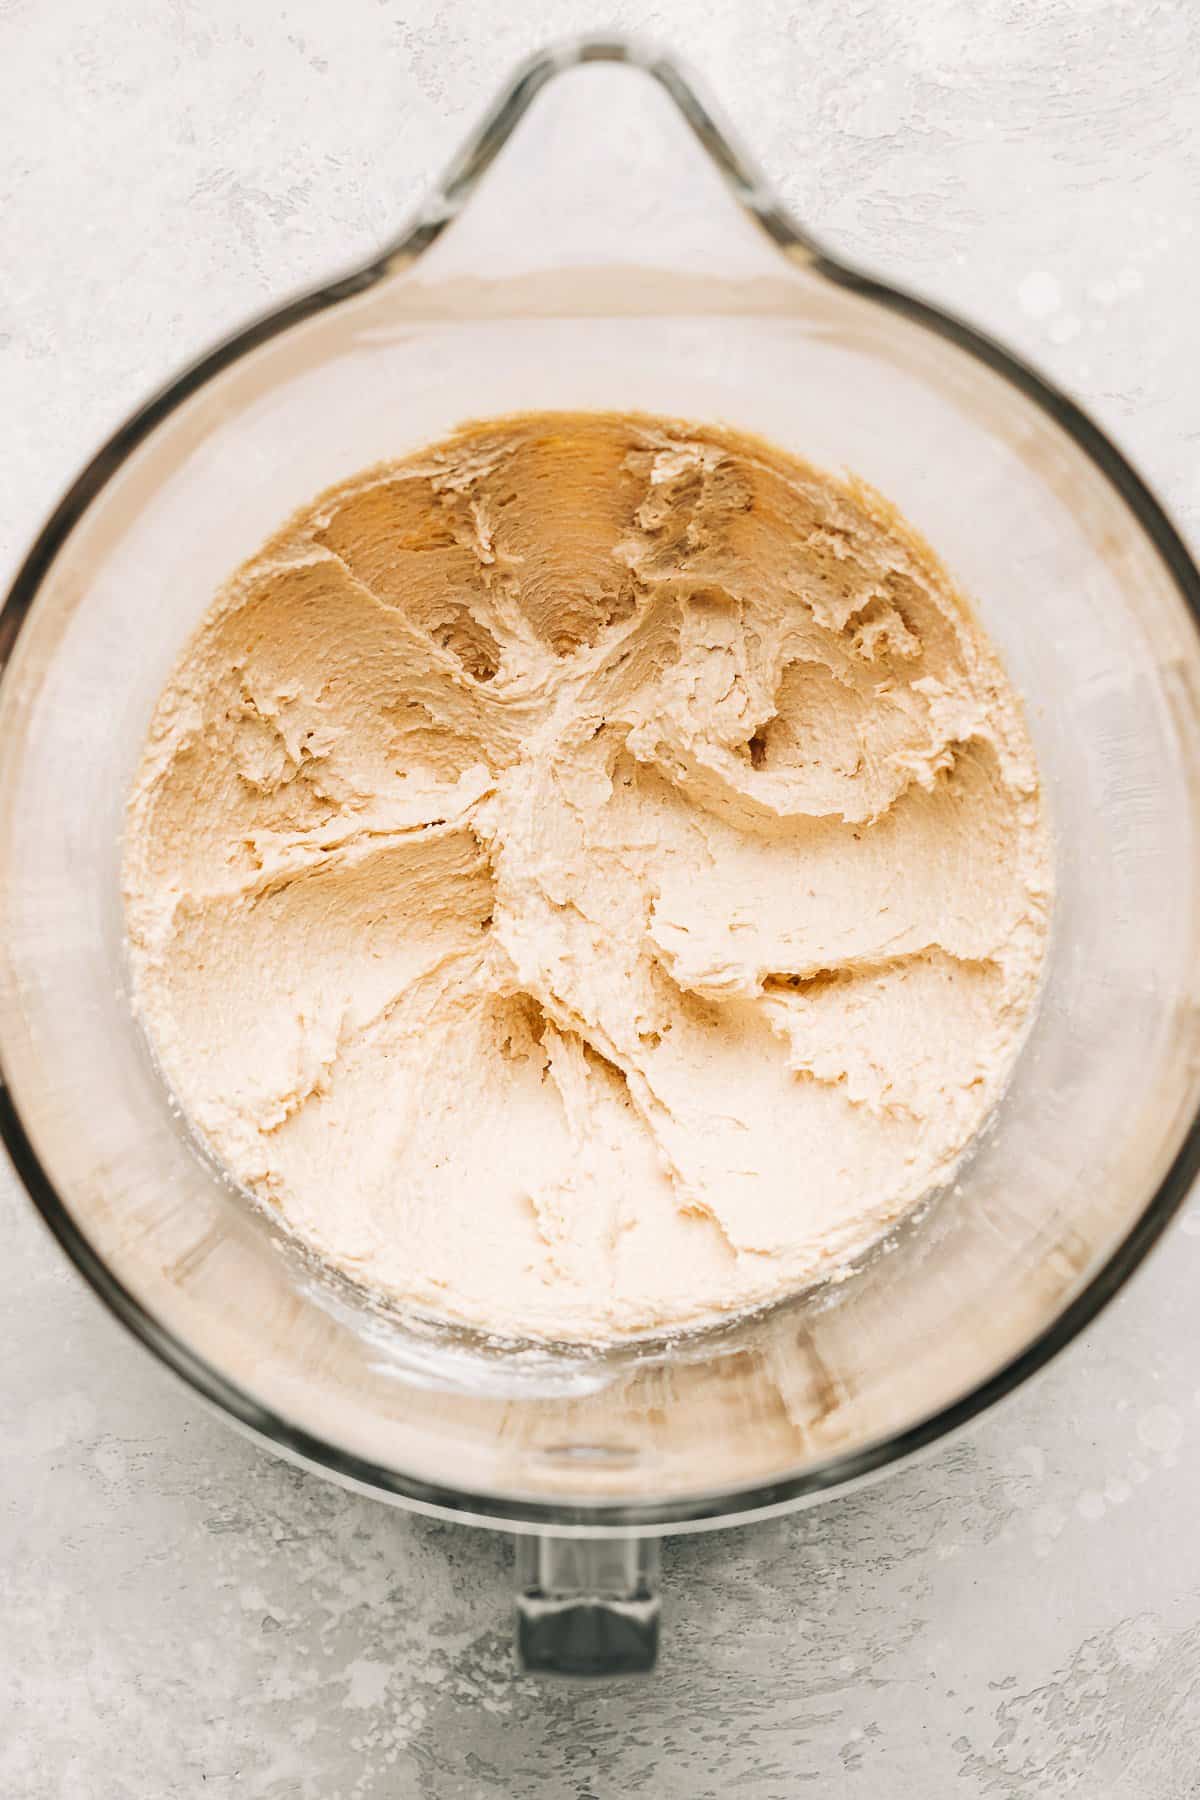
Beat butter and sugars in the bowl of a stand mixer until creamy.
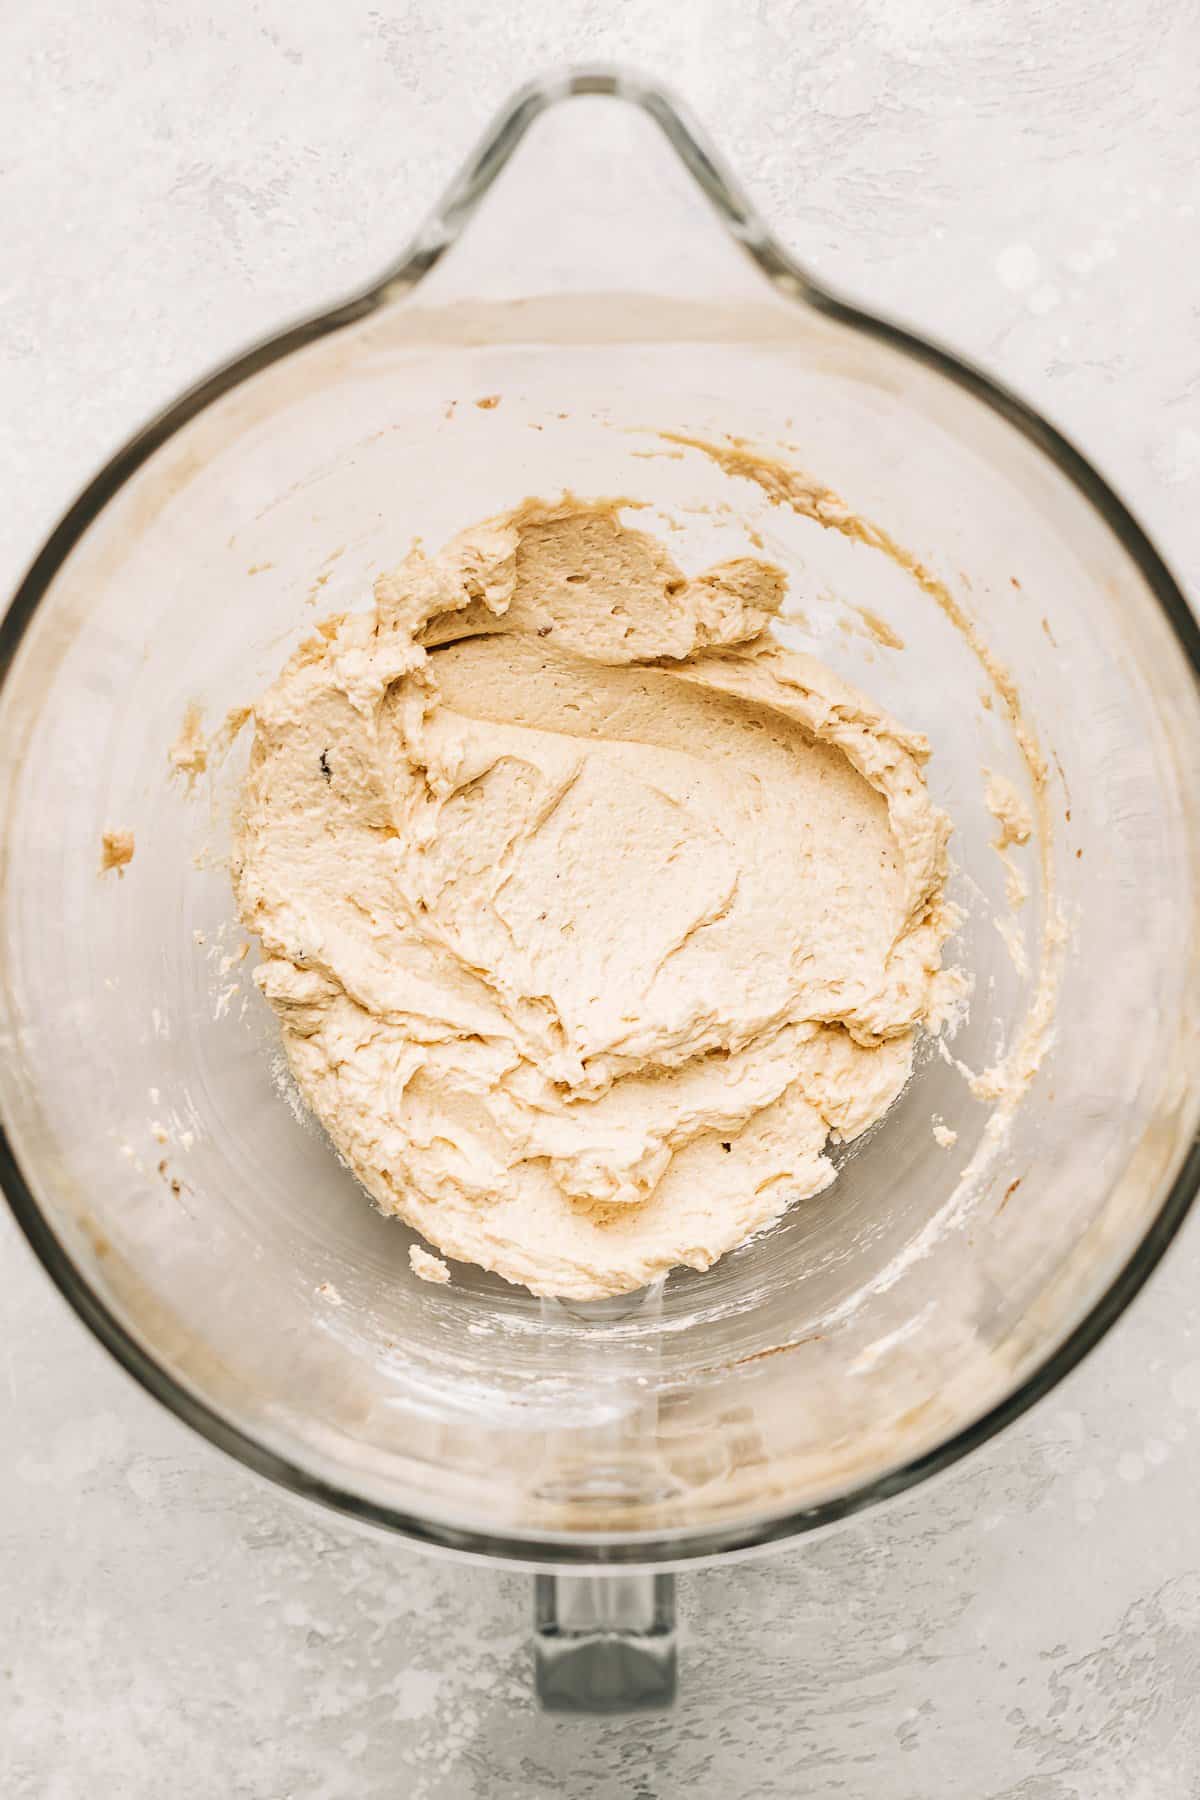
Add egg and vanilla extract, combining well.
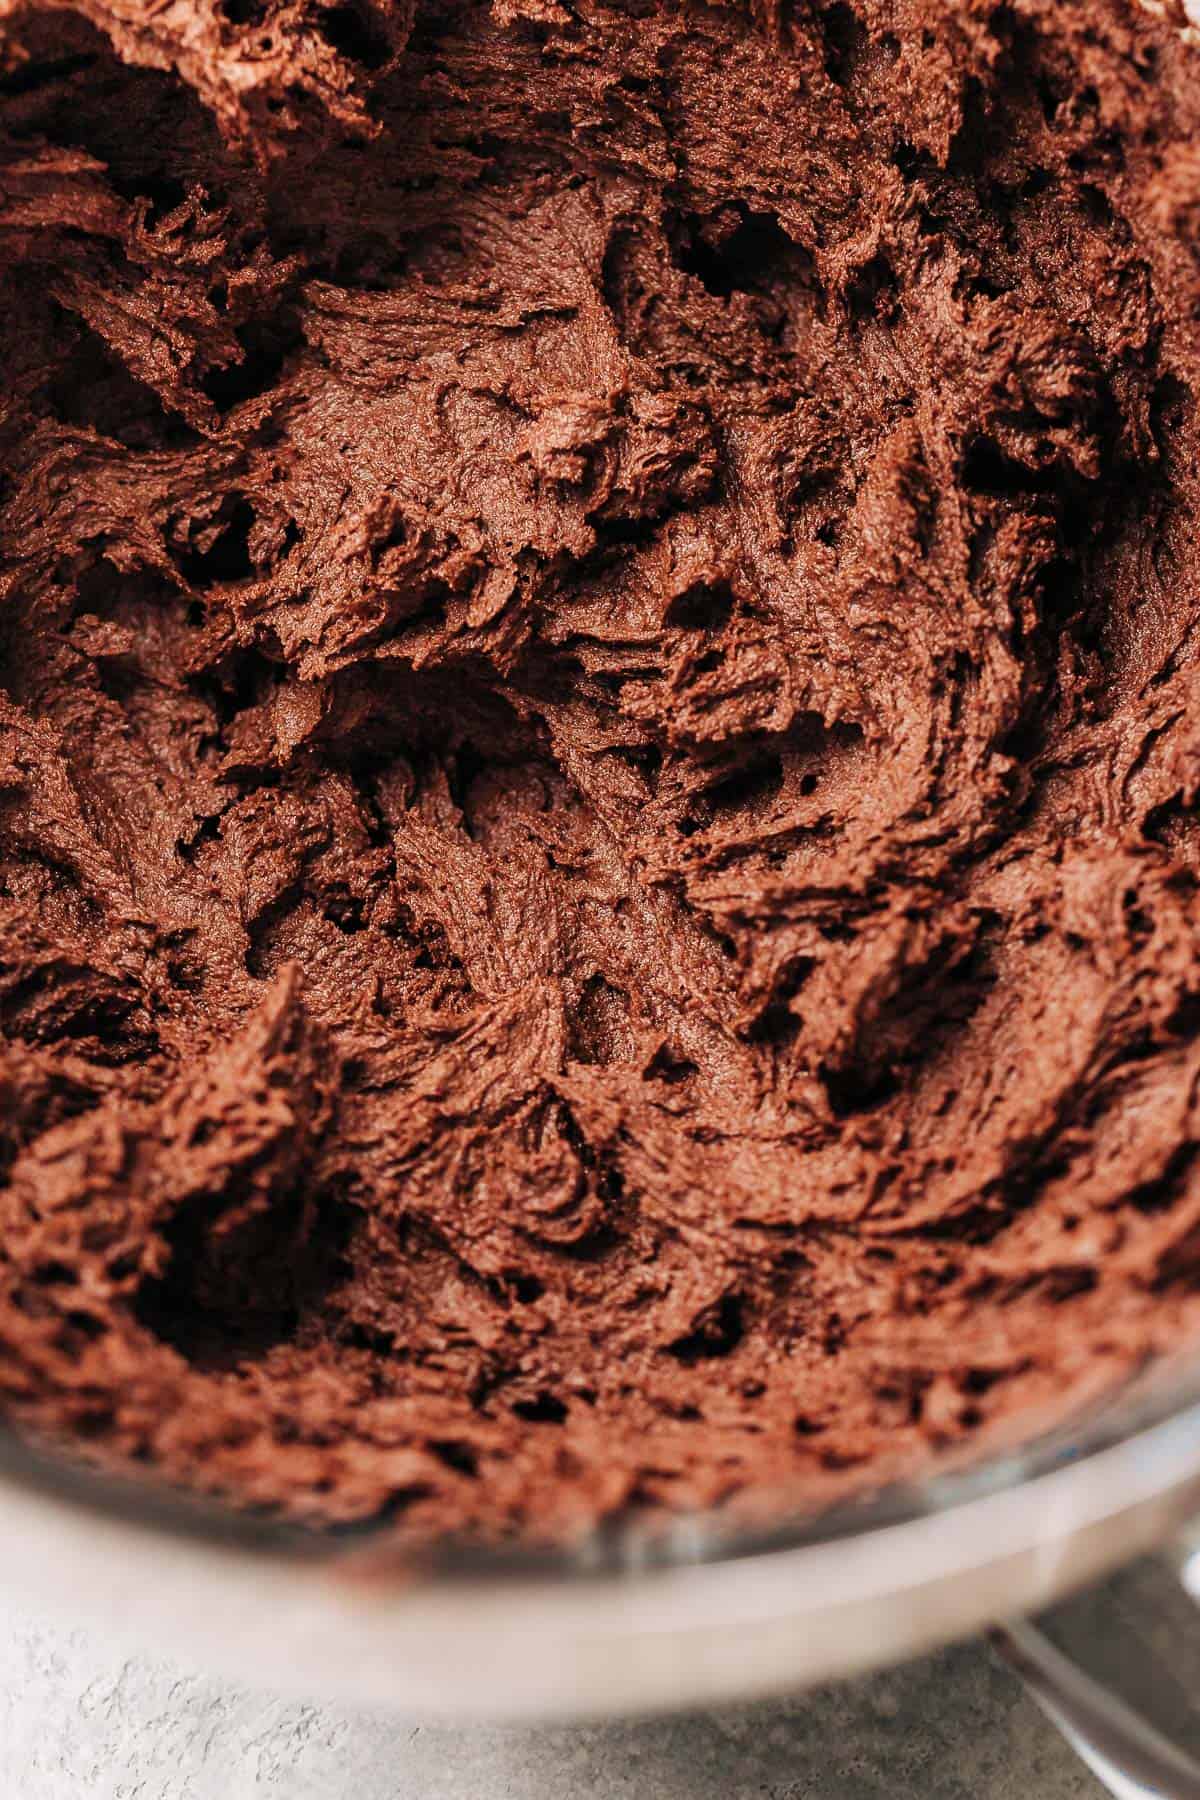
Incorporate dry ingredients into wet to form a dough.
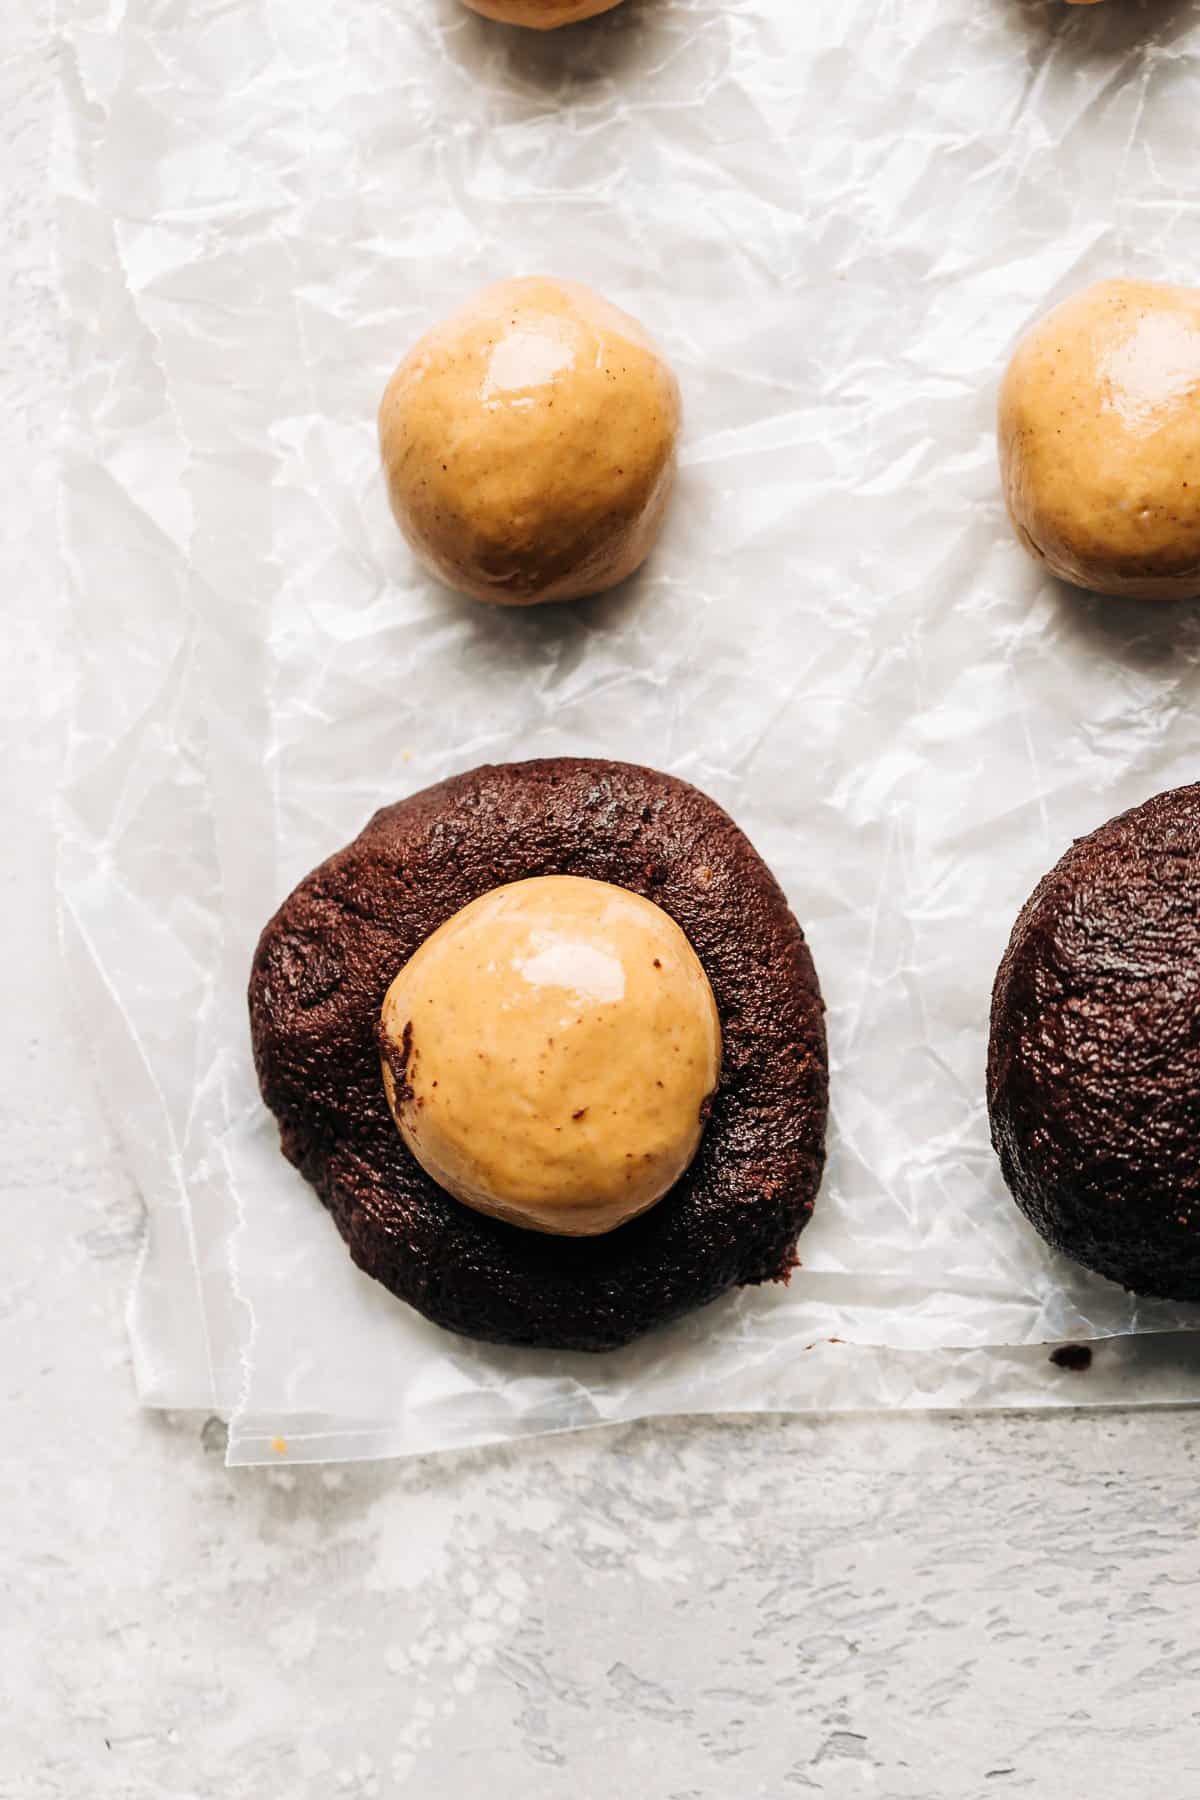
Slightly flatten the chocolate cookie dough in the palm of your hand. Place a peanut butter ball in the center and wrap it with the cookie dough. Roll it to form a smooth ball. Repeat with the remaining filling and dough.
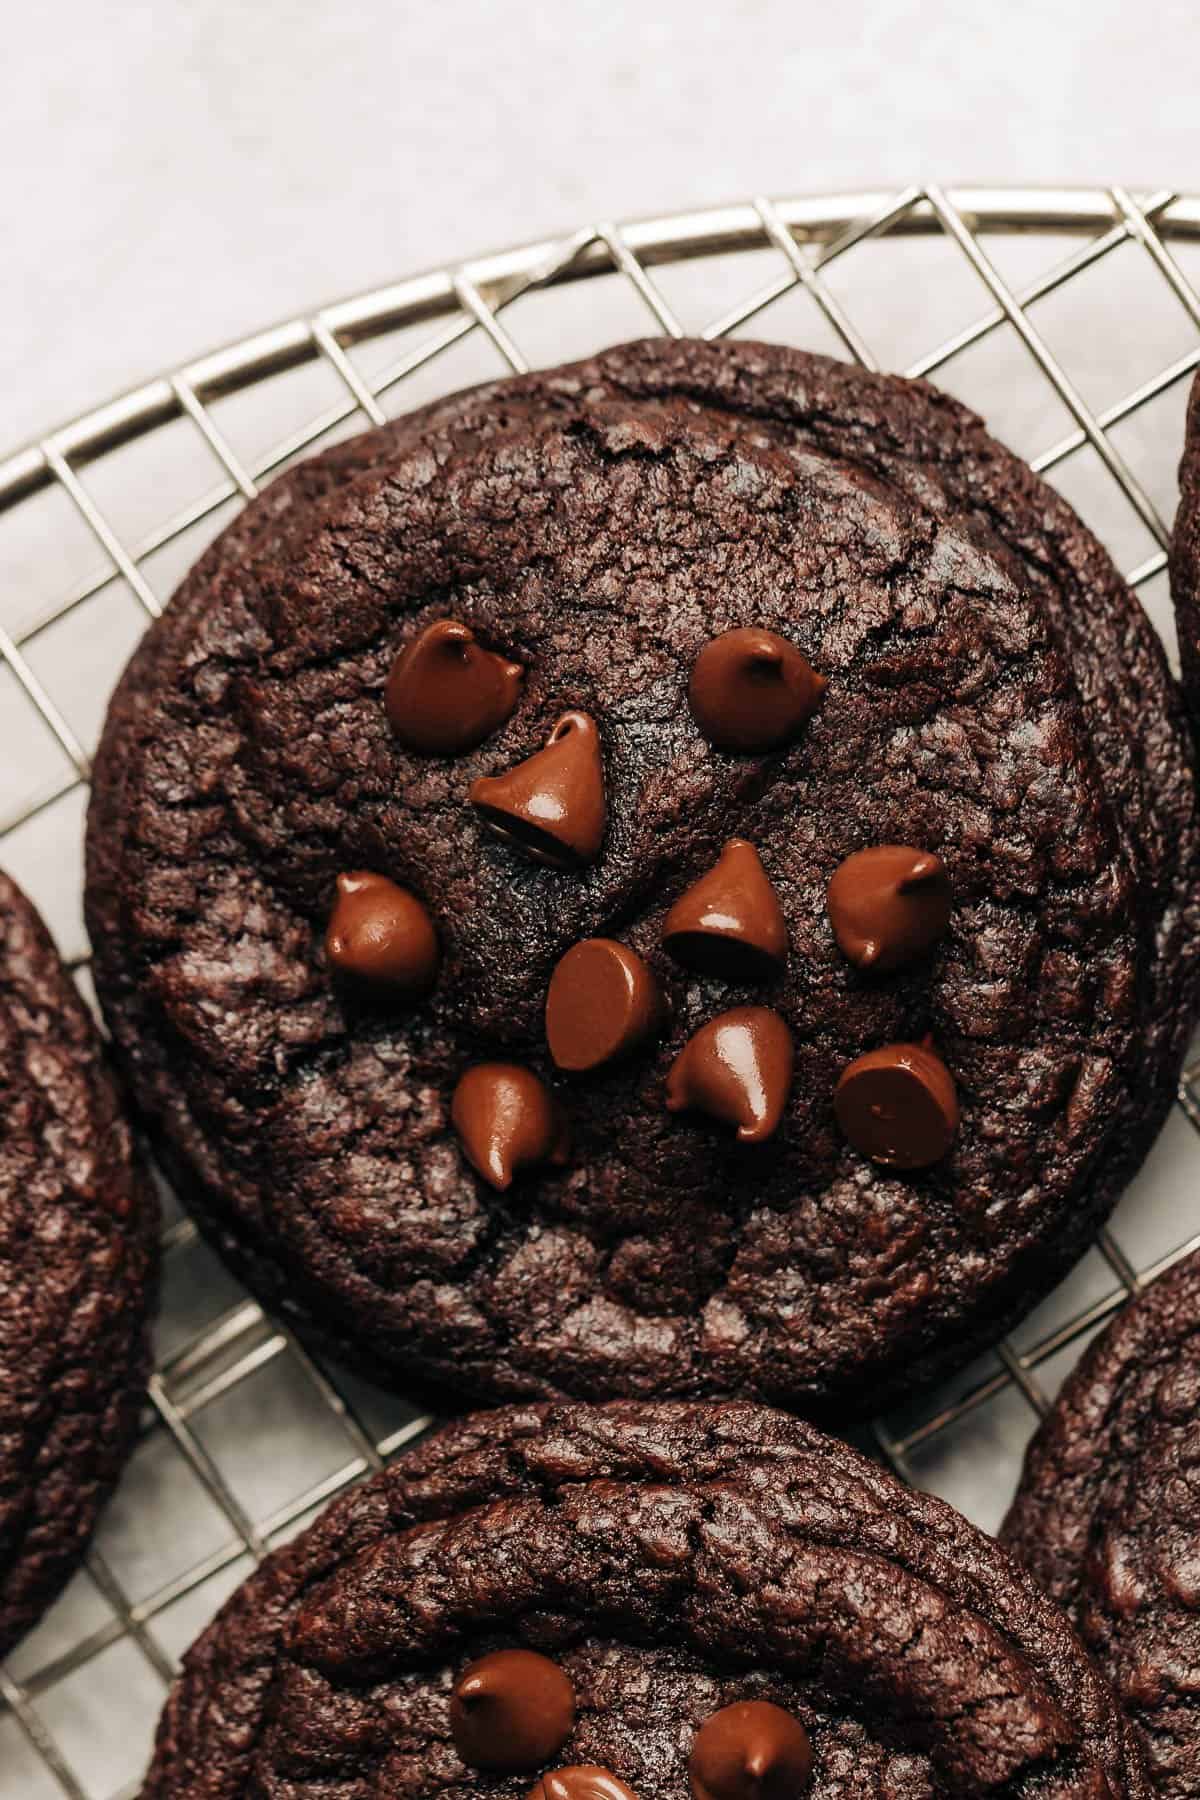
Refrigerate shaped cookies on a parchment-lined baking sheet for 30 minutes. Bake chilled cookie dough balls at 350 degrees F for 12-14 minutes. Top with chocolate chips.
Tip: For an even more indulgent treat, top your cookies with a variety of chocolate options. Chocolate chips, chocolate chunks, or even a sprinkle of flaky sea salt can add an extra dimension of flavor and texture.
Substitutions
- Vegan Butter: For a dairy-free version, use vegan butter. Choose a high-quality brand for the best flavor and texture. This substitution ensures that those with dairy restrictions can still enjoy these rich chocolate cookies.
- Gluten-Free Flour: To make these cookies gluten-free, opt for a 1 to 1 gluten-free baking flour. Select a reputable brand that you trust for ensuring the texture and taste of the cookies remain as delightful as with all-purpose flour.
- Peanut Allergy: If peanut butter isn’t an option due to allergies, replace it with any other creamy nut or seed butter. Almond butter, sunflower seed butter, or even cashew butter can be great alternatives, maintaining the creamy texture and rich taste in the cookie’s center.
Equipment
To make Chocolate Peanut Butter Cookies, the following equipment is essential to achieve the best results:
- Stand Mixer with Paddle Attachment or Hand Mixer: Vital for creaming the butter and sugars efficiently. A hand mixer can be used as an alternative to a stand mixer.
- Digital Scale: This ensures precise measurements of ingredients, crucial for consistent and perfect cookies every time.
- Cookie Scoop: Helps in scooping out even portions of cookie dough, ensuring uniform size and even baking.
- Baking Sheet and Parchment Paper: A sturdy baking sheet lined with parchment paper prevents the cookies from sticking and makes for easy cleanup.
- Wire Rack: For cooling the cookies post-baking, which helps them set properly without getting soggy.
How to Store
- Room Temperature Storage: Once the cookies have cooled completely on a wire rack, transfer them to an airtight container. If stacking cookies, place a sheet of parchment paper between each layer to prevent sticking. Stored this way, the cookies will remain fresh for up to a week. Keep the container in a cool, dry place away from direct sunlight.
- Refrigerator Storage: For longer freshness, you can store the cookies in the refrigerator. This is especially helpful in warmer climates or during hot weather. In the fridge, the cookies can last up to two weeks. Again, use an airtight container with parchment paper between layers.
How to Freeze
- Freezing Baked Cookies: Allow the cookies to cool completely. Place them on a baking sheet in a single layer and freeze for about an hour. Once they’re individually frozen, transfer them to a freezer-safe zip-lock bag or container. This method prevents the cookies from sticking together. They can be stored in the freezer for up to 3 months. When ready to eat, simply thaw them at room temperature or warm them gently in the oven.
- Freezing Unbaked Cookie Dough: If you’ve prepared extra dough, you can freeze it for later use. Scoop the dough into balls as if you were going to bake them, then place them on a baking sheet lined with parchment paper. Freeze the dough balls until they’re solid, and then transfer them to a freezer-safe bag or container. Label it with the date. When you’re ready to bake, you can bake them directly from frozen, adding a couple of extra minutes to the baking time. This method allows for fresh-baked cookies any time and is perfect for managing portion sizes. The dough can be stored in the freezer for up to 3 months.

expert Tips
- Room Temperature Ingredients: Ensure butter and egg are at room temperature for even mixing.
- Quality Cocoa Powder: Use high-quality cocoa powder for the best chocolate flavor.
- Chill Dough: Chilling the dough prevents cookies from spreading too much.
- Don’t Overmix: Mix just until ingredients are combined to avoid tough cookies.
- Watch the Baking Time: Slight underbaking keeps the cookies chewy.
- Cookie Scoop: Ensures each cookie and filling is uniformly sized, making them bake evenly.
Frequently Asked Questions
Yes, no-stir peanut butter can be replaced with natural peanut butter in this recipe, but the consistency of the filling will be altered and not as creamy.
The key to chewy cookies lies in not overbaking them and using ingredients like brown sugar, which retains moisture. Take the cookies out of the oven when they’re just set; they’ll continue to firm up as they cool.
Absolutely! Fold in nuts or chocolate chips to the chocolate dough for added texture and flavor. Be mindful of the quantities to maintain the dough’s consistency.
These cookies can be stored in an airtight container at room temperature for up to a week. To keep them fresh, ensure they’re completely cooled before storing and place a piece of parchment paper between layers if stacking.
Yes, the dough can be made in advance and refrigerated for up to 3 days. When ready to bake, let the dough sit at room temperature for a short period to make handling easier. This makes the recipe convenient for planning ahead.
If the dough feels too sticky to handle, ensure that you added the correct amount of flour and cocoa powder. If it is very warm in your kitchen, chilling it in the refrigerator for about 30 minutes can help. This makes it easier to wrap the chocolate dough around the peanut butter filling.
More Cookie Recipes
If you loved these peanut butter chocolate cookies, check out these other great recipes.
If you make this recipe, take a photo and tag #bakedambrosia on Instagram and Facebook so that I can see your creations and feature them on Instagram! To stay up to date with the latest recipes, follow Baked Ambrosia on Pinterest, Facebook, Instagram, and Youtube. ♡

Peanut Butter Stuffed Chocolate Cookies
Ingredients
- 1/2 cup creamy peanut butter
- 3/4 cup powdered sugar
- 1 1/2 cups all-purpose flour
- 1/2 cup cocoa powder (I use dark cocoa powder)
- 1/2 tsp baking soda
- 1/4 tsp salt
- 3/4 cup butter room temperature
- 1/2 cup brown sugar
- 1/2 cup granulated sugar
- 1 egg
- 1 teaspoon vanilla extract
- 1/4 cup chocolate chips for topping
Instructions
- Begin by making the peanut butter filling. In a medium size bowl, mix together the peanut butter and powdered sugar until combined. Roll into 12-tablespoon size balls (about 3/4 oz or 22 g each). Set aside.
- Add the flour, cocoa powder, baking soda, and salt to a bowl and whisk them together.
- Use a stand mixer fitted with the paddle attachment or a hand mixer to beat the butter and both sugars together until creamy and pale. Then, mix in the egg and vanilla extract. Beat well to combine.
- Add in the dry ingredients and beat until a dough forms.
- Use a large cookie scoop to scoop out 12 portions of chocolate cookie dough (about 1 3/4 oz or 50 g). Flatten a chocolate dough ball and add a peanut butter ball to the center. Shape the chocolate dough over the peanut butter filling, covering it completely and roll it into a ball. Continue until all of the cookies are shaped.
- Place the shaped cookies onto a lined pan and chill them in the refrigerator for 30 minutes.
- While the cookies are chilling, preheat your oven to 350 degrees F. Line baking sheet with parchment paper.
- Arrange 4 chilled cookie dough balls onto your prepared baking sheet and gently press down your fingers to slightly flatten the tops. Bake for 12-14 minutes. Repeat with remaining cookies.
- Transfer baked cookies to a wire rack. Top warm cookies with chocolate chips and enjoy!
Video
Notes
- Store these cookies in an airtight container at room temperature for up to 5 days.
- Freeze the dough. To freeze the dough, shape the cookies and place them on a baking sheet lined with parchment paper. Chill the cookie dough balls in the freezer for 30 minutes. Once the cookie dough balls are firm, transfer them to a freezer safe zip top bag or air tight container for up to 3 months. When ready to bake, bake the chocolate cookies as directed. You may need to add a few extra minutes of baking time!
- Freeze the baked chocolate cookies. You can also freeze your baked cookies to enjoy them later. All the cookies to cool completely, then transfer them to a freezer safe zip top bag or air tight container lined with parchment or wax paper. Cookies will keep well for up to 3 months. Once you are ready to eat, thaw the cookies to room temperature and enjoy. You can freeze them with or without the chocolate chips.


While tasty, my dough was extremely dry. I ended up adding 2 TBSP of buttermilk to the dough to make it workable. Other than that, I will be making these again!
I added some salt to the peanut butter balls. Somehow my cookies did not crack the way yours did. Instead it just kinda domed over. Not sure what I did wrong.
Did you use natural peanut butter (ingredient is only peanuts). You may have also too much powdered sugar or too much flour in the cookie dough. It is best to weigh out your ingredients for more accuracy.
I LOVE these cookies. I freeze the cookie balls and then make them in small batches so that they’re always fresh. The whole family thinks they’re fantastic!
I made these and most excellent they are! However since I have made stuffed cookies in the past, I decided to freeze the little peanut butter powdered sugar balls since I have limited space in the fridge for a pan. I did cool the dough, so by doing that both they turned out greatly. I did have some sacrificial cookies when I didn’t freeze the peanut butter balls and they started melting in my hands. But they still taste good.
These are absolutely amazing. I followed the recipe exactly and they turned out perfect. I appreciate the weight-based recipe options as well!
I’m not usually a huge peanut butter fan, but these were AMAZING! I just ate the last one and already want to make more. I didn’t have dark cocoa powder, so I used 1/8 c black cocoa powder + 3/8 c regular cocoa powder which was perfect. Next time I’ll try covering the cookies in mini chocolate chips right after assembling them and flatten them before chilling instead of after. Thanks for a great recipe!
OH My Goodness. These are absolutely sinful!!! I had to share these with my neighbors because they were so delicious and so rich! Angelina, you have the best recipes I’ve ever seen. Thank you!
Delicious! Great recipe. Had no issues with shaping / forming the cookies, the filling and dough actually had great textures to work with and came together nicely.
Only changes I made were cutting the sugar by a little bit and adding some crushed peanuts to the filling.
Thanks for the recipe!
Thank you Diana! Yum, the crushed peanuts sound amazing!!
I love love the taste!!! But these suckers are a lot of work to shape, and then they cracked a ton after I flattened them. But a great Valentine’s Day treat!