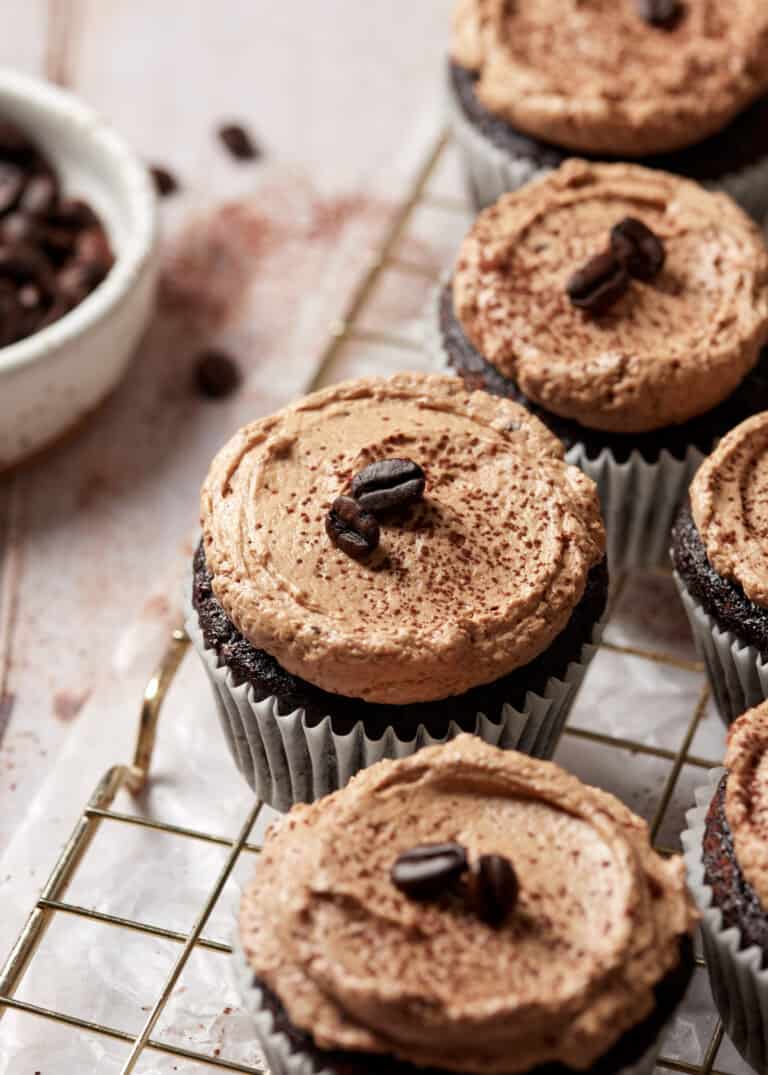
Cakes and Cupcakes | Chocolate | Mother's Day | Valentine's Day Mocha Cupcakes with Chocolate Espresso Frosting
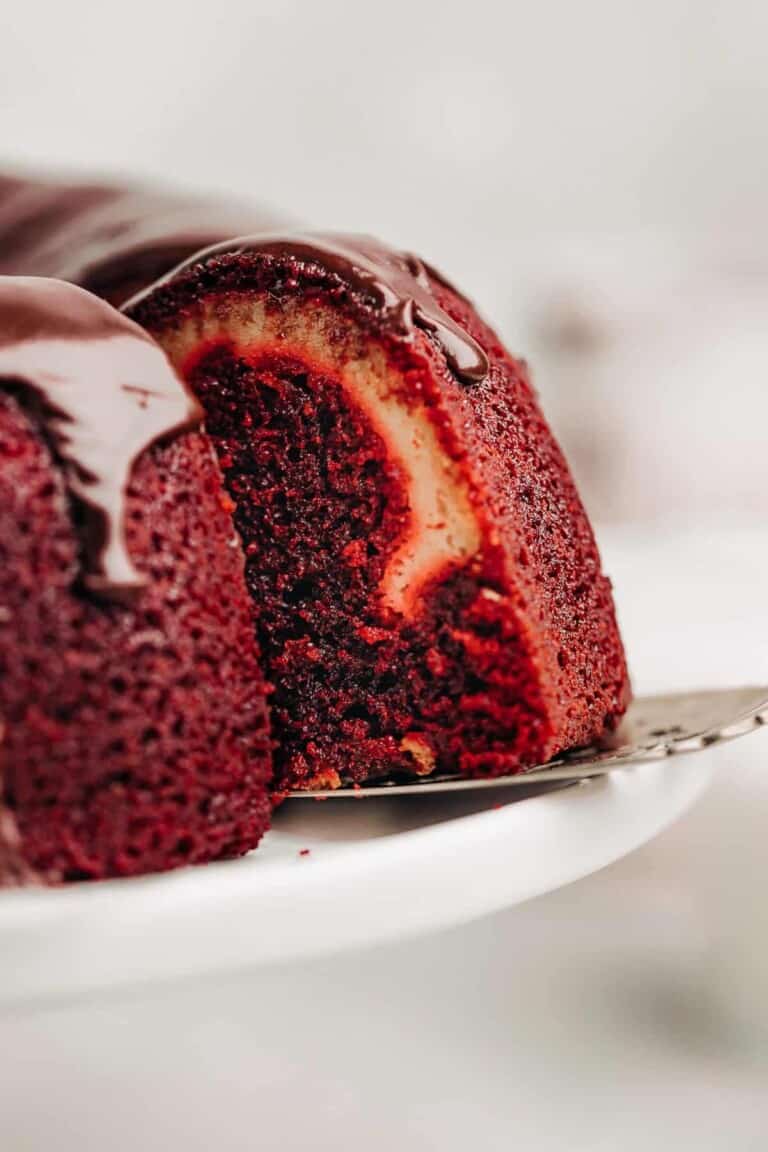
Birthday | Cakes and Cupcakes | Chocolate | Valentine's Day Super Moist and Rich Red Wine Chocolate Cake Recipe
Christmas | Cookies | Fall | Thanksgiving | Winter Chewy Cranberry and White Chocolate Oatmeal Cookies
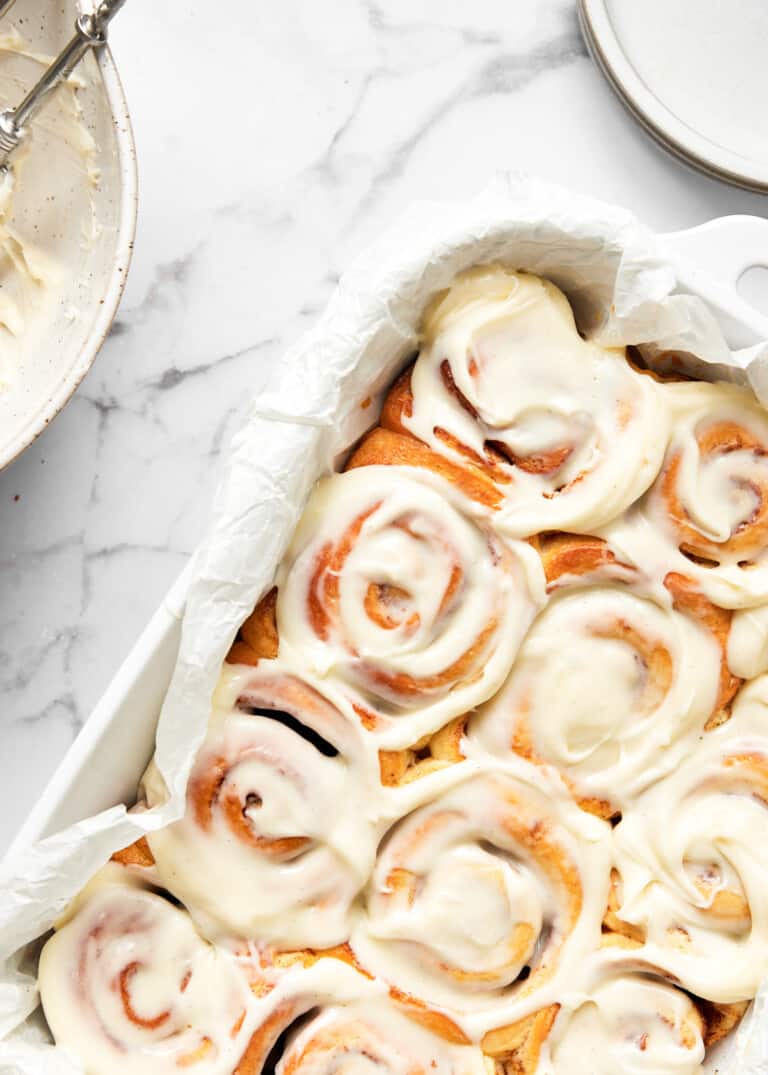
Breakfast | Christmas | Desserts | Yeasted Breads Best Homemade Cinnamon Rolls with Cream Cheese Icing
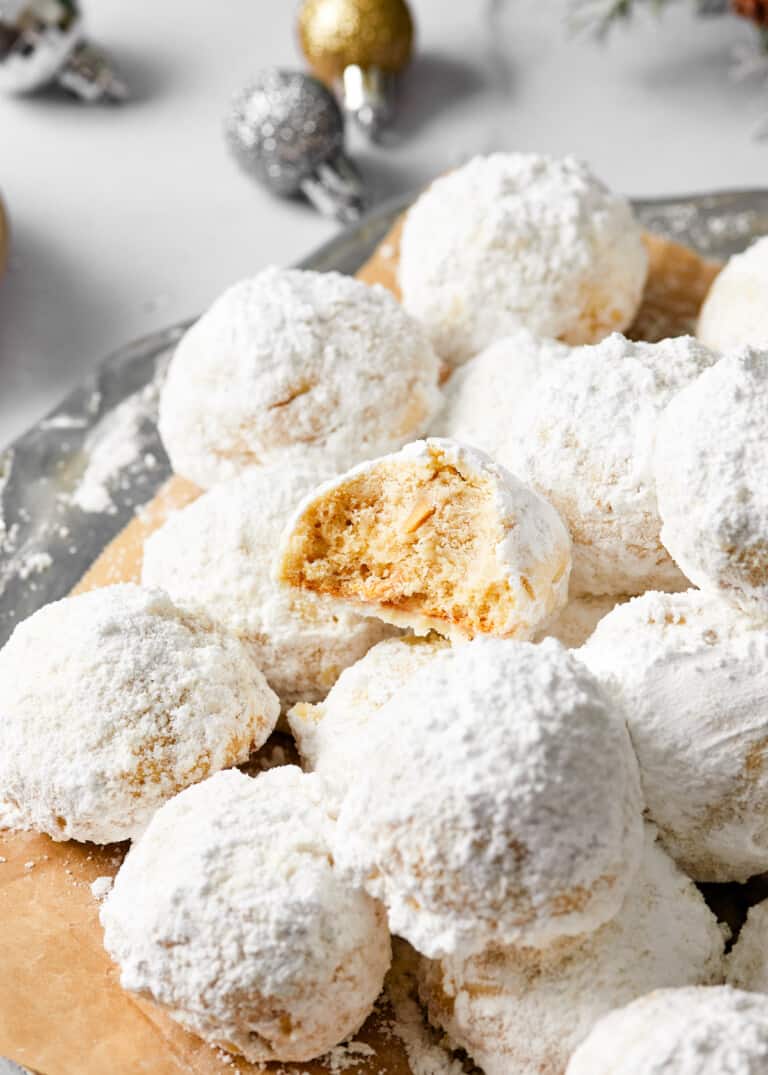
Christmas | Cookies | Greek Desserts | New Year's | Winter The Best Kourabiedes Recipe (Greek Butter Cookies)
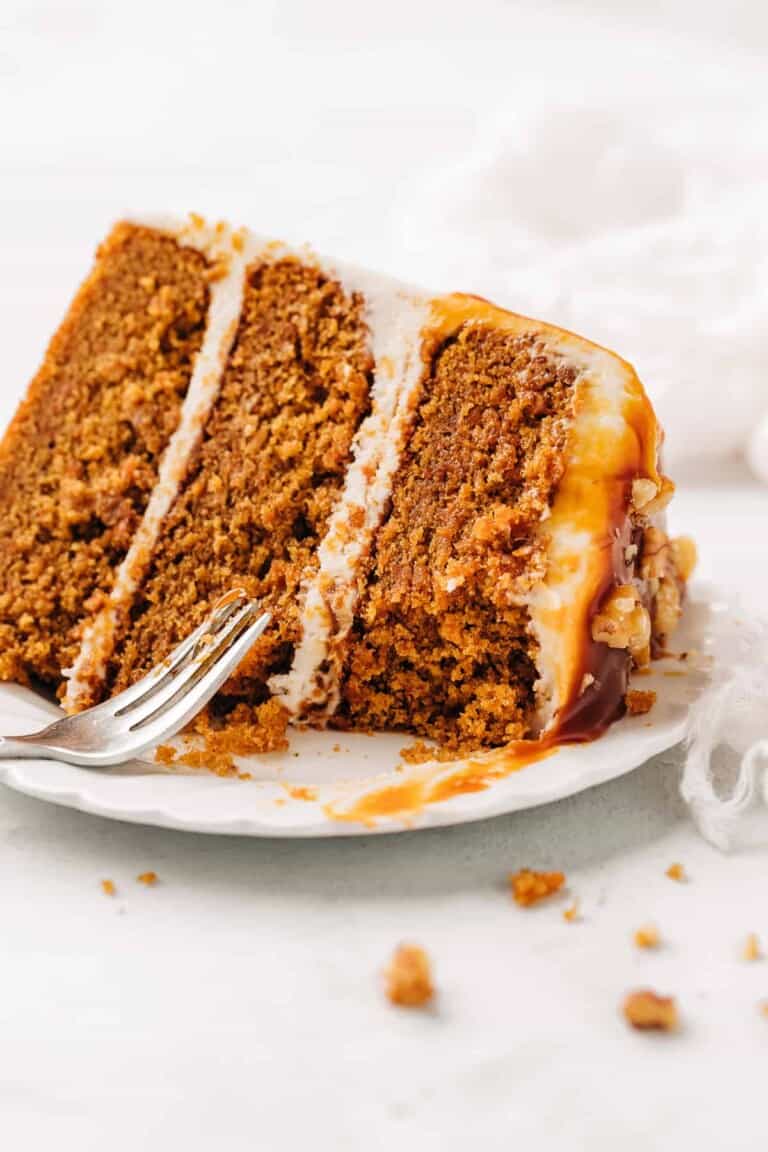
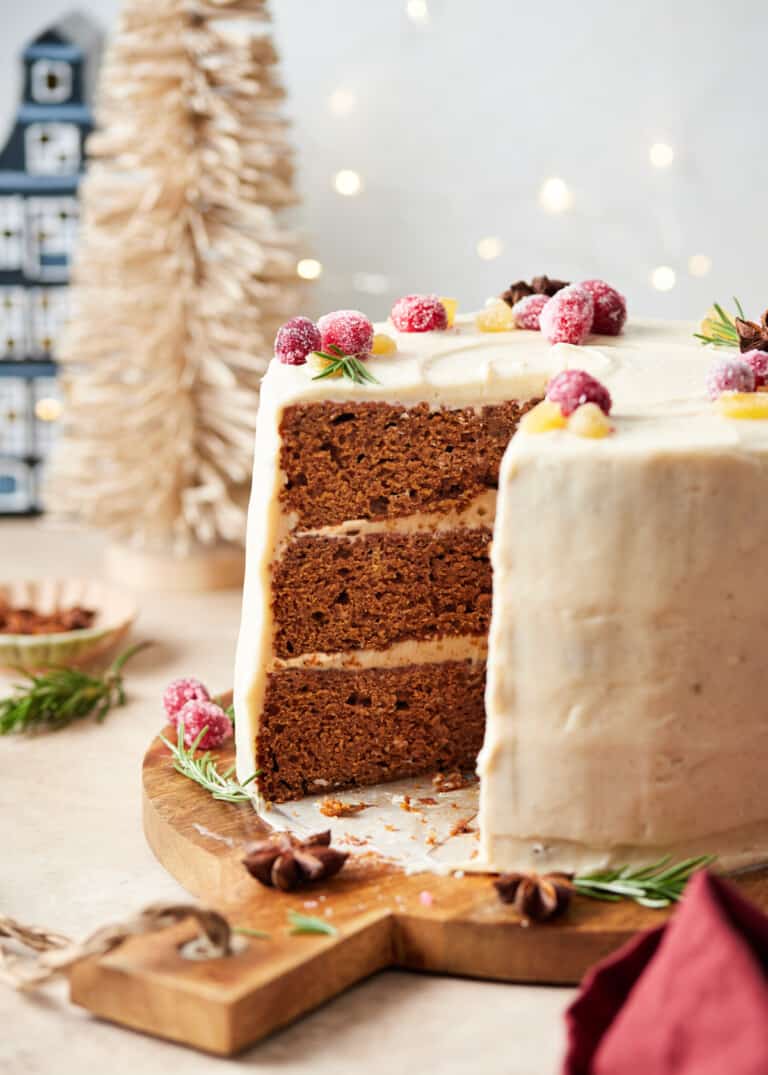
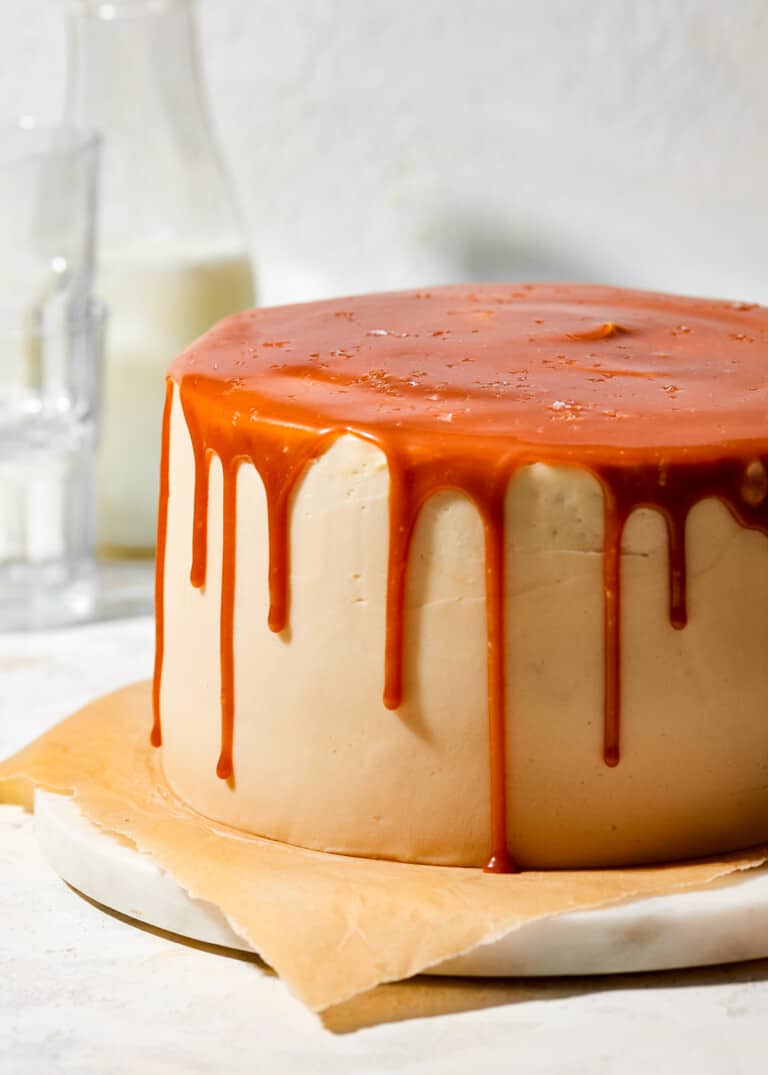
Cakes and Cupcakes | Christmas | New Year's | Winter Gingerbread Layer Cake with Cream Cheese Frosting
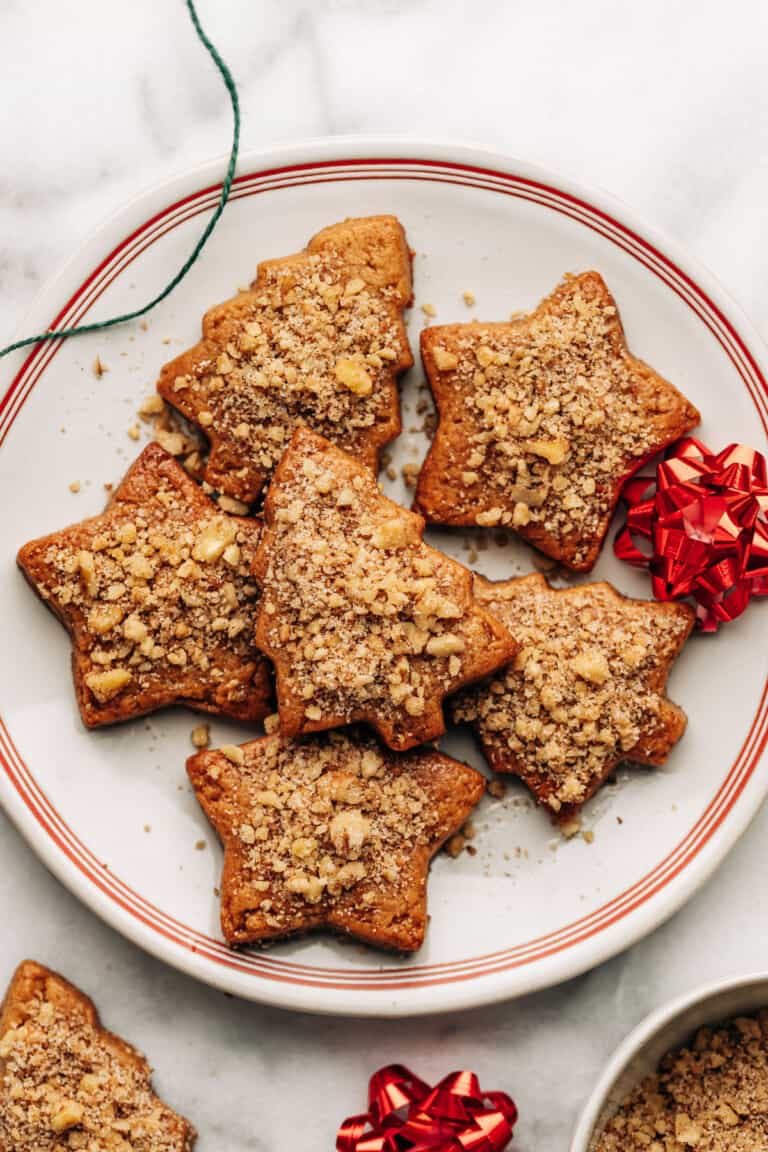
Christmas | Cookies | Greek Desserts | New Year's | Winter Melomakarona Recipe (Greek Honey Christmas Cookies)
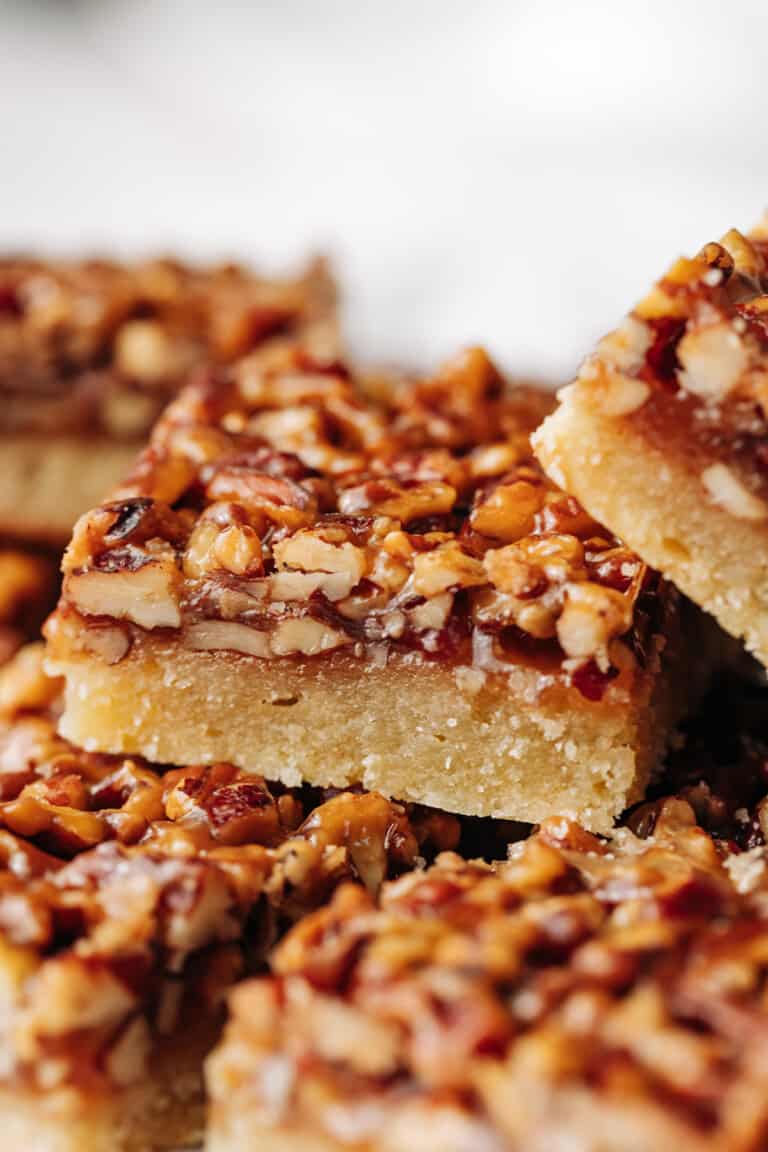
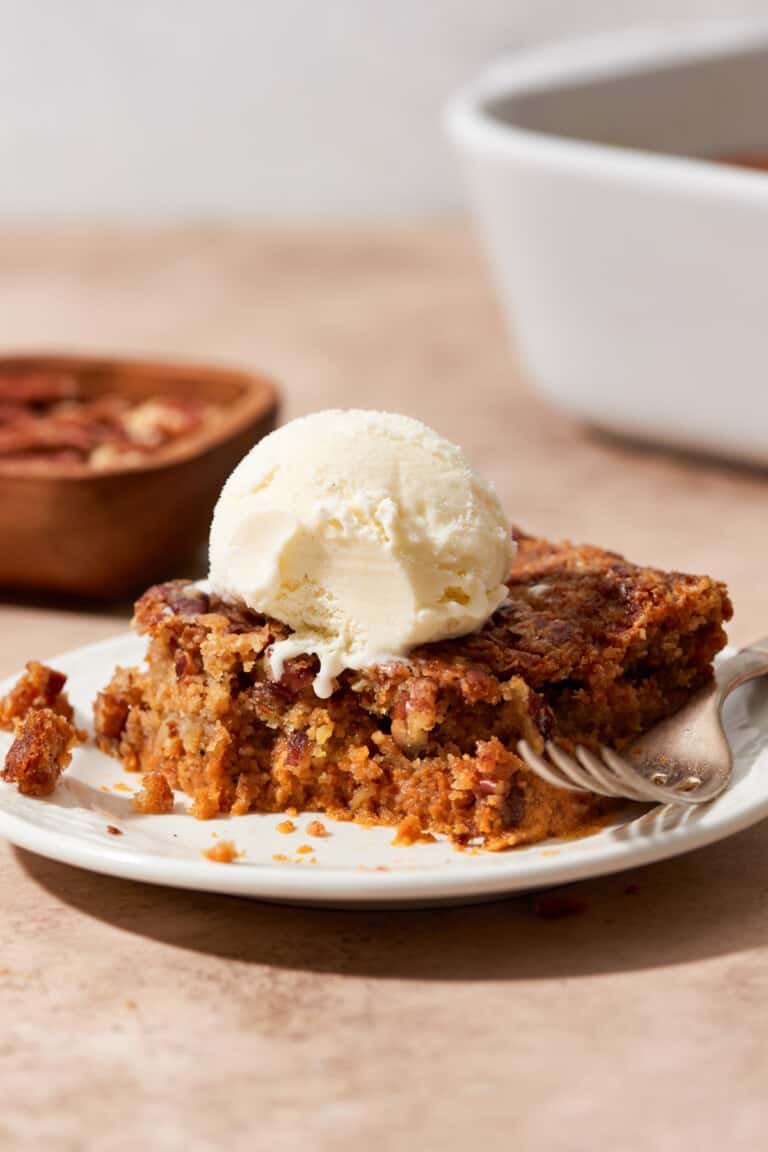
Brownies and Bars | Christmas | Fall | Thanksgiving | Winter The Best Pecan Pie Shortbread Bars Recipe (Video)
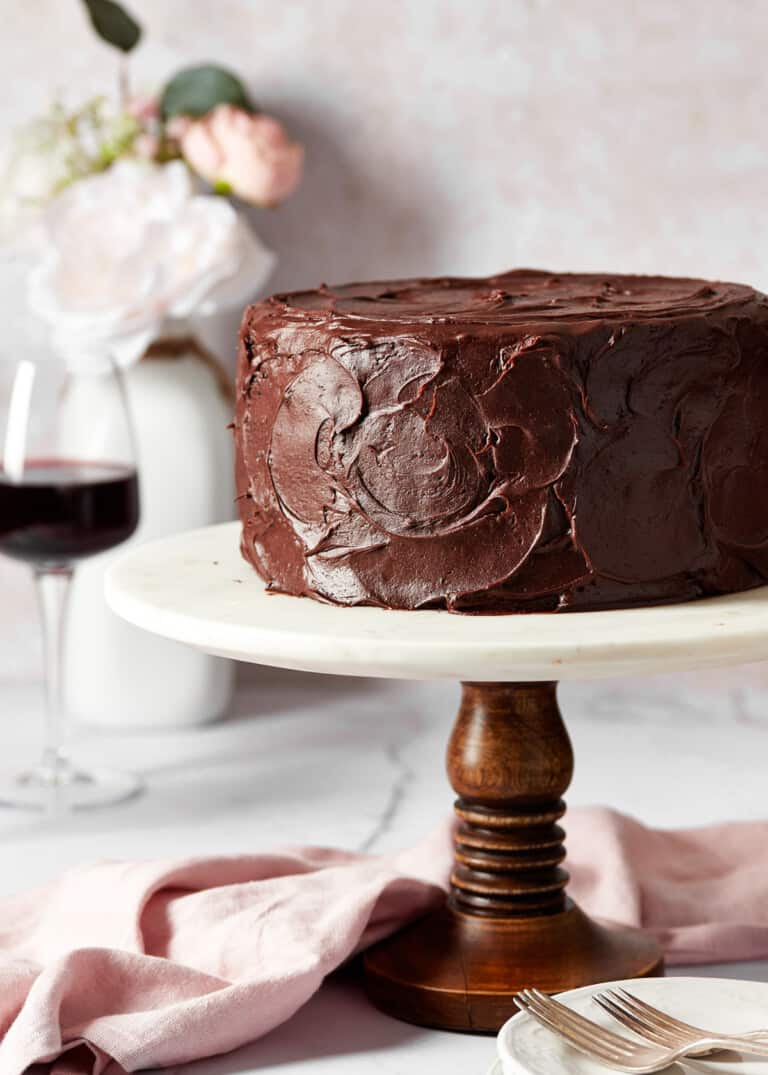
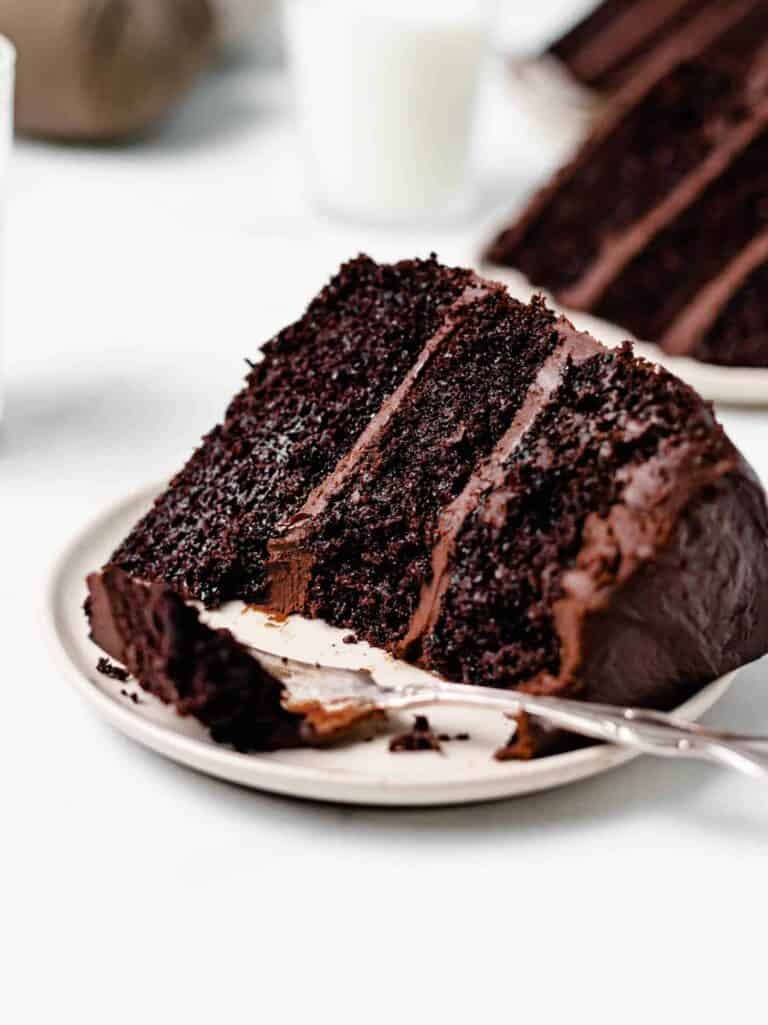
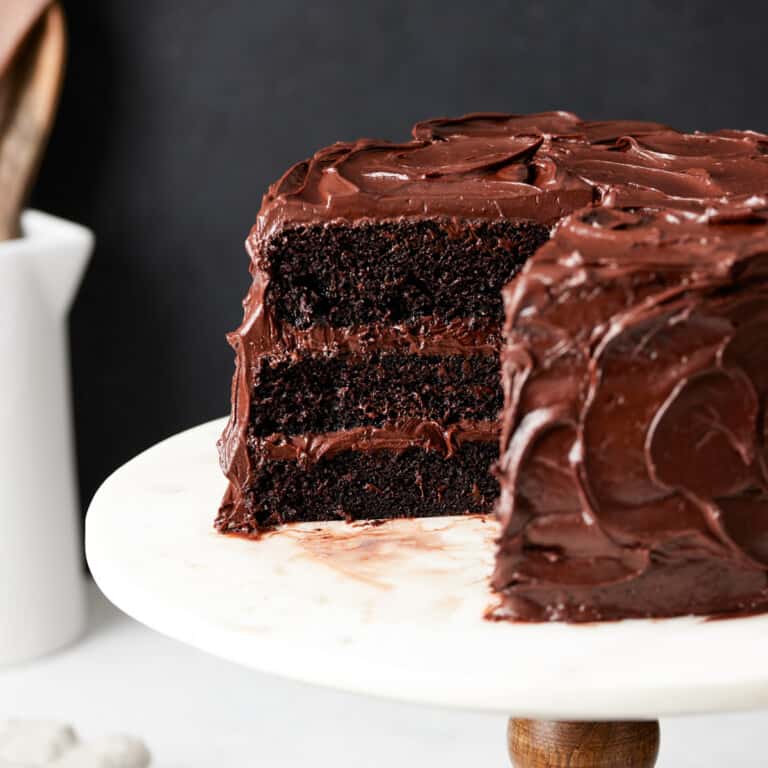
Birthday | Cakes and Cupcakes | Chocolate | New Year's | Valentine's Day Perfect Triple Layer Chocolate Cake
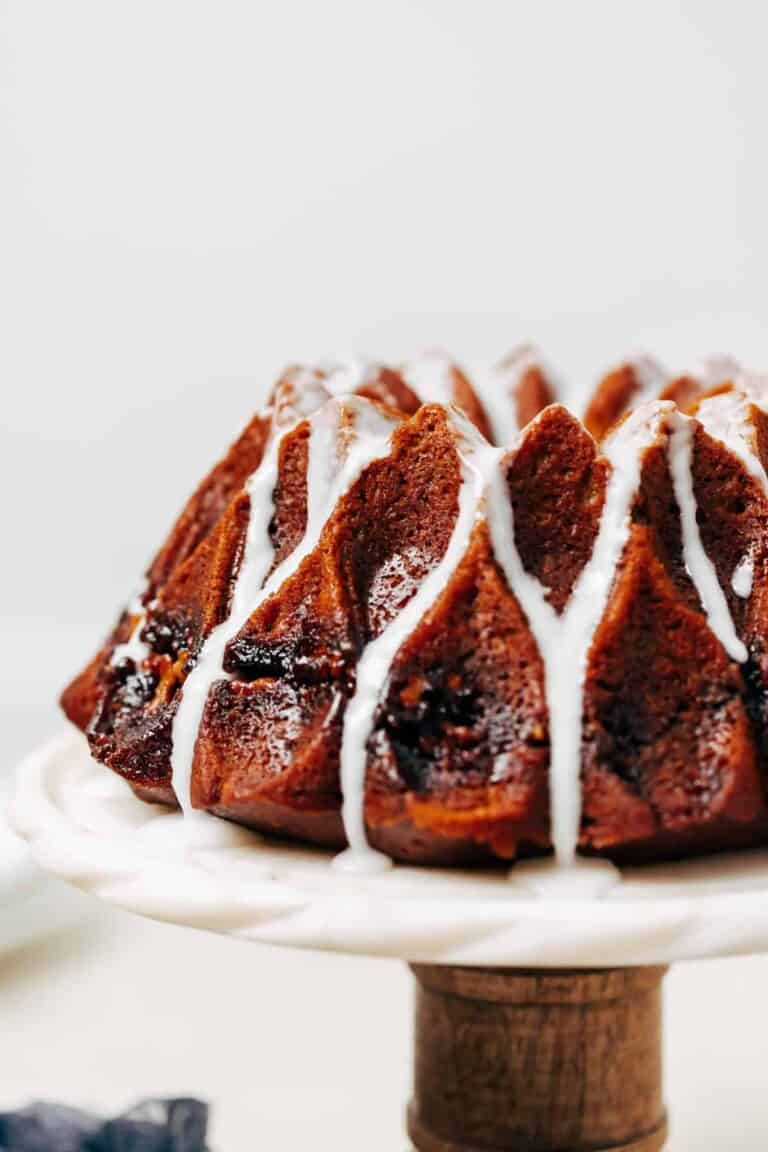
Cakes and Cupcakes | Fall | Muffins and Quick Breads | Thanksgiving Pumpkin Streusel Bundt Cake with Glaze Topping
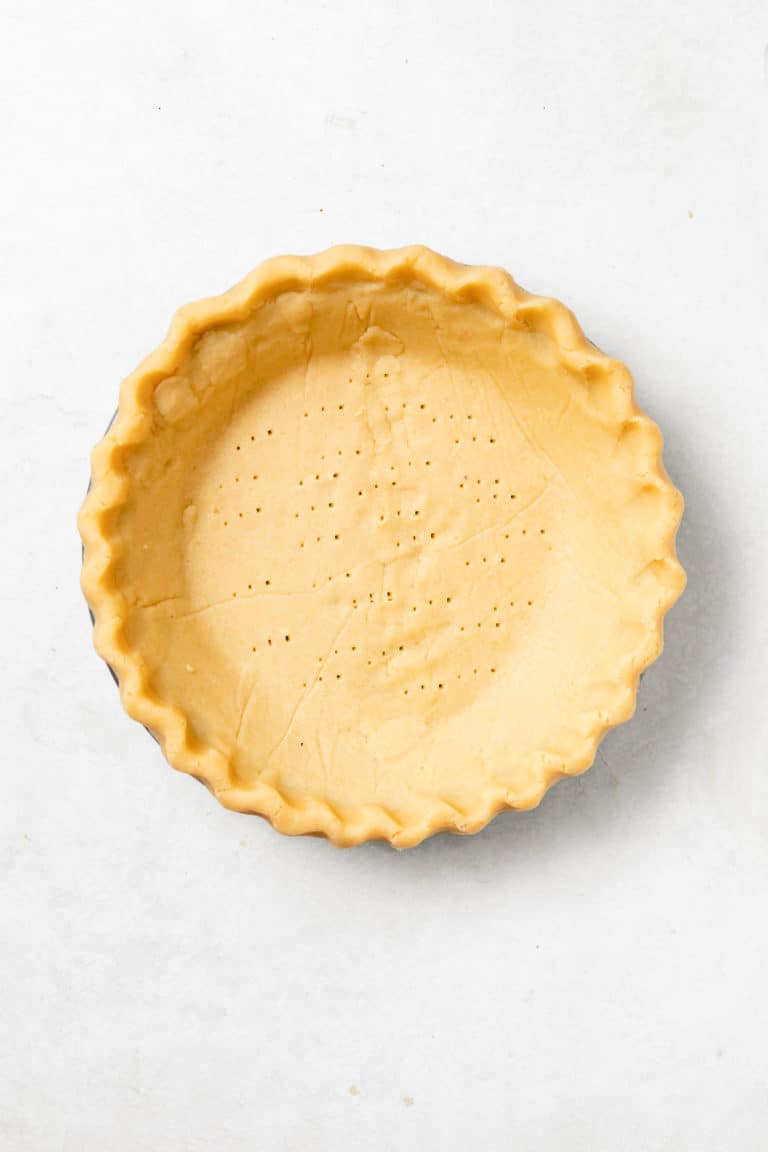
Gluten Free | Grain Free | Paleo | Pies and Tarts | Refined Sugar Free Easy Paleo Pie Crust Recipe (Gluten and Grain free)
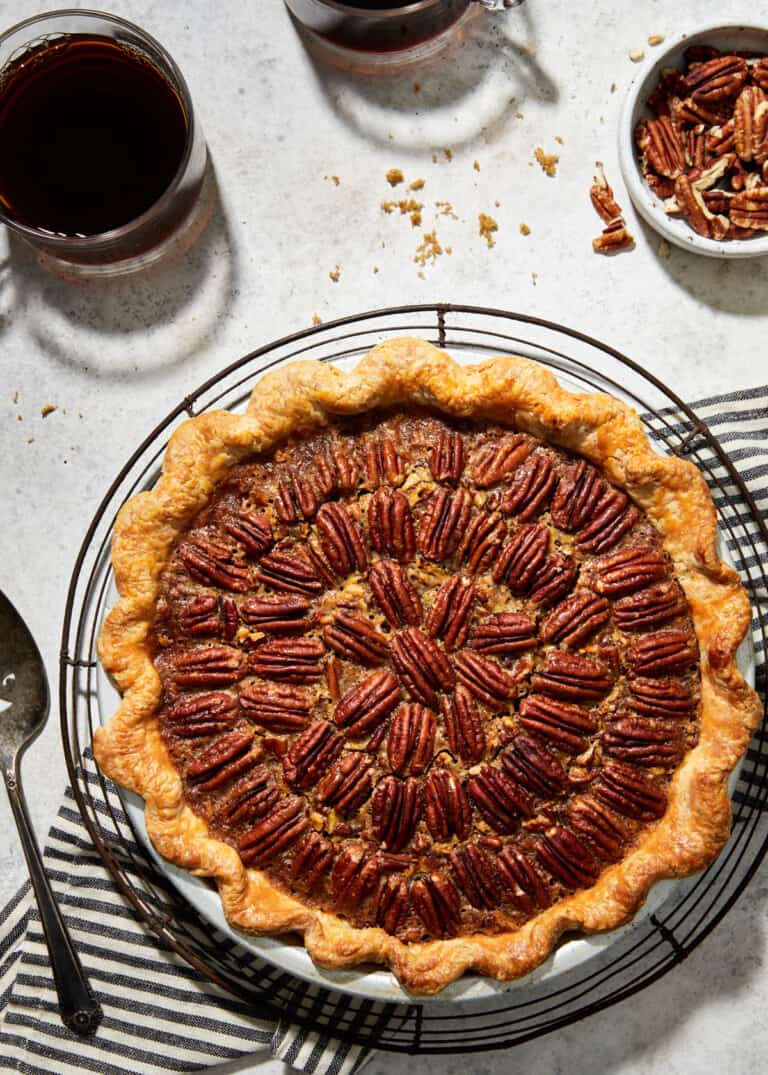
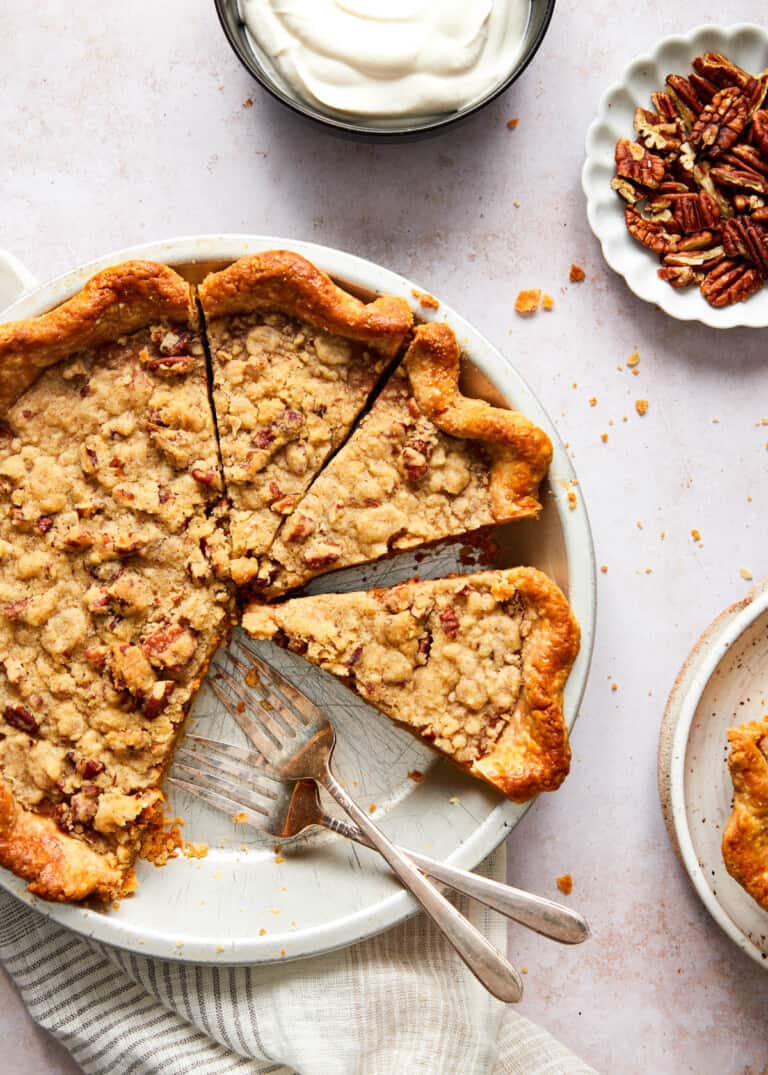
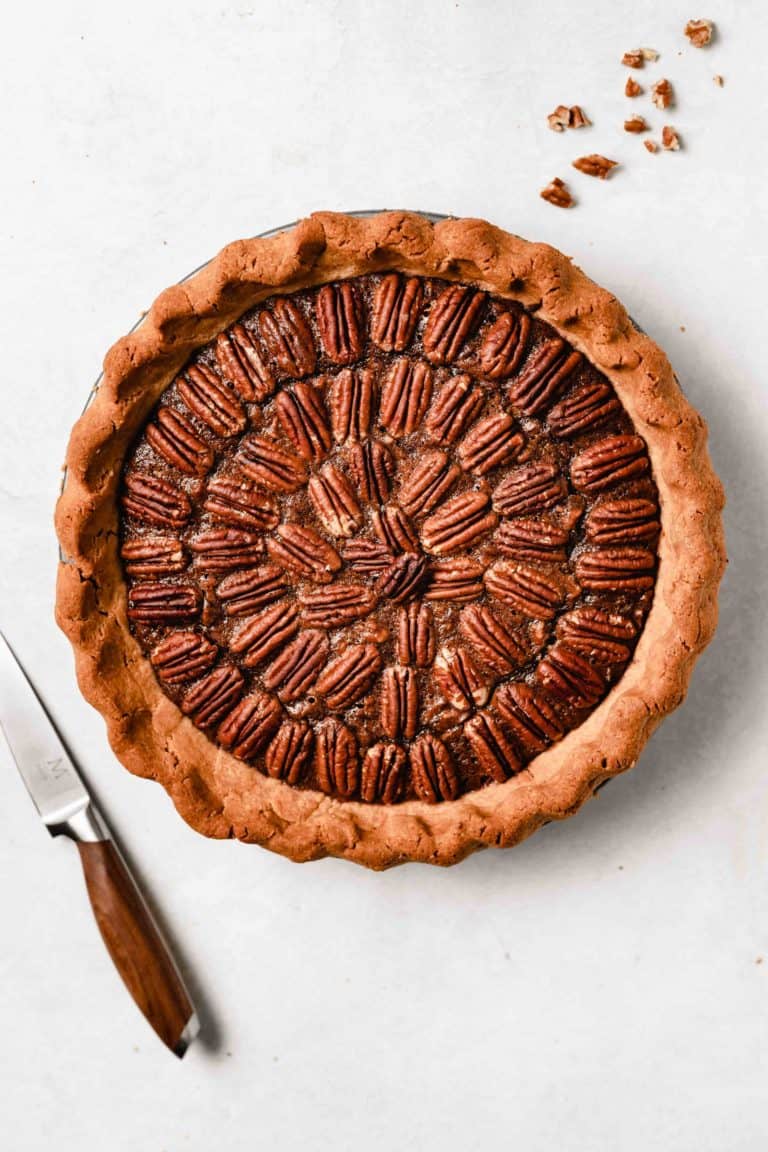
Fall | Gluten Free | Grain Free | Paleo | Pies and Tarts | Refined Sugar Free | Thanksgiving Easy Paleo Pecan Pie Recipe (Refined Sugar Free)
Birthday | Cakes and Cupcakes | Chocolate | Valentine's Day Rich and Moist Chocolate Cake (from scratch recipe)