Homemade S’mores Brownies (easy to make recipe)
These handheld S’mores Brownies combine gooey marshmallows, crunchy graham crackers, and fudgy chocolate brownies into one bite! Perfect for warm weather, this easy recipe is a delicious twist on a classic s’more that everyone can enjoy.
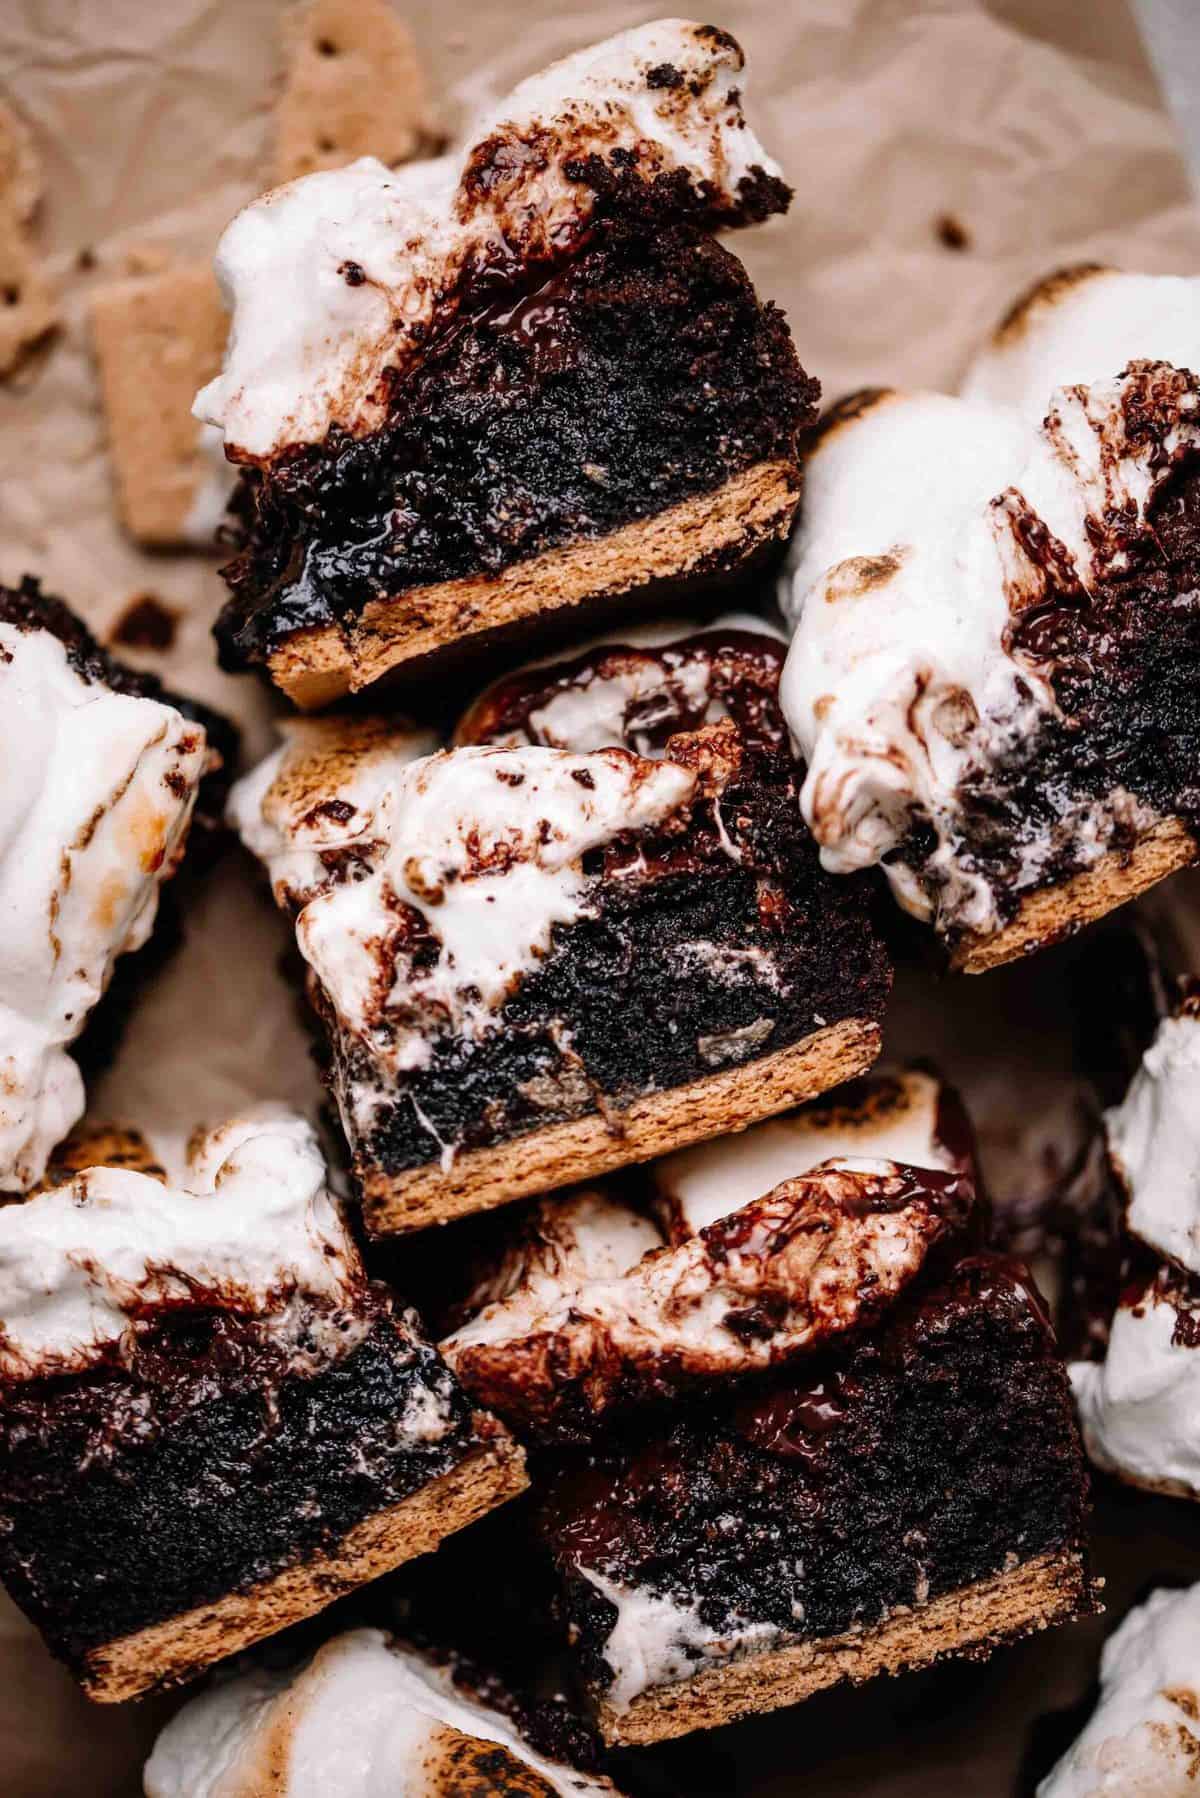
Two classic desserts in one handheld treat. That’s what you get when you make these incredible s’mores brownies from scratch! I love the flavor of s’mores, especially in my S’mores Milano Cookies or these indulgent Molten S’mores Lava Cakes.
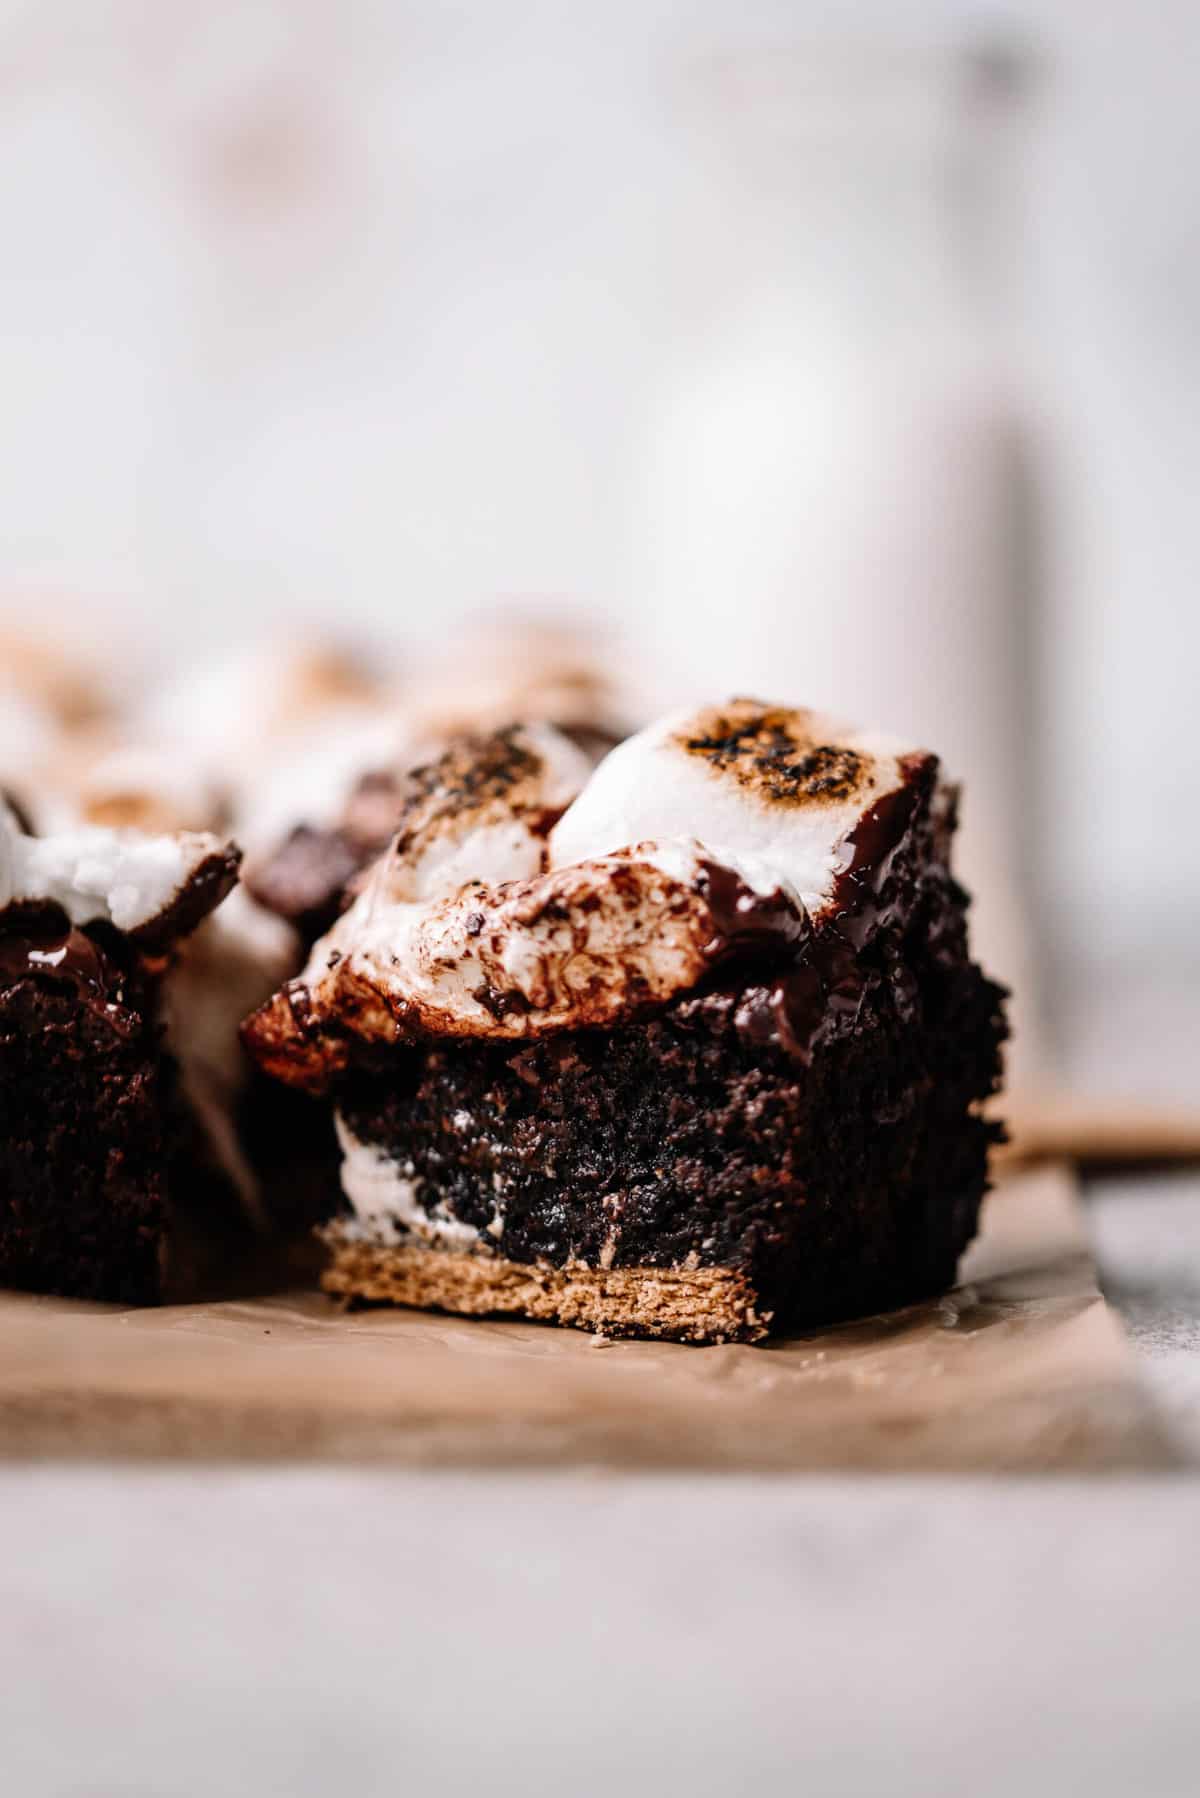
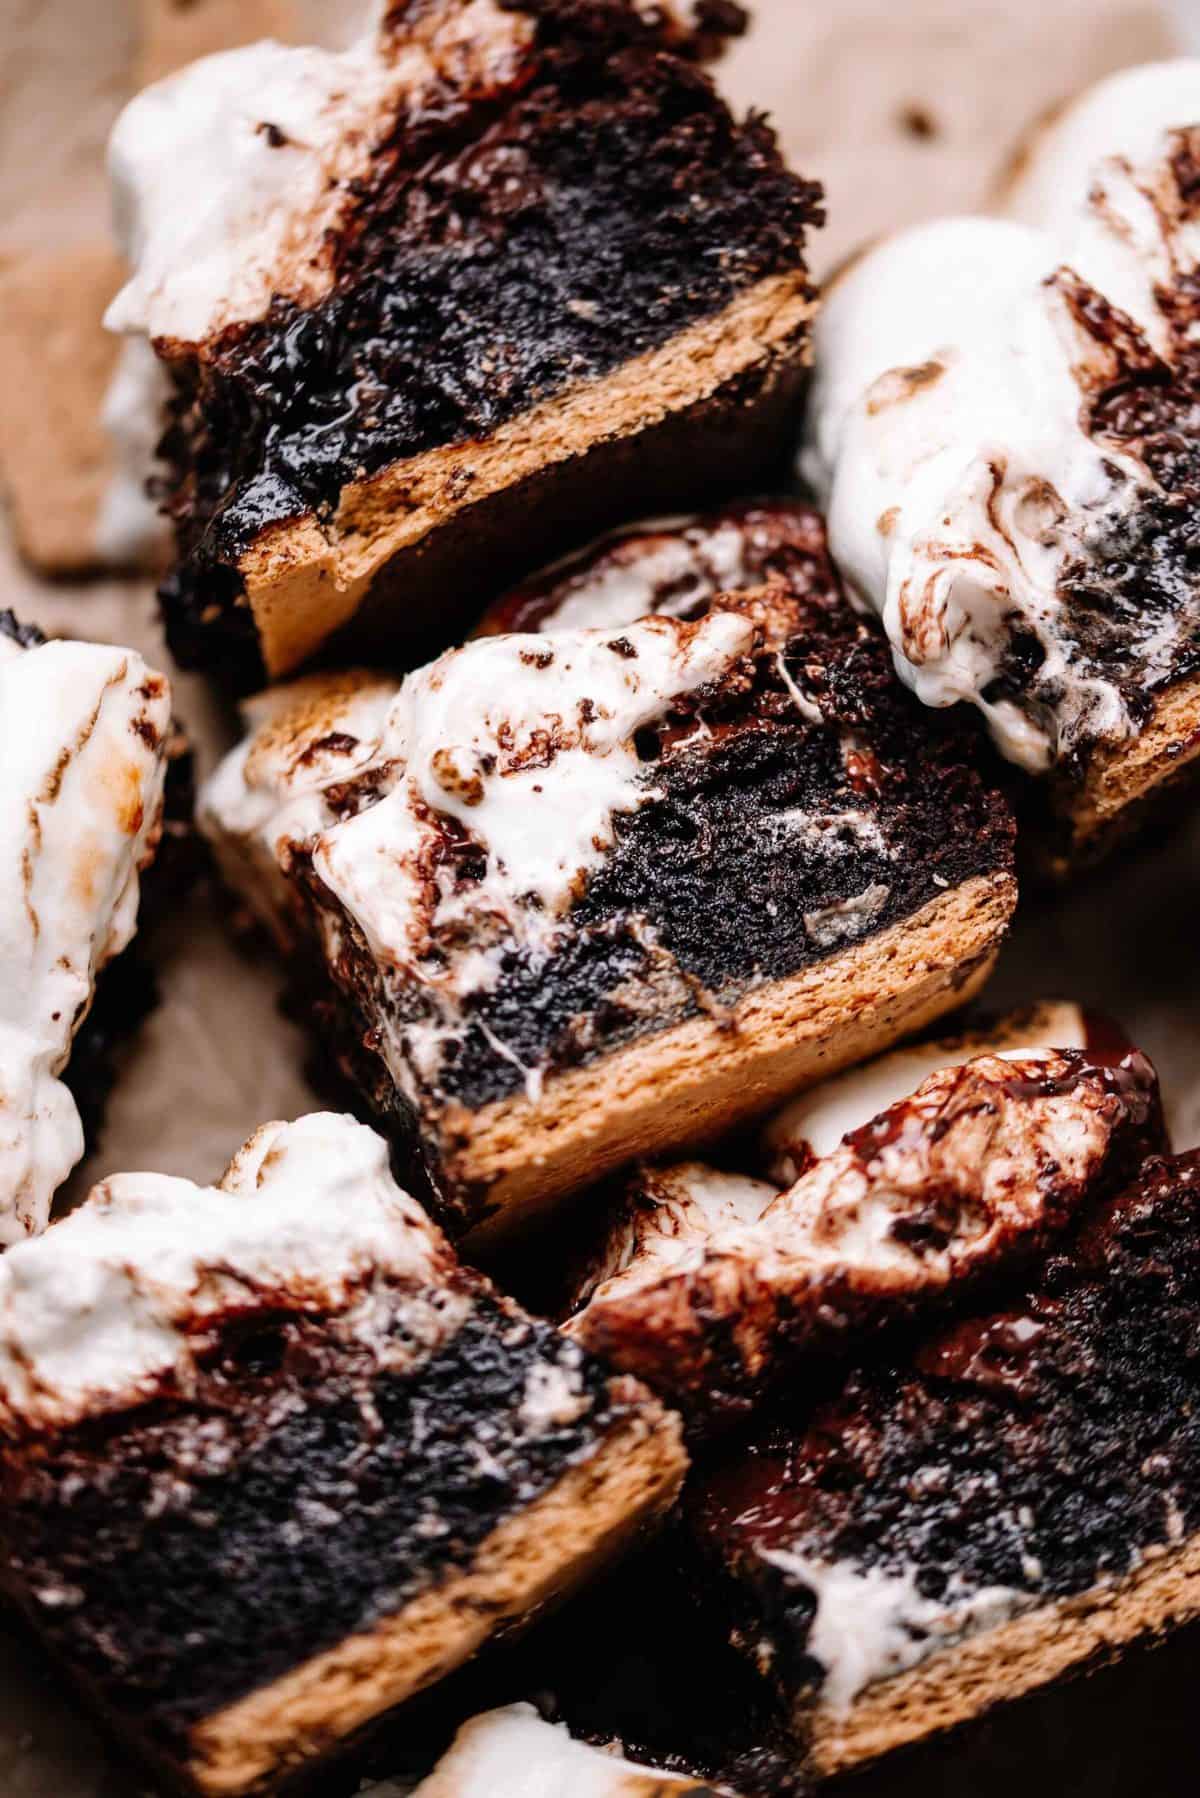
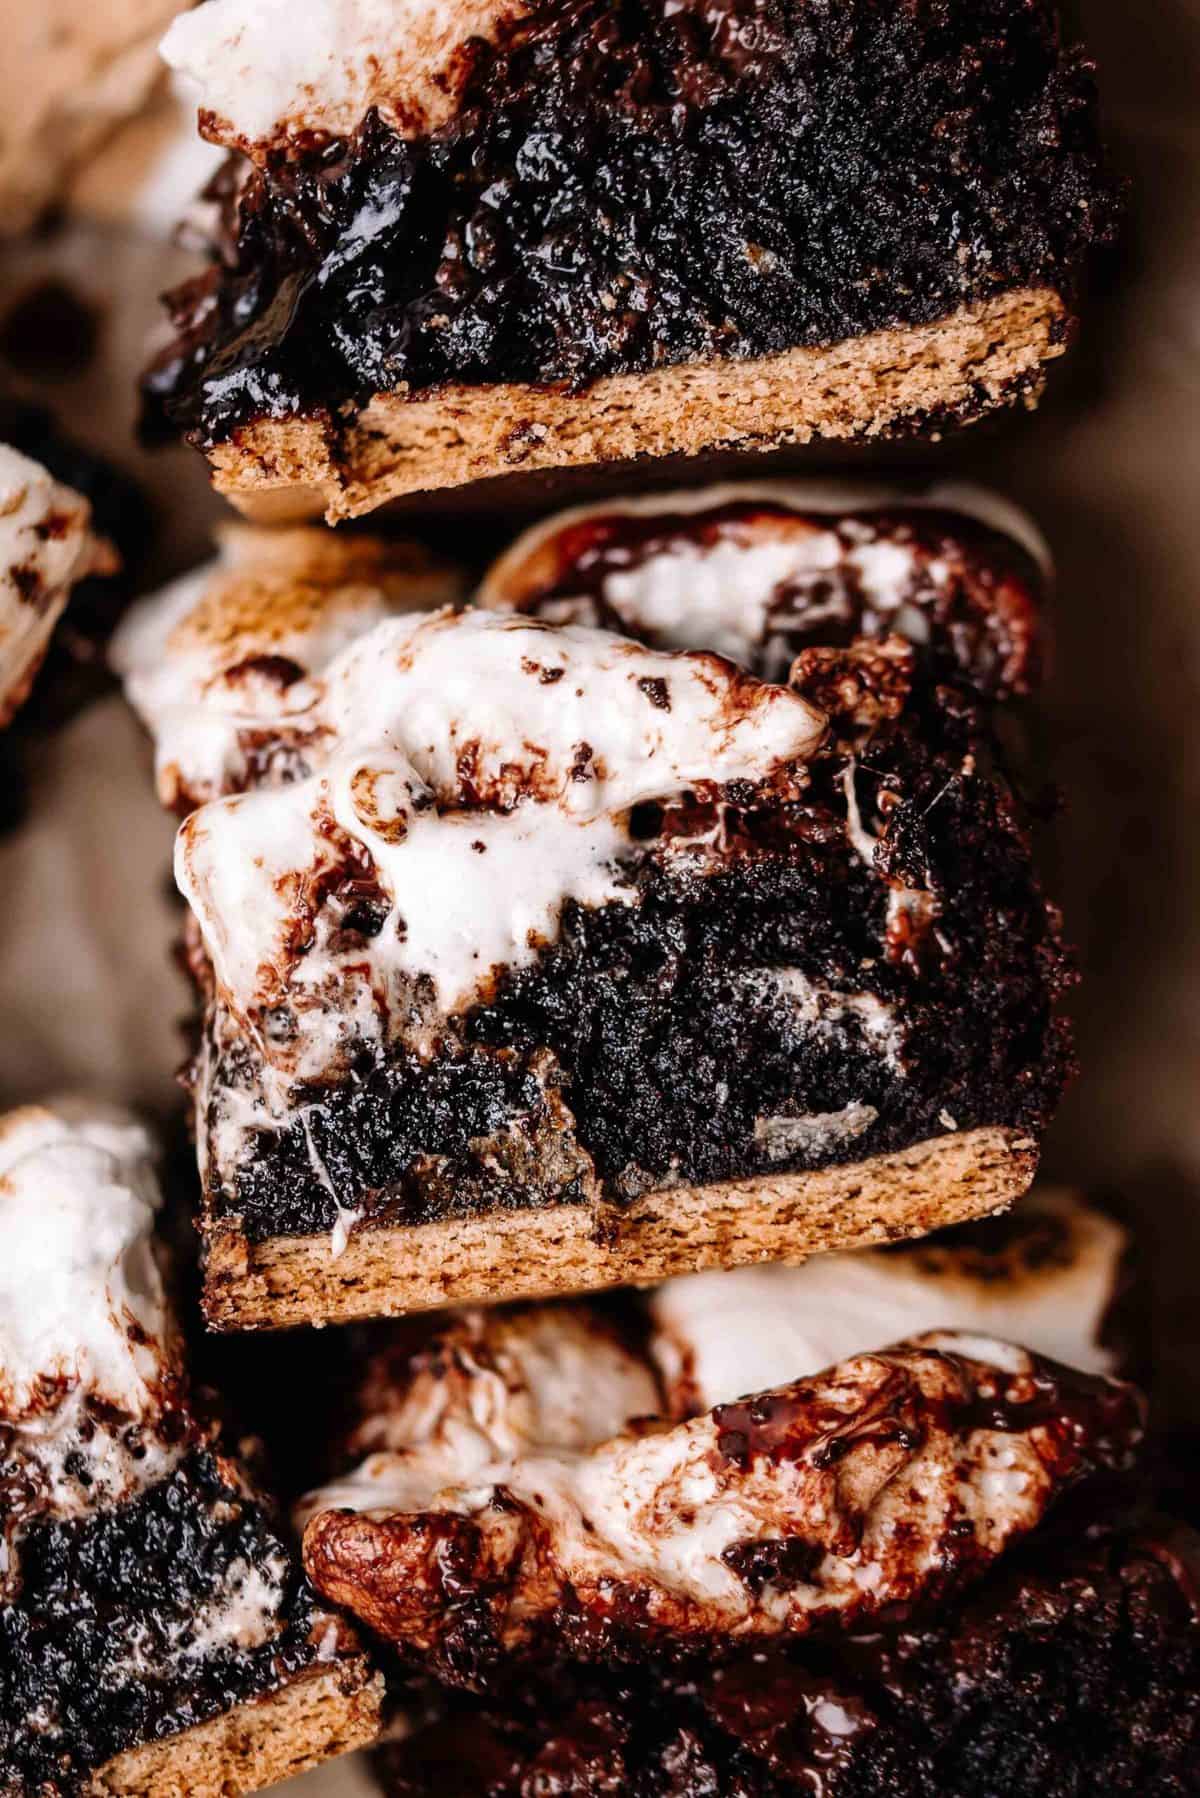
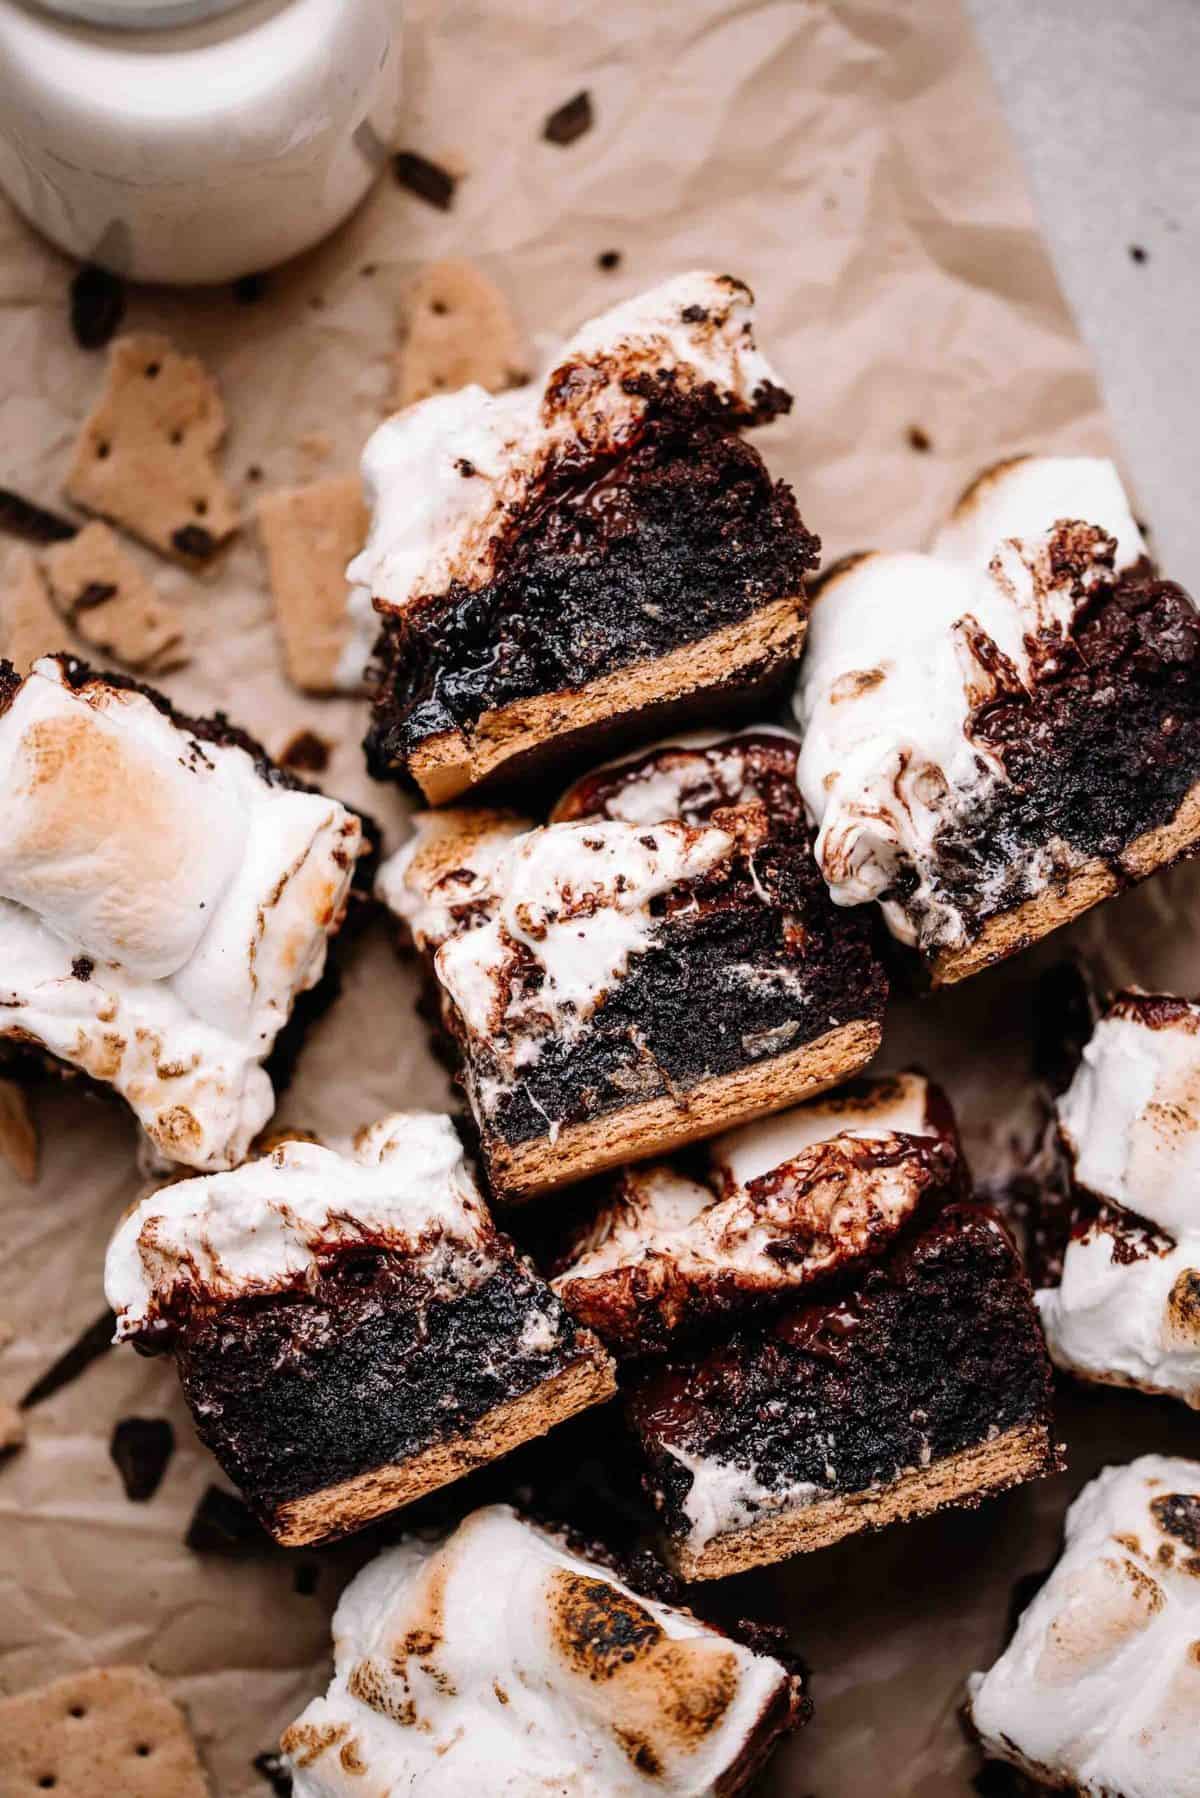
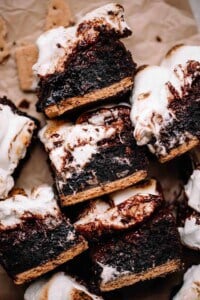
When in brownie form, they feature a crunchy graham cracker base, a rich, fudgy brownie layer, and a topping of gooey marshmallows that get perfectly toasted for that campfire feel. This combination creates a dessert that’s both nostalgic and perfect for summer with no fire needed!
S’mores Brownie Layers
What makes this recipe amazing is the layered effect that captures all the flavors and textures of a classic s’more!
- Graham Cracker Layer: A layer of crunchy graham crackers on the bottom of the brownie pan adds a crunchy texture along with that familiar, slightly sweet graham taste.
- Brownie Layer: A rich, fudgy brownie layer sits on top of the graham crackers, bringing a deep chocolate flavor and a moist, chewy texture.
- Chocolate Layer: This recipe uses a layer of melted chocolate on top of the brownies to create even more chocolate flavor, similar to what you get in a s’more.
- Marshmallow Layer: Gooey marshmallows are toasted on top, adding a soft, melty topping that brings the classic s’mores taste together.
This s’mores brownie recipe is great to have on hand for summer for parties, picnics, BBQ’s or even a day at the beach! Serve them with a scoop of vanilla ice cream or a cold glass of milk for an for an even more rich, decadent taste.
Our Favorite
Brownie Recipes
Why You’ll Love This Recipe
Ingredient Notes
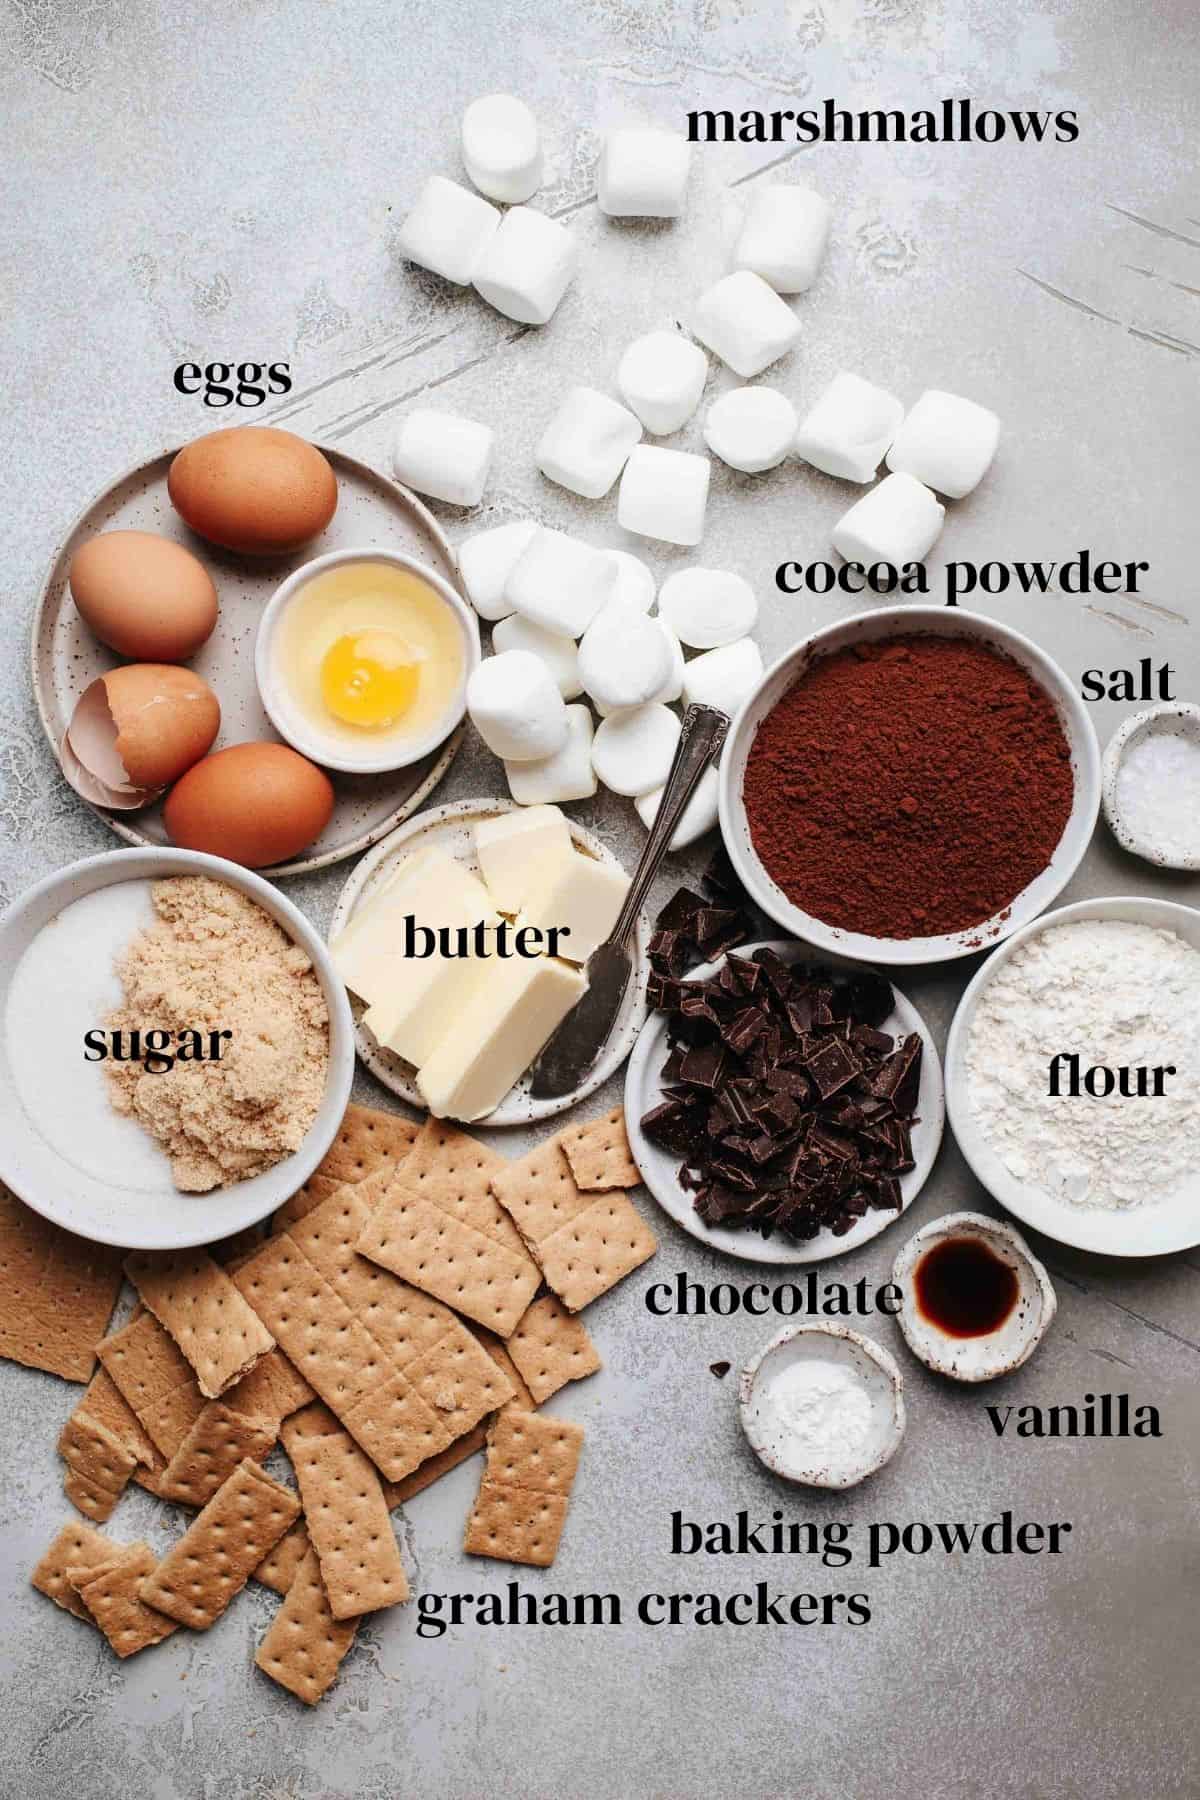
- Graham Crackers – These form the crunchy base layer, adding a familiar, slightly sweet flavor and texture that complements the brownies.
- Butter – Provides richness and moisture to the brownie batter.
- Light Brown Sugar – Adds a deep, molasses-like sweetness and helps keep the brownies moist.
- Sugar – Regular granulated sugar balances the sweetness and adds to the brownie’s tender crumb.
- Eggs – Bind the ingredients together and provide structure, helping the brownies rise slightly and become chewy.
- Vanilla – Enhances the overall flavor, adding a subtle warmth.
- Cocoa Powder – Gives the brownies their rich chocolate flavor and dark color, just make sure it is unsweetened!
- Flour – Adds structure to the brownies, giving them the perfect balance between cakey and fudgy.
- Baking Powder – A small amount of baking powder helps the brownies rise slightly.
- Salt – Enhances the flavors of the other ingredients and balances the sweetness.
- Chopped Chocolate – Adds extra bursts of chocolate flavor and creates a familiar s’more texture. I love using a bittersweet chocolate because it contrasts the sweetness in the brownie layer.
- Marshmallows – Adds a gooey and slightly crispy topping that mimics campfire marshmallows. You can use any size you prefer or have on hand to change up the overall look.
Be sure to check out the recipe card for the full ingredient list below
Equipment Needed
- Mixing Bowls
- Measuring Cups
- Medium Size Saucepan
- Whisk
- 9×9-inch Baking Pan
- Parchment Paper
- Small Offset Spatula
- Kitchen Torch (optional)
Step by Step Instructions
- Prepare for baking: Preheat the oven to 350F. Line a 9×9 inch baking pan with parchment paper making sure some of it hangs over the sides to help remove it.
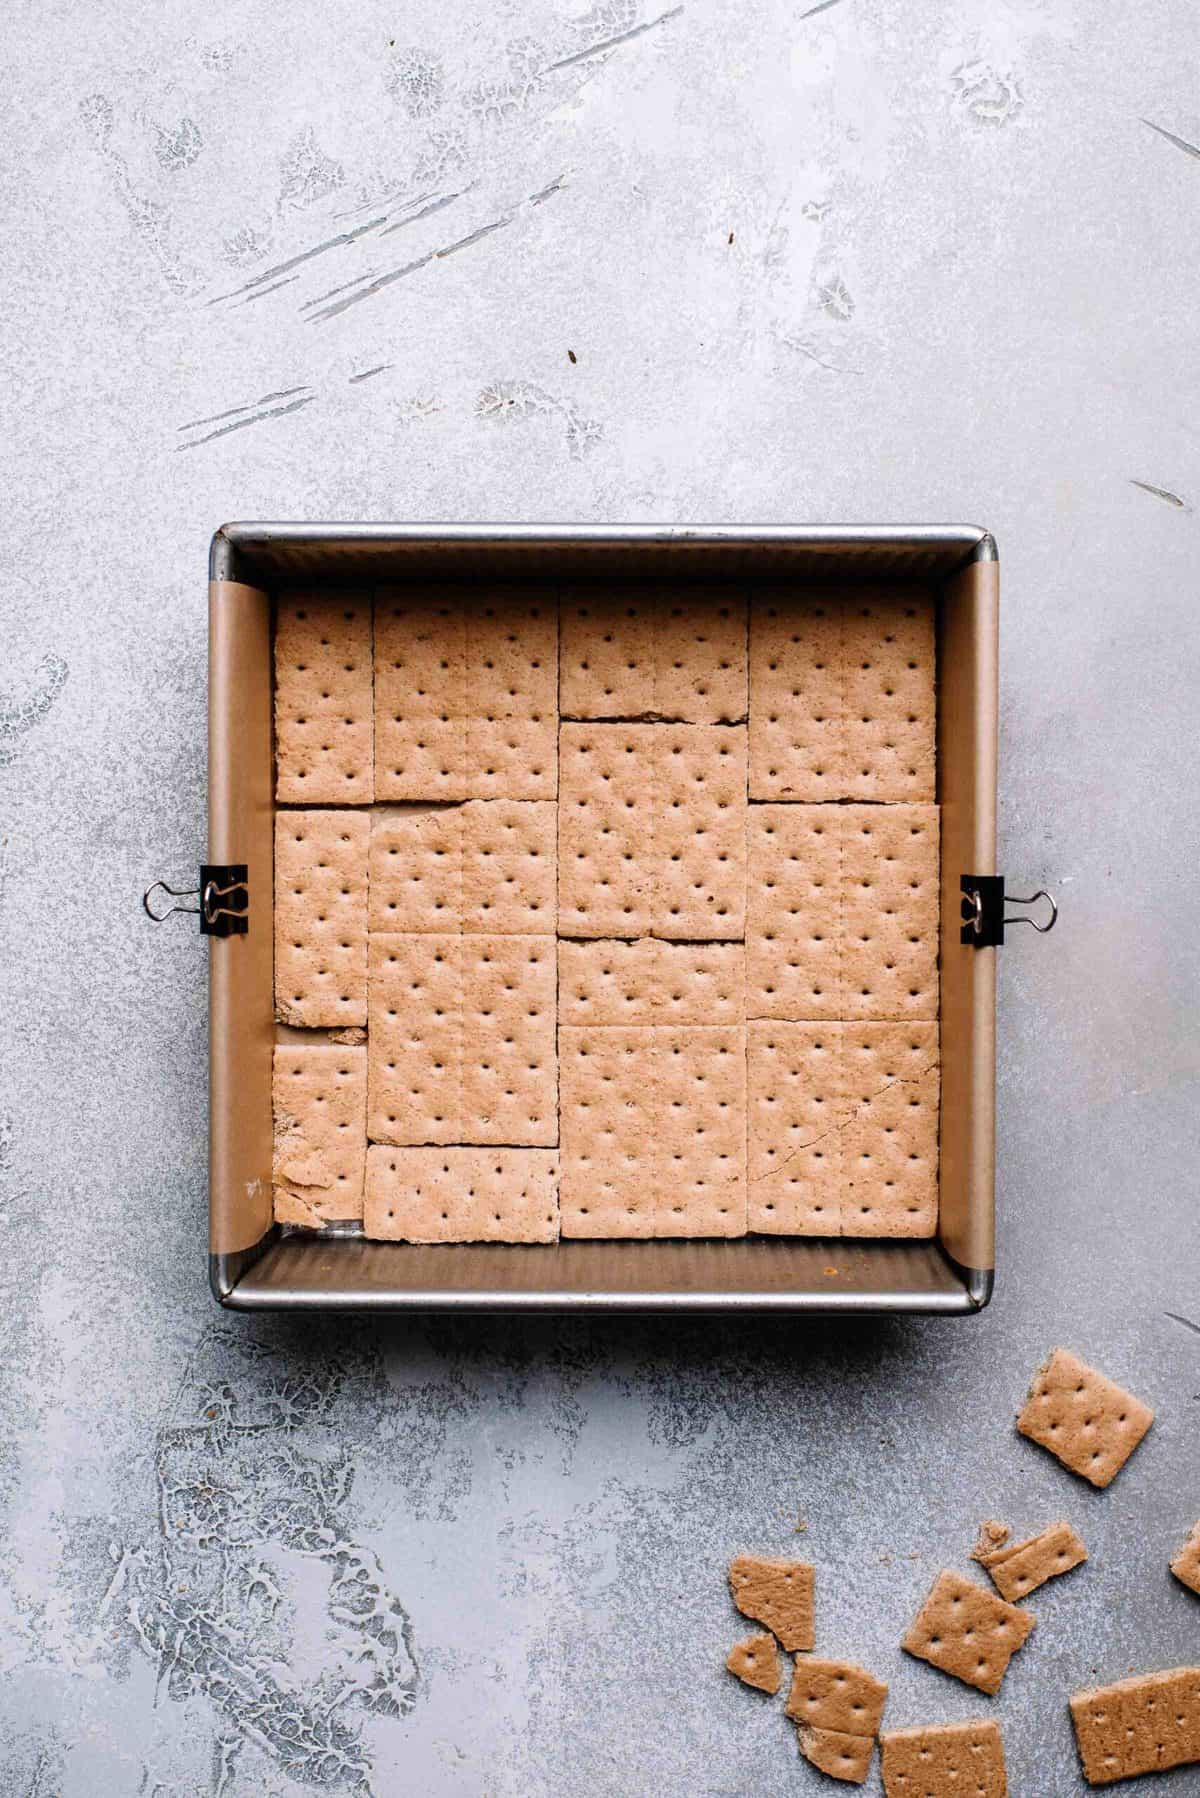
In the bottom of the parchment-lined brownie pan, arrange the graham crackers in a single layer, breaking them up to fit if needed.
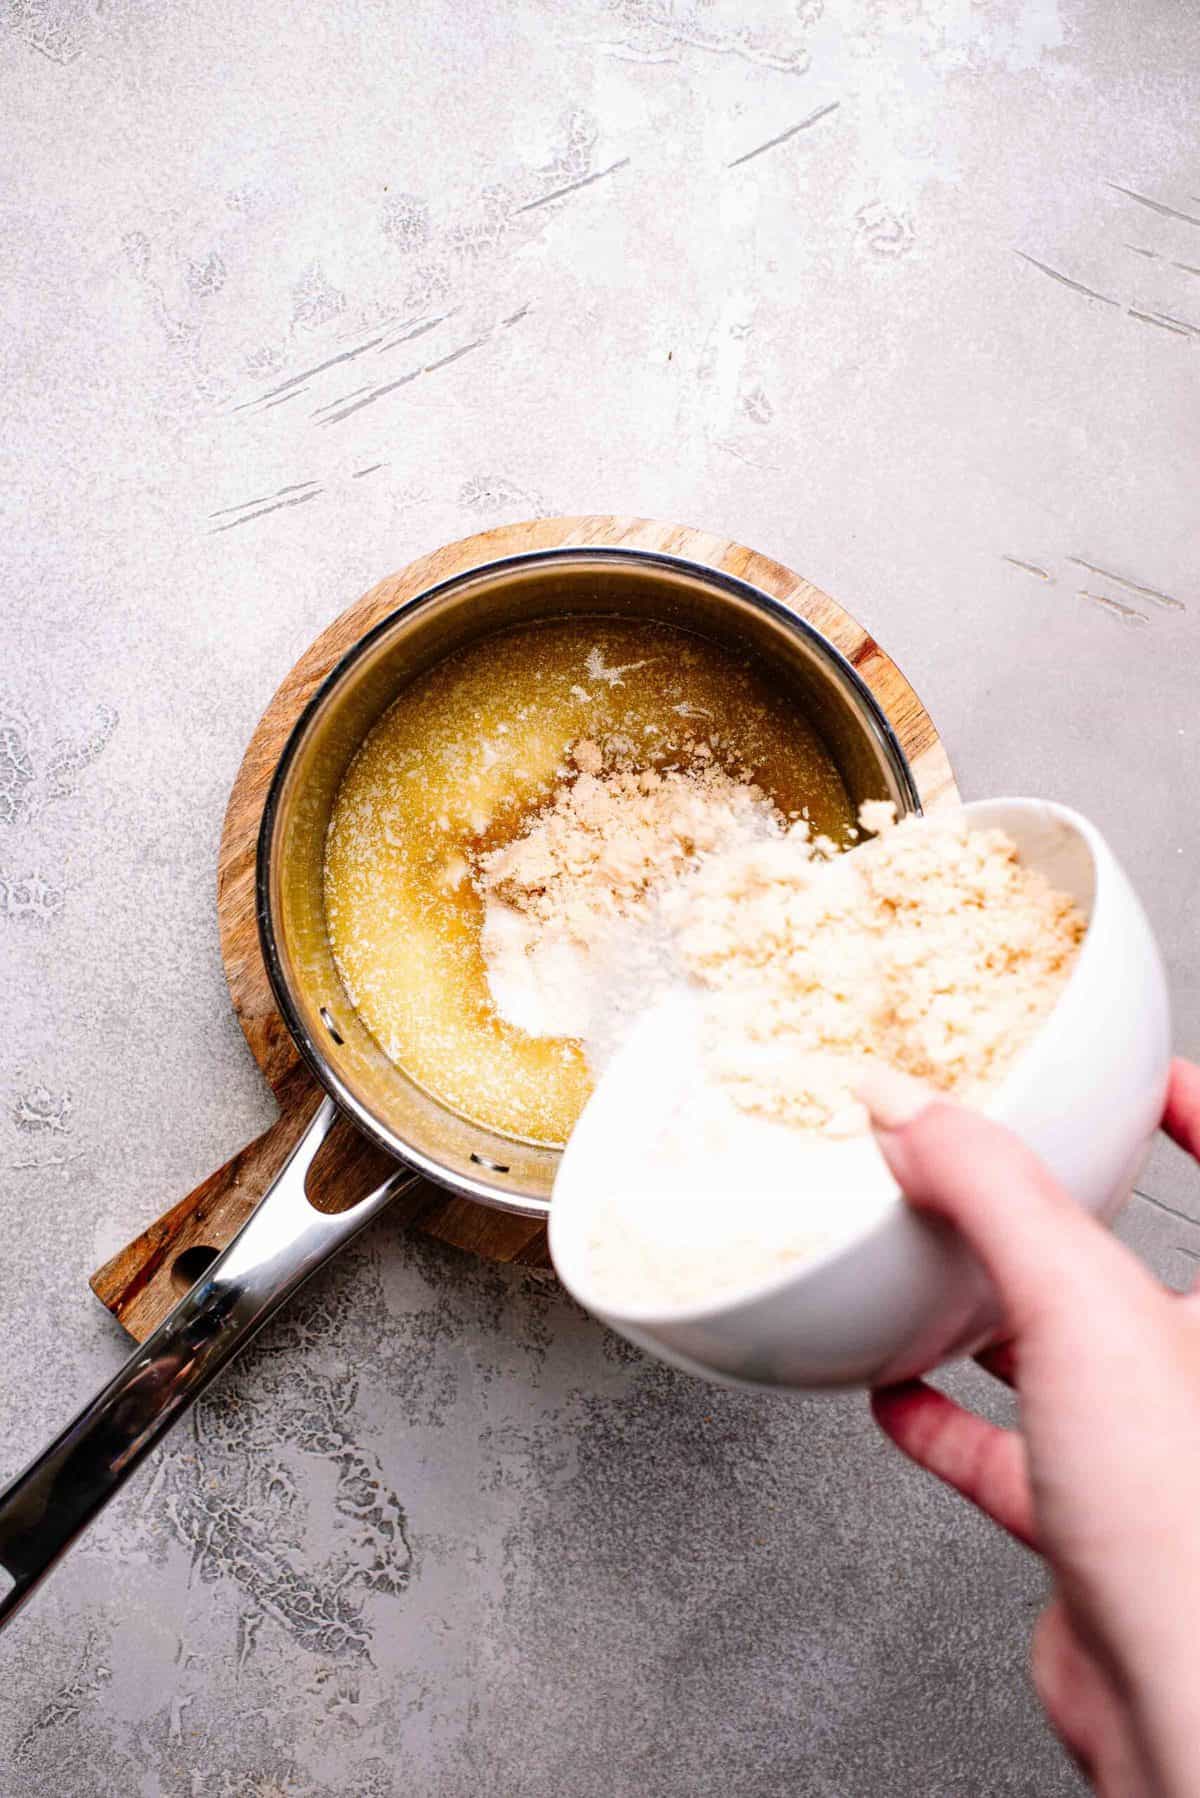
Start by adding the butter to a medium saucepan over medium heat to melt. Once melted, add the brown and white sugar and stir until mixed in.
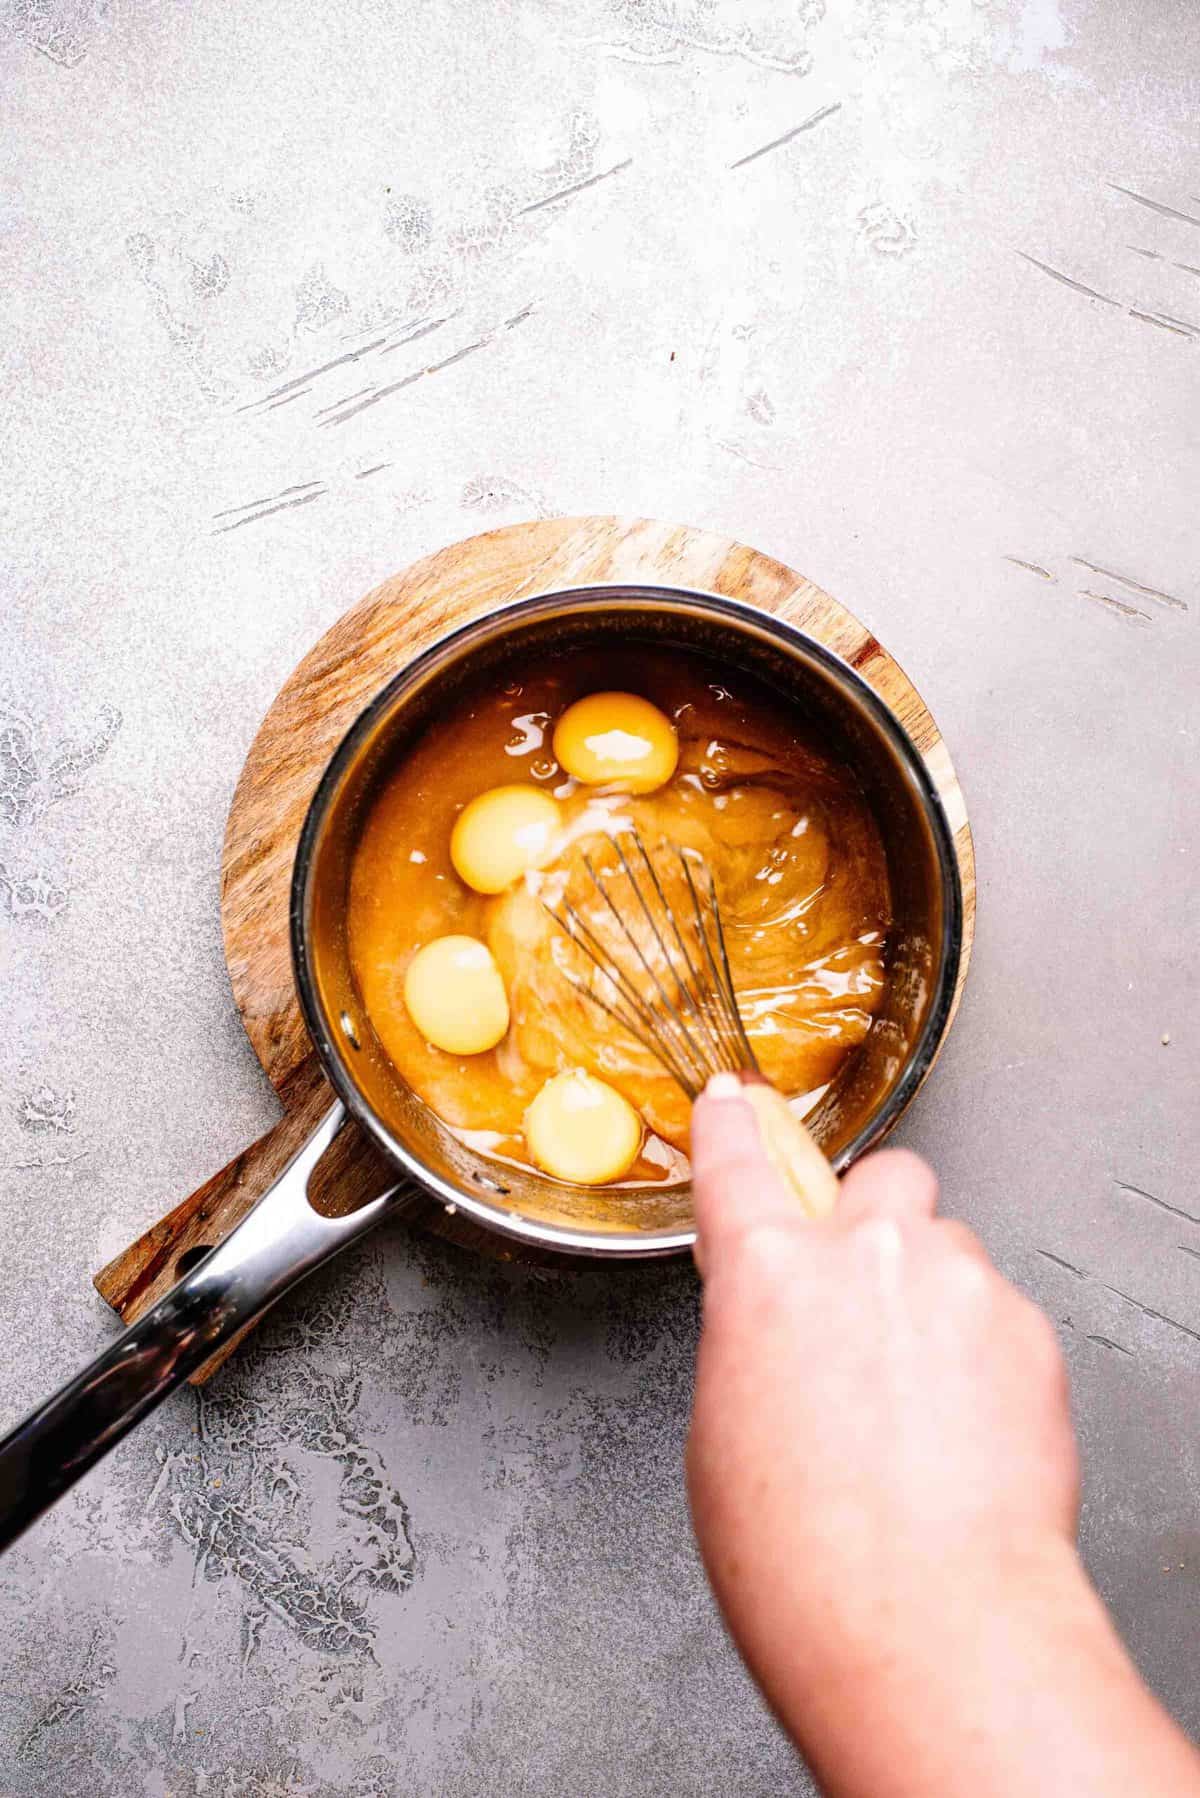
Let the mixture cool for five minutes before whisking in the eggs and vanilla.
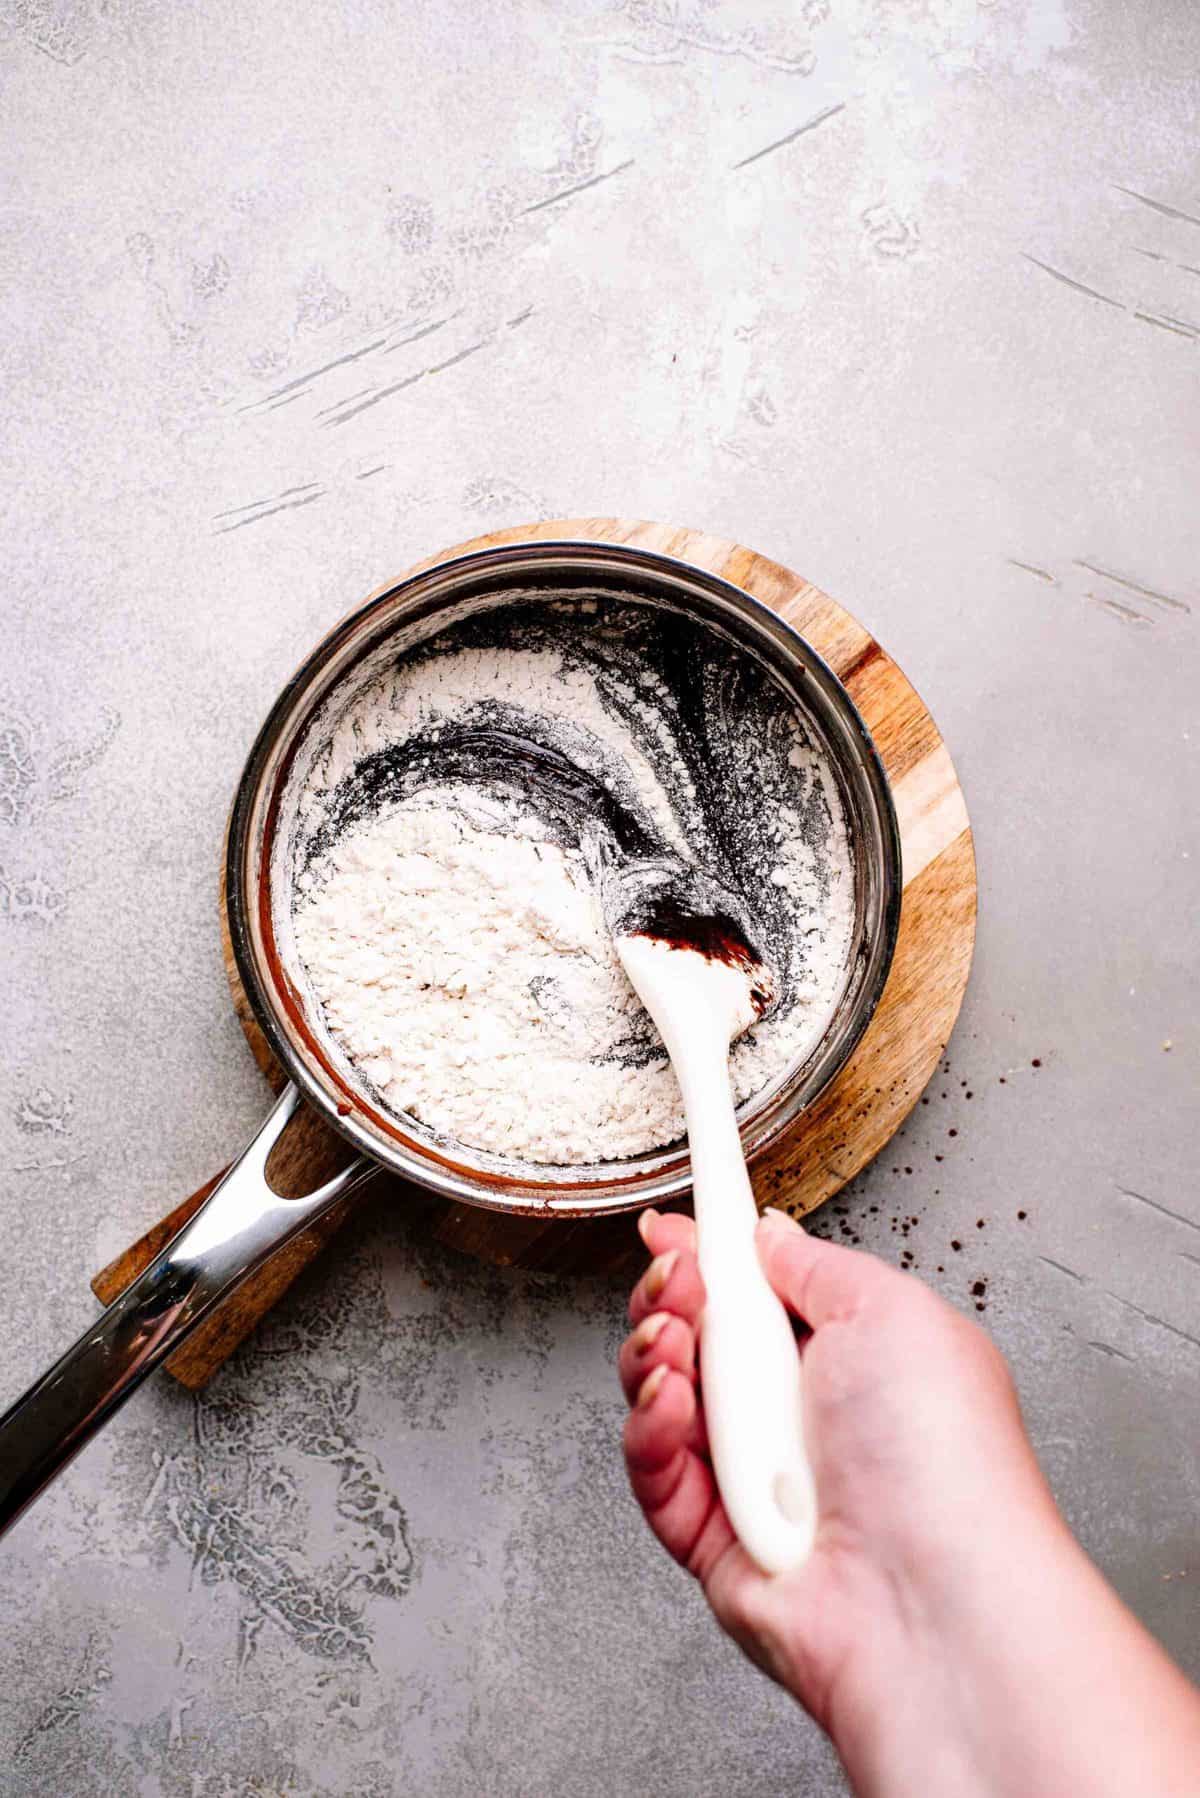
Fold in the flour, cocoa powder, salt, and baking powder gently until just combined without overworking.
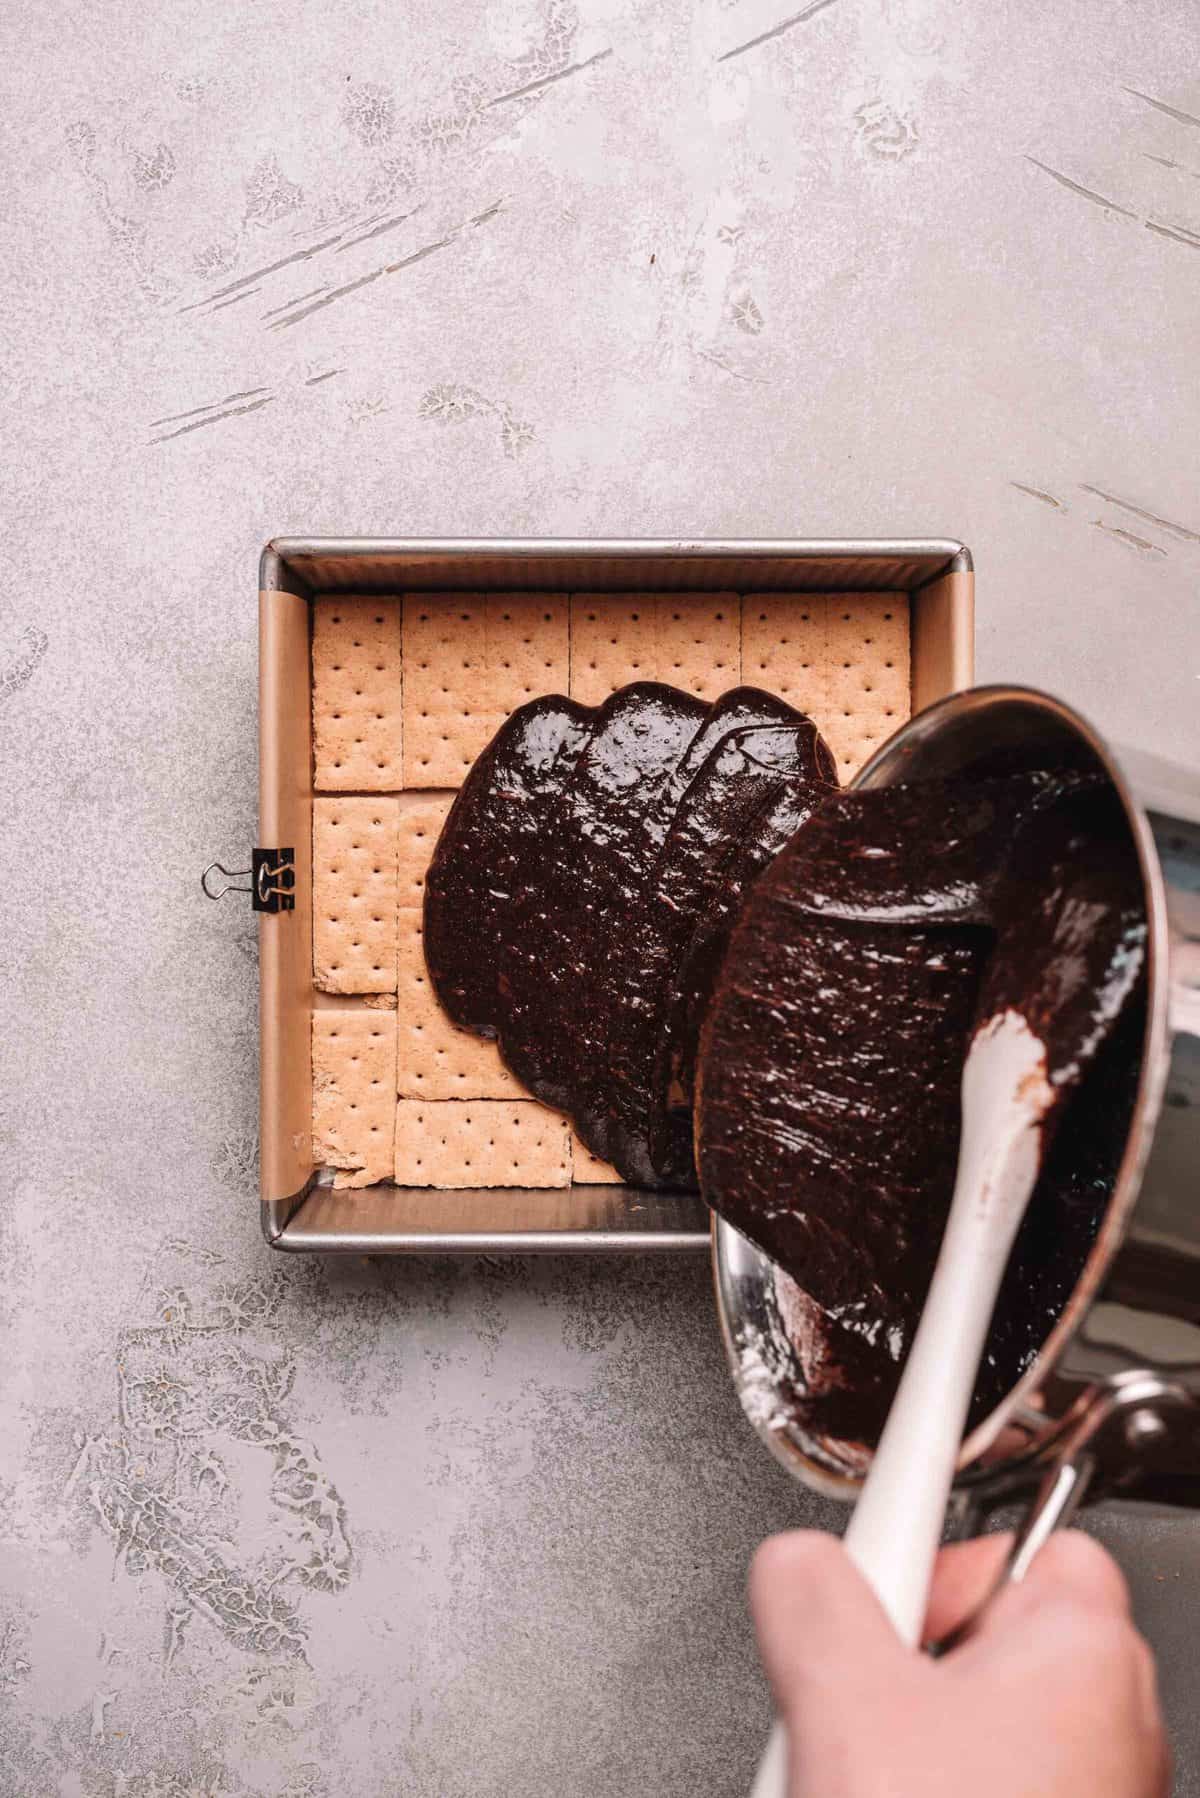
Pour the brownie batter over the top of the graham crackers and bake for 30 minutes in the preheated oven.
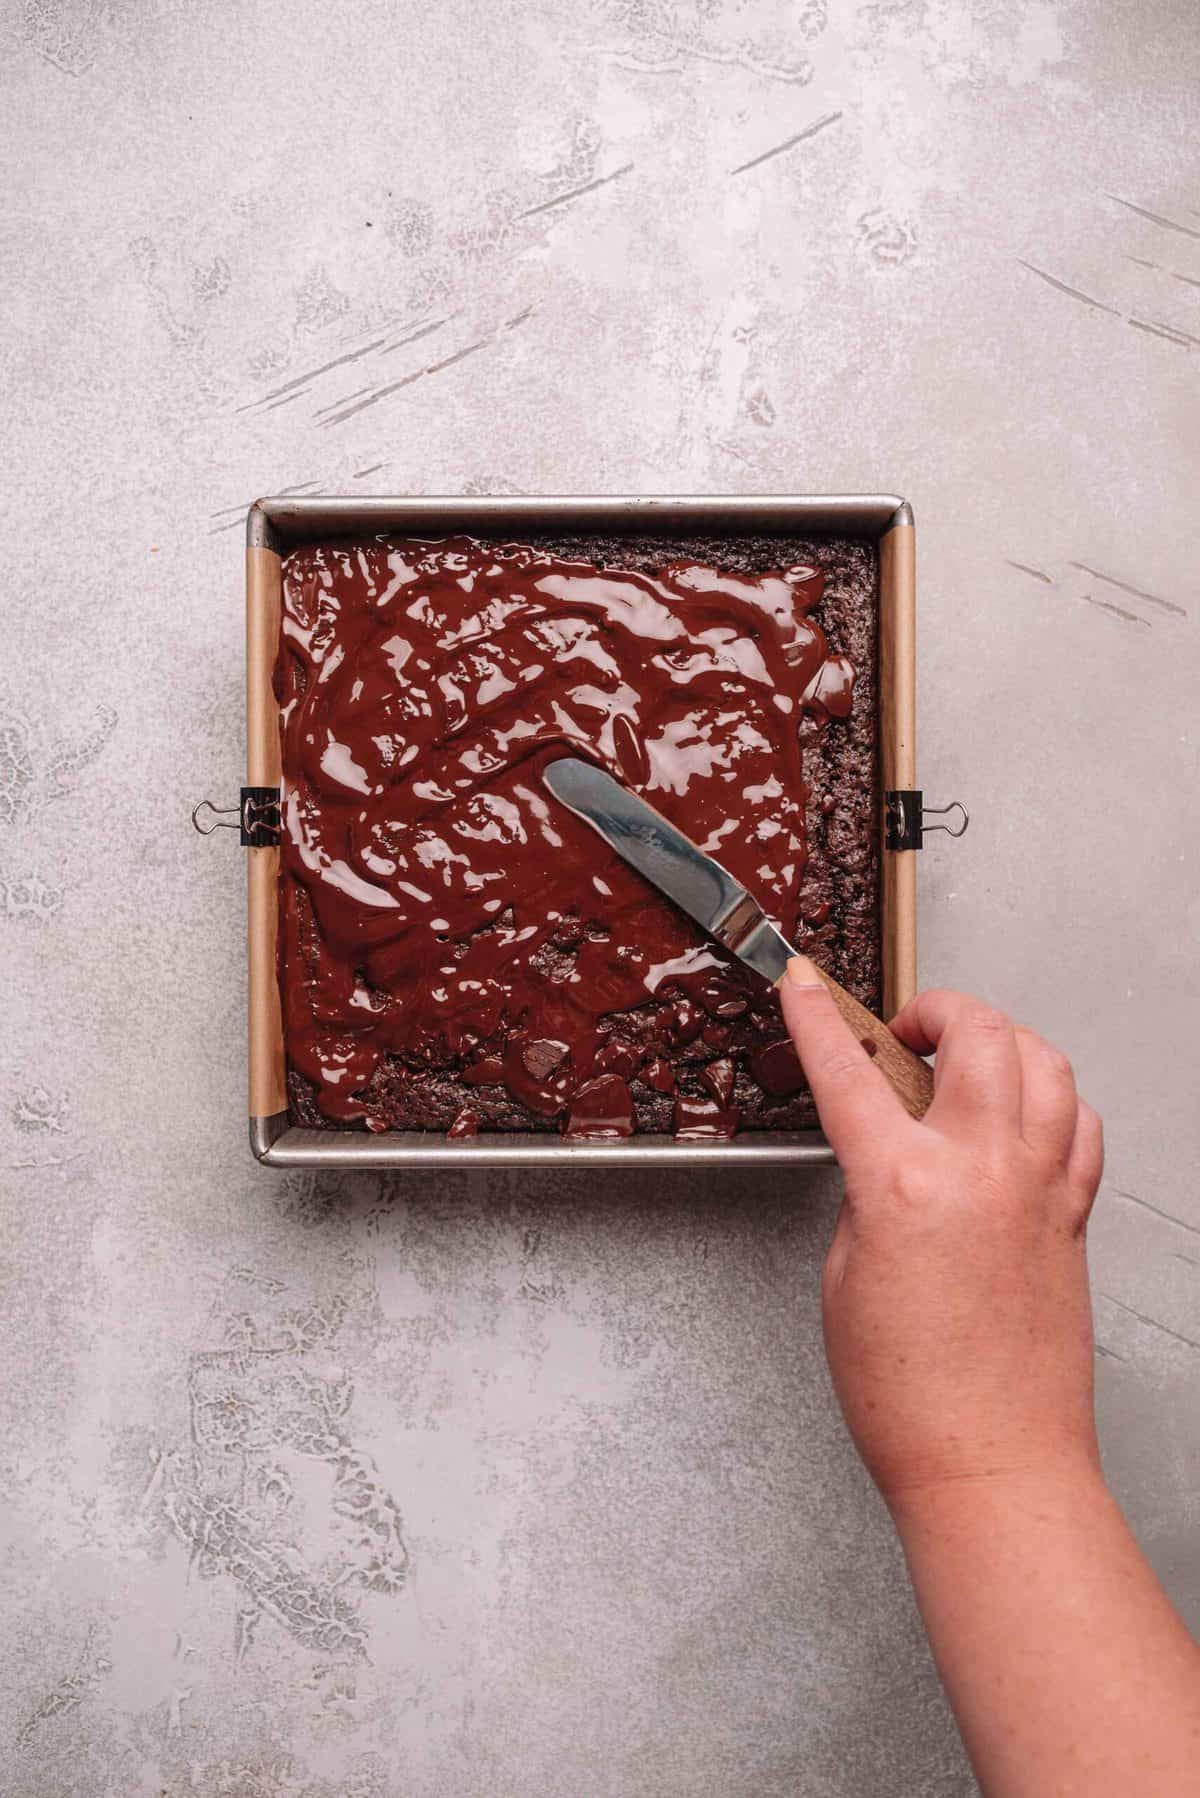
After 30 minutes of baking, remove from the oven and sprinkle the chopped chocolate on top. Let it sit for 3-5 minutes so it melts, then spread it with an offset spatula in an even layer on top of the brownies.
- Arrange the marshmallows on top of the chocolate layer, then return the pan to the oven for 5 minutes to allow the marshmallows to start melting on top.
- Toast the marshmallows: Once the marshmallows are warmed though and starting to melt, carefully use a kitchen torch to toast the tops of the marshmallows. If you don’t have a kitchen torch, add the pan back to the oven in the top of the middle rack and broil for 15-30 seconds until the marshmallows are toasted.
- Cool and enjoy: Remove the pan from the oven and let the brownies cool for 15-30 minutes before removing from the pan, slicing, and serving. Enjoy!
Tip: For best results toast the marshmallows using a kitchen torch for better control and even browning. If you need to use the oven, keep an eye on them as the marshmallows will burn very quickly!
Flavor Variations and Substitutions
- Substitute dark chocolate for milk chocolate in the brownie layer for a richer chocolate flavor.
- Add a teaspoon of espresso powder to the brownie batter to enhance the natural flavor of the chocolate.
- Use chocolate graham crackers instead of regular ones for an extra chocolatey base.
- Mix crushed pretzels into the graham cracker layer for a salty-sweet twist.
- Replace the marshmallows with marshmallow fluff for a creamier top layer. Do not toast the top if you do this.
- Add a handful of chopped nuts, like pecans or walnuts, to the brownie batter for added crunch.
- Use flavored marshmallows, such as caramel or strawberry, for a unique twist to match the occasion.
- Sprinkle crushed peppermint candies over the marshmallow layer for a festive holiday treat.
- Sprinkle a pinch of high-quality sea salt over the melted chocolate before adding the marshmallows for a sweet and salty contrast.
Storing and Freezing
Storing: Store the brownies in an airtight container at room temperature for up to three days. For longer storage, refrigerate them for up to a week in a tightly covered container.
Freezing: Wrap each piece individually in plastic wrap, then place them in a freezer-safe bag or container. They can be frozen for up to three months. Thaw at room temperature before serving.
expert Tips
- Use high-quality cocoa powder and solid chocolate for a richer chocolate flavor in the brownie layer and in the chocolate layer.
- When mixing the dry ingredients into the brownie batter, fold them in gently to make sure you’re not overworking the mixture.
- For easier spreading, let the melted chocolate sit on the brownies for a few minutes to soften before spreading.
- Chill the brownies in the refrigerator for 15-20 minutes before cutting to get cleaner slices.
- To prevent the brownies from sticking to the knife, wipe the knife clean after each cut.
- For a thicker graham cracker crust, crush the crackers and mix with melted butter before pressing into the pan.
- If you’re short on time, you can use a boxed brownie mix for the brownie layer. Opt for a high-quality brownie mix like the Ghiradelli brand.
Frequently Asked Questions
Yes! To make gluten-free s’mores brownies, replace the all purpose flour with a quality gluten-free alternative and make sure your graham crackers are gluten-free as well. Pamela’s Products gluten free graham crackers and Bob’s Red Mill gluten free flour mix are my favorite!
Use unsweetened cocoa powder for the best results. Dutch-processed cocoa powder will give a richer, darker chocolate flavor, while natural cocoa powder will provide a more traditional brownie taste.
Yes, you can use an 8×8-inch pan for thicker brownies or a 9×13-inch pan for thinner ones. Adjust the baking time by inserting a toothpick in the center and watching out for moist crumbs when it’s done baking.
Yes, you can make the brownies a day ahead and store them in an airtight container at room temperature. The flavors improve after resting for a day, and they are easier to cut when fully cooled!
More Brownie Recipes
If you loved these s’mores brownies, check out these other great recipes.
If you make this recipe, take a photo and tag #bakedambrosia on Instagram and Facebook so that I can see your creations and feature them on Instagram! To stay up to date with the latest recipes, follow Baked Ambrosia on Pinterest, Facebook, Instagram, and Youtube. ♡
S’mores Brownies
Equipment
- 9×9-inch pan
- Saucepan
- Whisk
- Rubber spatula
- Kitchen torch
Ingredients
- 7 sheets graham crackers
- 1 cup butter
- 1 ½ cup light brown sugar
- ½ cup sugar
- 4 eggs room temperature
- 2 tsp vanilla
- 1 cup cocoa powder
- ⅔ cup flour
- ½ tsp baking powder
- ½ tsp salt
- 3 ½ oz chocolate chopped
- 36 marshmallows *see notes
Instructions
- Preheat oven to 350 degrees F. Line a 9×9-in pan with parchment paper overhanging the sides.
- Arrange graham crackers on the bottom of the lined pan. Break any graham crackers to fit.7 sheets graham crackers
- In a medium size saucepan over medium heat, melt butter. Remove from heat and stir in sugars. Allow the mixture to cool for 5 minutes.1 cup butter, 1 ½ cup light brown sugar, ½ cup sugar
- Whisk eggs and vanilla into the butter/sugar mixture. Mix in cocoa powder. Gently fold in the flour, baking powder, and salt until just combined.4 eggs, 2 tsp vanilla, 1 cup cocoa powder, ⅔ cup flour, ½ tsp baking powder, ½ tsp salt
- Pour the batter over the graham crackers and bake for 30 minutes.
- After 30 minutes, remove the pan from the oven and top with chopped chocolate. Allow the chocolate to sit for 3-5 minutes and then use a small offset spatula to spread the chocolate over the top of the brownies.3 ½ oz chocolate
- Arrange the marshmallows on top in rows and then return the pan to the oven for 5 minutes. After 5 minutes, remove the pan from the oven and use a kitchen torch to toast the tops of the marshmallows, or position the pan to the top rack of your oven and broil for 15-30 seconds.36 marshmallows
- Allow the brownies to cool for 20-30 minutes before cutting into squares. Enjoy!
Notes
- Storage: Store any leftover brownies in an airtight container in the refrigerator for up to 1 week. You can enjoy them cold, or pop them into the microwave for a few seconds for a warm gooey treat.
- Gluten free: To make this recipe entirely gluten free, use gluten free graham crackers and replace the flour with an all-purpose 1 to 1 gluten free baking flour. Pamela’s Products gluten free graham crackers and Bob’s Red Mill gluten free flour mix are my favorite!


Best. Brownies. EVER. There’s no close contender.
Absolutely amazing! I made the gluten free and they still turned out perfectly!
Absolutely delicious!
I made these today and they were amazing!
Tried these for the first time! Will definitely be making these again and the other of your recipes
Hi, Angelina, I just ran across your website tonight and I think I’ll start with the S’Mores. The photos are great. I also saw that you have ‘Baby Friendly’ recipes. That’s great for my little grandchildren! Thanks.
These turned out amazing! Definitely my new favorite brownie recipe
Omg loved how these brownies turned out! I will def be making this again 🙂
These are THE best brownies I have ever eaten. WOW!
I just tried these and they’re definitely the best brownies I have ever tasted! Thanks for the great recipe!!
These are the best brownies!! Everyone should make these!!